Wood Stain in a Nutshell
When most of us think of wood stain, we picture a can of premixed oil-based wood stain with a name like "Golden Oak" or "Vermont Maple".
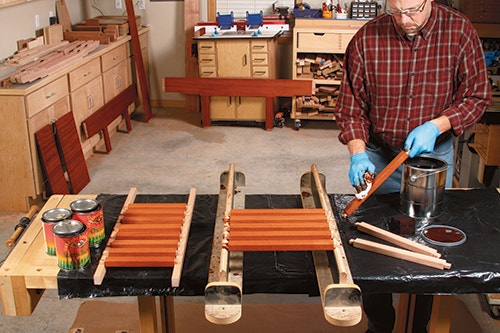
Most of us know the familiar application process: Wipe the stain on the surface of the wood, let it "soak in" and then wipe off the excess. Sometimes the results are great; sometimes, not so good. For most woodworkers, that’s just one of life's mysteries, and for every wood coloring project there’s an underlying risk and a spine-tingling element of suspense. But a little knowledge can quickly help you to take more control of the process, and get more consistent, predictable results.
Stain Colors
The wood color effect of most wood stains is produced by either a "pigment" or a "dye", or a combination of the two. It's important to understand the difference - they behave very differently from one another. The most familiar type of colorant – pigments - are fine particles of inert compounds, and include natural pigments, such as ochre, umber and sienna, and synthetic pigments, which come in a wider variety of colors and go by less poetic names, like Quinacridone Violet and Phthalo Green. The main difference between the two is has to do with the depth of the color they produce, and the degree to which they obscure the grain pattern of the wood. Contrary to the common conception, pigments don’t actually "soak in" to the wood. They rest of the surface. Dyes, on the other hand, do actually penetrate the cell structure of the wood. Because of this, dyes tend to produce more transparent and natural looking results.
Pigmented Wood Stain
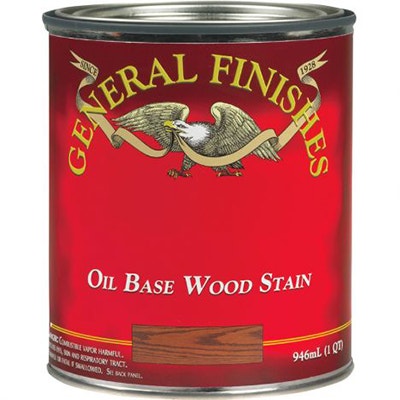
Since pigments do not penetrate wood cell fibers, they have to be affixed to the surface of the wood with a "binder". A typical can of oil-based stain relies mainly on pigments (but many contain some dye, as well) and hence, needs to include a binder in its mixture. A binder can be any clear wood finish that will cure and adhere to the surface of the wood, but most commercially available stains use a "long-oil" (high curing oil content) binder, which dries slowly and helps insure that there is plenty of open time to wipe on the stain before it begins to set up. Most water-based stains are also heavily reliant on pigments. In a water-based stain, the binder is essentially a thinned down waterborne clear finish. Water-based stains have the advantage of being more environmentally friendly than oil-based stains, and also clean up easily with soap and water. The trade off is a shorter drying time, which can make them difficult to apply evenly. And, as with anything that you can put on wood that contains water, they have a tendency to raise the wood grain. But "pre-raising" the wood grain by wetting it with a small amount of water and then sanding off the "fuzz" after it dries can help to mitigate the grain-raising effect of all water-based finishes, including stain. Since pigmented stains do not actually penetrate into the fibers of the wood, they need something to "grab onto" when they are applied. In other words, when you brush on a pigmented stain and wipe of the excess, what remains is the pigment caught in irregularities in the wood surface – the surface of the wood cells, sanding scratches, etc. You may have noticed that it’s difficult to get a very smooth, close grained wood to take pigmented stain, such as a piece of hard maple that just been through a planer. In order to get a pigmented stain to "take", you need to leave some surface irregularity for the stain to get a hold of. And for that reason, most experts suggest not sanding raw wood with finer than 150 grit sandpaper prior to applying a primarily pigment-based stain.
Dye Stains
The most common type of dye stain comes in power form and is meant to be dissolved in water to produce the desired color concentration. Water soluble dye stain powders, like dry dyes, are most often used to add color to raw wood, just as a pigmented stain is, but with one important difference: Because a dye stain actually takes seat in the cells of the wood, and not just on the surface, you can achieve a much deeper concentration of color without obscuring the grain pattern. And unlike pigmented stains, dye stains mix well for custom blending, and are easier to color-correct (simply by adding more color or wiping off some of the stain) after they have been applied. Water soluble dye stains do have one drawback, however. Although the color-fastness of dye stains has greatly improved over the years, water soluble dye stains are subject to some degree of fading caused by exposure to sunlight. Pigmented stains, in contrast, can be considered virtually colorfast, regardless of lighting conditions. A more recently developed type of dye – known as metalized or premetalized dyes – offers a significant improvement in colorfastness over "standard" dyes. Often referred to as NGR (non-grain raising) dyes, these dye stains come premixed in a blend of alcohol and a retarder (to slow down the drying process).
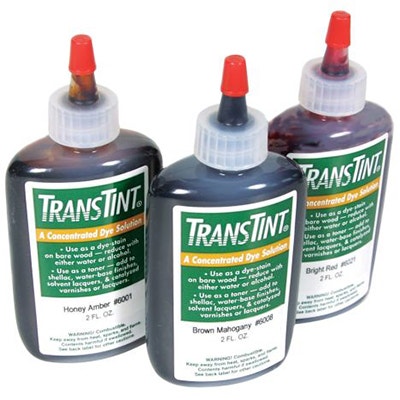
Concentrated NGRs, like TransTint Dyes are particularly useful for the hobbyist. They can be mixed with water or alcohol to produce about 1 quart of dye stain per ounce, and they are also exceptional for tinting a variety of wood finishes. Finally, oil-soluble dye toners should be mentioned. Oil-soluble dyes are found in premixed commercial oil-based stains, along with natural and synthetic pigments. The main advantage of keeping a few shades of oil soluble dye on hand is that it makes it easy to adjust the color of store bought oil stains, and to deepen their penetration into wood cells. Along with that, oil soluble dyes come in handy for adding a little color to almost any oil-based clear finish.
Getting the hang of enhancing the appearance of finished wood does take a little practice. Fortunately, you can experiment all you want with wood finishes for only a modest investment. The best way to become an expert in coloring and toning wood with pigment and dye stains is to arm yourself with an understanding of the basic principles involved and then experiment, experiment, experiment.


Keep the inspiration coming!
Subscribe to our newsletter for more woodworking tips and tricks