Video: Ultimate Router Table & Storage Cabinet
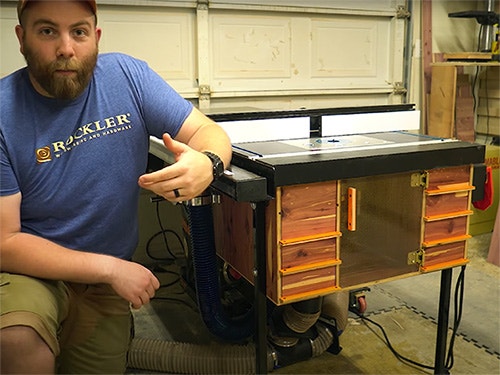
In this video, Paul Jackman designs and builds a table saw router table attachment with a storage cabinet.
Paul Jackman constructs a router table with aromatic cedar wood, making a versatile storage unit with a router lift and T-track.
You can find more great projects and techniques from Paul Jackman at his website.
Featured Tools:


Paul Jackman: Well, that was a lot of holes, glad to be done with that.
No, no, no, buddy. You're only halfway done.
Halfway?
Yes. All those holes need to be drilled the rest of the way with a quarter-inch bit, so it can hold a quarter-inch shank router bit.
I don't want to drill any more holes.
Come on, you lazy Millennial.
You're a Millennial.
Cut.
I think that was good. I think we can use that.
Yes, I think that'll work.
All right. Cool.
This dramatic moment brought to you by Rockler Woodworking & Hardware, the best woodworking store for dramatic results.
Hey, guys. Thanks for checking out this build. I've made plans for it and those are available on my website if you'd like to duplicate it or modify it and make something similar but I have to give a huge shoutout to Rockler for making this project possible. Not only do I have a bunch of the tools that really increase the efficiency of this whole setup, but I used a bunch of their tools to make it as well. Now, I will include a full list down below of every single Rockler material and tool that I used on this build so you can learn more about them. Now, for those of you who stuck around, I'm going to give a quick little tour of the entire setup and all the little details that are incorporated into the build.
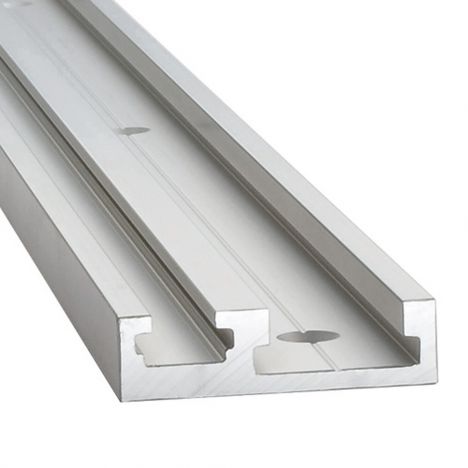
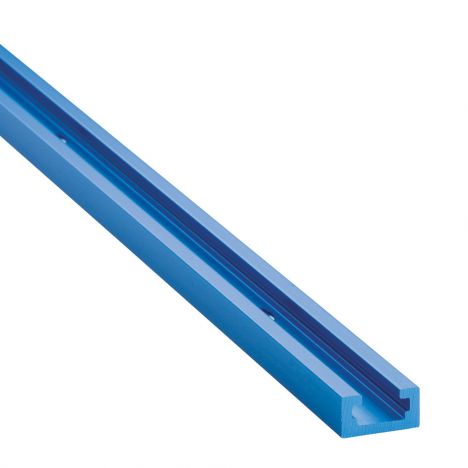
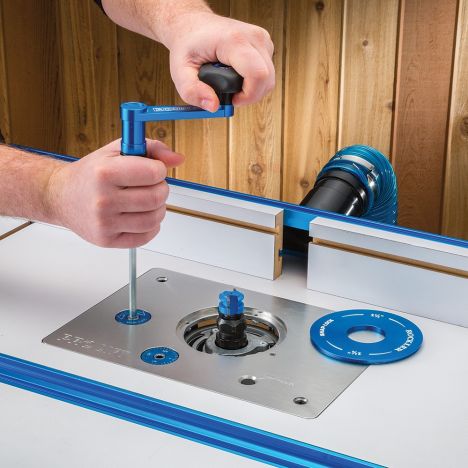
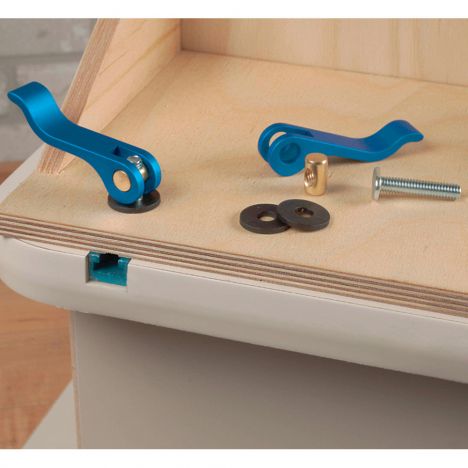
Now, something special that I did was create a notch in the wider T-track. Now, that allows the T-bolts for the fence to slide into the thinner T-track. Now, doing it this way meant I didn't have to cut the T-track short or make a keyhole slot like you might have seen on other router table set-ups. It doesn't really affect the functionality of it, but I think it's a cleaner look. Now, while I was doing all of this, I also upgraded the router lift itself from Rockler's FX to their newer Pro-Lift.
As far as installing the lift in the table, I cut that hole a couple of years ago when I got the older router lift. I actually used my CNC, so I mounted the entire extension wing in the CNC and cut that hole. The same thing could be achieved with a handheld router and a template. The whole cabinet is made from half-inch aromatic cedar PureBond plywood that I had leftover from the dresser build. Probably the most elegant thing in this shop, aside from myself.
The drawer bottoms are all made with quarter-inch plywood and those function as drawer bottoms, drawer slides, drawer pulls, and even drawer stops because of the orange PVC label that I attached to the front. The drawers at the top hold wrenches and feather boards, push blocks, things like that. Then, the lower drawers are holding router bits. Something pretty unique about those is each of the holes is drilled out for both half-inch and quarter-inch shank so they'll fit either size router bit.
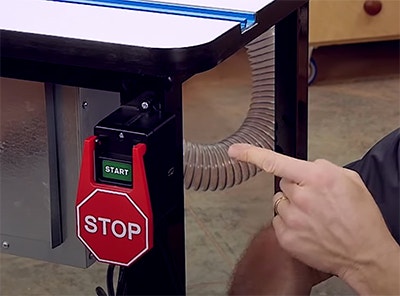
The door where the router lift is located is made out of an acrylic with an embedded wire mesh. Now, this is just a scrap piece that I got my hands on from Jimmy Diresta. It's mounted to the cabinet using some spring-loaded hinges that I dug out of the trash, so that holds the door shut. Now, the dust collection is combined between my table saw and router table with a couple of T fittings and blast gates to control it.
Then, all of this is connected to a single hose running back to my small dust collector in the corner. Now, this little unit is one of the things that allows me to keep from having any ductwork in the ceiling or walls of this entire shop. I think that's all of the excruciating details of this complete overkill of a build, but that's what we do around here. Thank you for watching. I'll see you next time.


Keep the inspiration coming!
Subscribe to our newsletter for more woodworking tips and tricks