Video: How to Turn a Slim Line Pen
Getting started in pen turning? Learn how to turn your first pen on the lathe along with what gadgets you may need.
Turning pens on a lathe is one of those addicting hobbies you come across in woodworking. David Picciuto talks about the basics for getting started in this fun and rewarding hobby.
You can find more great projects and techniques from David Picciuto at his website.
Featured Tools:
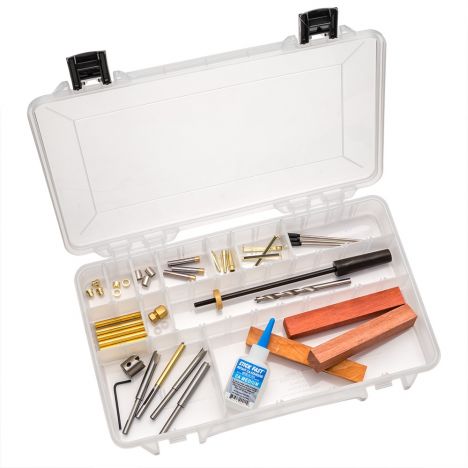

David Picciuto: Today, I'm going to show you how to turn your first pen on the lathe. There are a lot of gadgets out there for pen turning. Some you need, some you might not need, and we'll go over that at the end of the video. We're going to be using the slimline kit from Rockler, which is a great starting point for pen turning. At the end of the video, we'll go over a little bit more about the tools and the jigs that I used to make this pen. Let's begin.
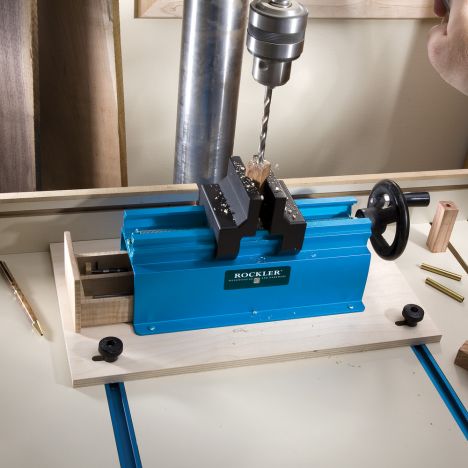
You'll need to start off with 3/4-inch square stock. If you don't have the tools to cut your own blanks, you can purchase them pre-cut. We'll grab the brass tubes from the kit and cut our blank slightly longer than the tubes. Now, you'll draw a perpendicular hole in each piece. This drilling jig from Rockler makes drilling these holes easier, but you can also use a hand screw clamp which we'll talk about at the end of the video. Mark your centerline and drill all the way through. Do this with both pieces. Next, you'll glue the brass tubes into the blanks with CA glue, otherwise known as Super Glue or Krazy Glue.
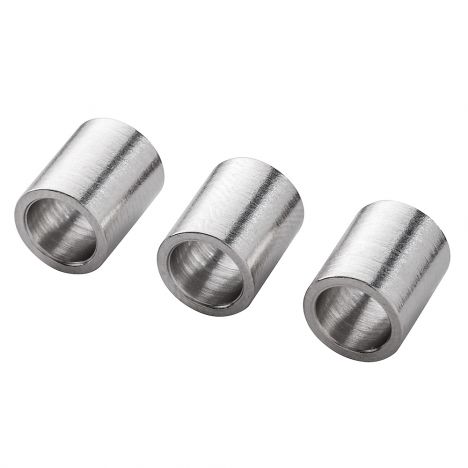
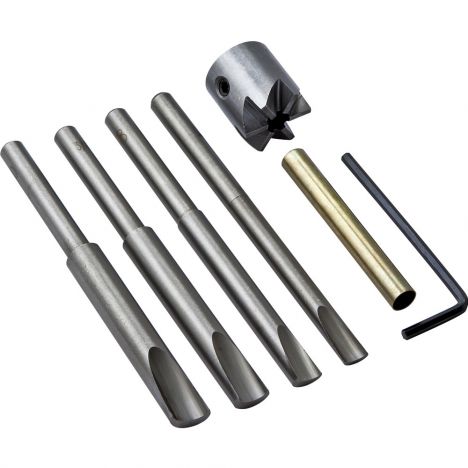
I'm roughing up the surface with sandpaper for a better hold. Just apply a bit of glue, twist it in, and let it sit a few minutes to dry. Now, you'll use a barrel cleaner pen mill in the drill press. This will clean out any glue that got into the tube and at the same time, square up and flush the ends with the brass tube. You'll want to drill all the way down until you see the brass tube. Repeat this on each end of both pieces. Next, you'll mount the pen mandrel in the lathe. Place a slimline bushing on each end and in between the blanks. Secure the tailstock and you're ready to start turning.
You can make the body any shaped you want, but I find a nice simple and slender look where it's best for the slimline pens. Be sure to turn each end of the blank to the same diameter as the bushings. Once you get the shape you want, you can begin sanding. Between each grit, I like to stop the lathe and sand with the grain to remove any scratches. Just like any project, there are a hundred ways to finish it. Choose the one that works best for you. You could use a polish made just for woodturning. Other alternatives include using CA glue and buffing it out for a high gloss.
I've also had success with spray lacquer or just using wax. Once you're done with the finishing process, you can remove the pieces from the lathe and start assembling your pen. Start with a clip and the cap and press that into the upper tube. Then you'll press the tip into the lower tube. Now, you'll press the twist mechanism into the other end of the lower tube. You need to be careful and not go past the indicator ring. If you go past this ring, it's nearly impossible to recover and you'll need to start over with a new kit. Now, you can slip on the center ring, thread the ink cartridge, and push the two assemblies together.
One of the things you saw me using in the video was this combination drill jig and pen press from Rockler. If you're only going to turn a couple pens, you could probably get away without using this. Instead, you could use a wood screw clamp to hold your piece vertical, just make sure it's square. Then you could use a quick clamp to press everything together. The problem with the quick clamps is it's hard to get that perfect amount of pressure when pressing the pens together. I've ruined a couple pens by doing this. It is a lot faster using a dedicated pen press. Once you make a couple pens, you'll find that the process is pretty darn easy and they're really quick to make.
Therefore, they make great gifts. You can turn a profit on them. The kits are really inexpensive. If you're going to batch out a bunch of pens, I highly suggest getting a pen press. It nearly eliminates air when assembling the pens, makes the process easier, makes the process go a lot faster. One of the things that I find necessary for pen turning is a pen mandrel. This is made just for pens, and you'll want to get the appropriate bushings that go with a slimline kit. For the slimline kits, you need a 7-millimeter drill bit. This one is made just for making pens. It's the same size as the brass tubes and has a brad point tip.
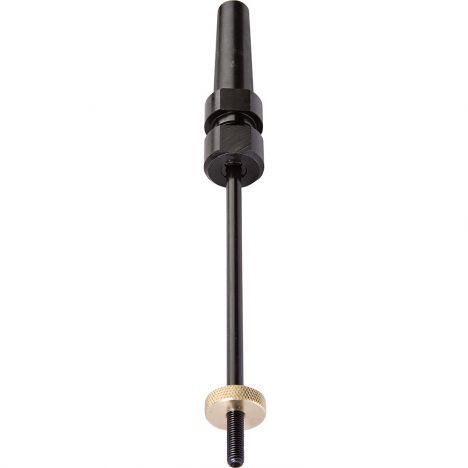
You saw me using the pen mill. This, you could probably get away without using it, but it makes life a lot easier. It cleans out any glue that might get into the tube, and then also squares up and flushes everything with the brass tube inside your pen blink. They're pretty inexpensive. I highly suggest, if you're going to turn, even if you're only going to turn a couple pens, I highly suggest getting one of these. It just makes life easier. One of the things not necessary is what's called the mandrel saver. Instead of having the mandrel butt up against the tail stock of your lathe, you can have the mandrel saver go over the mandrel and it butts up against the bushing and it has its own buried in here.
This spins, extending the life of your mandrel because you're not putting pressure on it causing it to bend. Well, thank you for watching. I hope this encourages you to get started in pen turning. Please subscribe as I put out new videos every week. As always, be safe, stay passionate, and make something.


Keep the inspiration coming!
Subscribe to our newsletter for more woodworking tips and tricks