Video: Retro Stereo Cabinet
In this video, David Picciuto tackles a retro cherry plywood stereo console.
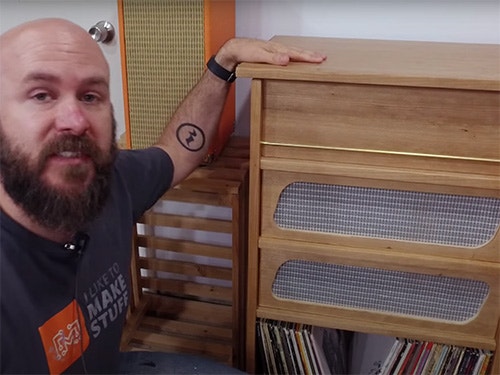
David Picciuto's stereo cabinet uses some basic butt joint construction done with loose tenons and made from cherry plywood. The turntable is enclosed with a hinged lid and the stereo component compartments have a removable grill cloth face to keep dust out but allow air circulation.
You can find more great projects and techniques from David Picciuto at his website.
Featured Tools:


David Picciuto: Welcome to Make Something with me David Picciuto. Today I'm going to show you how I made this stereo cabinet with an enclosed turntable. Let me show you how it's done.
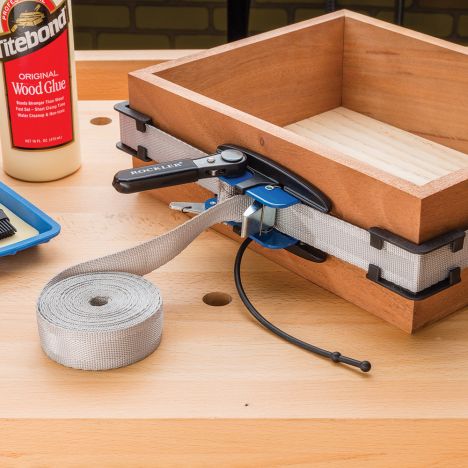
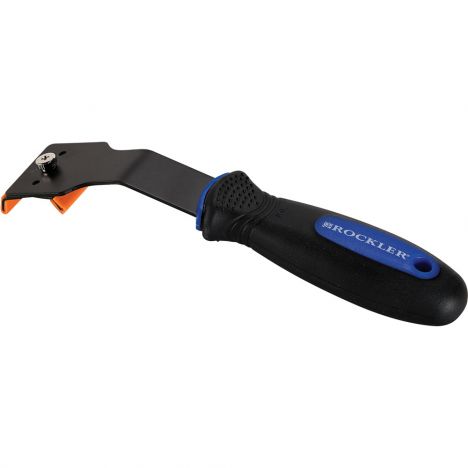
I start off by cutting all the pieces to the cabinet to width and length on the table saw. I'm using cherry plywood from Rockler. To cover up the exposed edges of the plywood, I'm making my own 3/16-inch edgebanding from solid cherry. I'll glue the edge banding to the front faces of the shelves using bandy clamps. Then cut the excess off with a flush trim saw. The edge bending was a bit wider than the board so I'm using a scraper to get it close to flush with the surface.
I then sand everything with 220 grit sandpaper before gluing up. I'm using this loose tenon machine to cut all the mortises for the joinery. This can easily be done using dowel joinery as well and I made a companion video if you want to see how that is done. I did pre-finish some of the boards before assembly and it turns out it wasn't necessary. Once all glued up I clamp everything together using these aluminum bar clamps and allow it to dry for a few hours, and then back to edge banding the face of the cabinet. For the front face of the turntable compartment, I'm routing a groove to accept a brass dowel inlay that is epoxied in.
This is just part of the visual flow of the cabinet. The front and back faces of the turntable compartment are dominoed and glued in. Looking back that should have been done during the initial cabinet glue-up. For the remaining front pieces, I'm resawing the faces in half to accept some grille core. I printed out the front grille pattern and cut it out on the bandsaw. I then transferred the shape to the remaining pieces, stacked and taped them, and cut them all out at once. I then closed the entry curve with some glue. I'm going to sandwich in some guitar amp grill cloth by stretching it out and gluing it directly on the face.
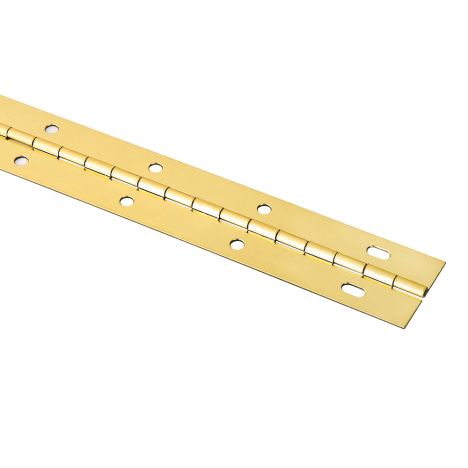
I'll put some weight on it and let it dry. Once dry I cut it from the table and glue it to the back panel and then cover the exposed plywood with some more edge banding. For the finish, I'm using three coats of Minwax spray lacquer. Before adding the lid, I'll add some rubber bumpers to the corners. The lid is attached with a simple piano hinge screwed into place. I have it temporarily set with painter's tape. I'm drilling a hole in the back of the turntable compartment to allow the cables to go through. The front faces are inset and attached using velcro on these half-inch studs glued inside. In the future, I may add a couple of chains to allow the face to hang when detached.
This cabinet is going to live in my basement where my dusty shop is and so that's why I wanted the turntable enclosed. Its design is loosely based off this old silvertone cabinet I found at an antique store. Because I'm taking off for a trip, I ran out of time for a couple of final details. I want to add some brass poles to the grille faces here and a lid support for when changing records. I also want to add grill cloth to the back to keep the dust out but still allow airflow through the different compartments. If I was going to do this over I would probably make the grill faces out of solid cherry because the exposed edges of the plywood show through here.
I'd like to thank Rockler Woodworking and Hardware for supporting what I do in sponsoring this video. Most of the tools and supplies used for the stereo cabinet can be found at rockler.com, including the cherry plywood that I used here. Thank you for watching, you can find plans for the stereo cabinet on my website at makesomething.tv as well as for these stereo speakers and these crates made out of two-by-fours. Be sure to subscribe to my YouYube channel to be notified of new videos every week. As always, be safe, stay passionate and make something.


Keep the inspiration coming!
Subscribe to our newsletter for more woodworking tips and tricks