Video: Restoring an Old Rocking Chair
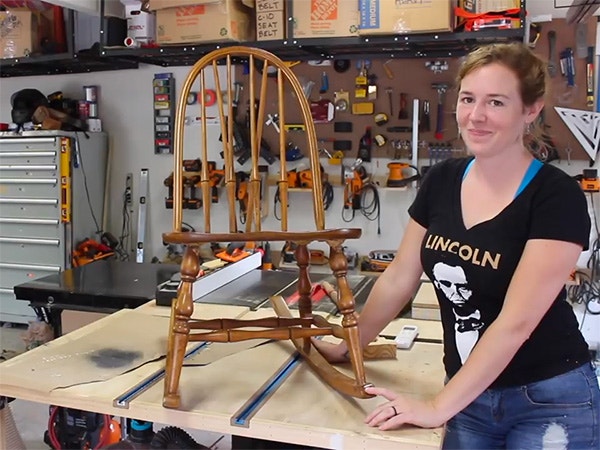
In this video, April Wilkerson fixes and refinishes an old rocking chair that has seen better days.
This rocking chair means a lot to April Wilkerson and her mom, so the care and hard work that came with restoring it were worthwhile. Watch April bring this family heirloom back to life.
You can find more great projects and techniques from April Wilkerson at his website.
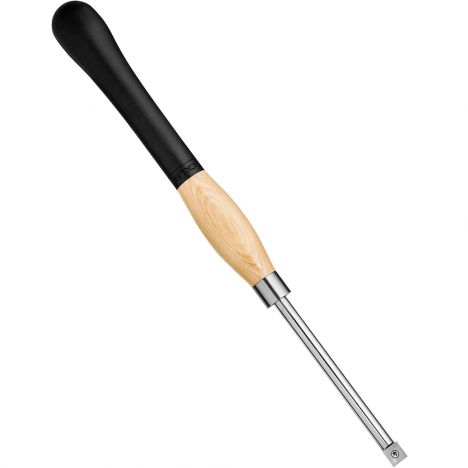
Featured Tools:


April Wilkerson I'm going to be doing a refinishing project which is pretty new territory for me, but this rocking chair is very near and dear to my mom and she has asked me to show it a little bit of attention. The chair suffered a couple of injuries over the years but nonetheless, it's an important piece to my mom. While breaking it down, she dropped in to share the history of the chair.
Mrs. Wilkerson: A It's so cool that you're working on this. My dad who worked at a furniture store in the warehouse as the manager. My mom was expecting so he bought her this rocking chair, your grandpa. She rocked all six of us kids in it as we came along. Then when you and Aaron came along, I rocked you all in it.
April: When did dad buy this, or granddad buy this?
Mom: 1950.
April: 1950?
Mom: Yes, but it was a gift of love because he surprised her with it, he came home with it. This rocking chair is just priceless to me.
April: I didn't see any great way of getting the broken spindle out, and since it's going to be trash anyways I decided to just cut it out using my Japanese pull saw. Later, I'll turn a spindle to replace this one. I also have to replace the two-tenths I cut off those two horizontal pieces. Once I had the entire chair disassembled, I started on a very laborious task of sanding all of the pieces down. I hand-sanded the back spindle since they have a very consistent and easy profile, but then for items like the back arch and the seat, I would clamp the piece down using the t-tracks on my outfeed table and then use a palm sander.
Then other times I would clamp the item in my SuperJaws in order to easily sand it. For the spindles, I would also clamp them in my SuperJaws then use these contour sanding grips that Rockler makes in order to get into all the nook and crannies.
Between all of those different sanding options, I was able to get to all of the areas except for these tiny little creases in the back arch. I clamped it down and then used a chisel just to barely scrape off the finish. Some of the pieces had broken dowels that I needed to take care of, and for this, I used a chisel. Just wholly break up the dowel and clean out the hole. Whenever it came time to clean up the tenons on all of the spindles, I pulled out my belt sander and very carefully removed all the glue and buildup from all of the tenons.
Some of the tenons actually broke away their outer layer when I was disassembling the spindles. To build these back up to match the others, I grabbed a dowel the size needed and drilled a hole in the center. I could then glue this collar, if you will, around the thinner tenon to build it back up to size. I was actually really surprised on how well this worked. I essentially did the same thing for the items that had a tenon that was just too far gone.
I cut it off and then drilled a hole in the center, slowly working my way up to the largest diameter that I could possibly get, which in this case was half an inch. I could then glue in a half-inch dowel. I let that dry but since I still needed the tenon to be thicker, I grabbed a larger-sized dowel, drilled a half-inch hole in the center, and then glued it into place as a collar.
With all of those tenons drying, I then moved over my lathe to start replicating the spindle, which, let me tell you, was pretty hard work. I first practiced making the shape about seven times in pine before trying my hand at turning it in oak, which I believe is what the chair is made from. You can see that I've placed the spindle on top of my desk collector so that I could be referencing it, looking at it, as I was turning the new one just to try to match it as much as possible. It's actually been quite a while since I've turned anything but I was still very pleased with the way that this came out.
Well, still at the lathe, I checked up the spindle and worked down that tenon to the exact diameter that it needed to be because whenever I made that collar, the only dowel that I had on hand was just slightly larger than what I needed. Next, I took my new made spindle over to the drill press and used a Forstner bit to drill in the two mortices that those two horizontal railings will connect to.
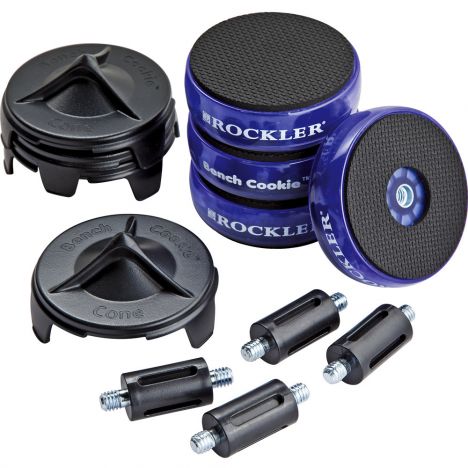
Now it's on to the finish. To make this a little bit easier, I grabbed some scrap material and drilled some holes in it to hold all the spindles. Then, of course, I pulled out my bench cookies in order to hold my seat. I started the finishing process off with the Minwax Pre-Stain Wood Conditioner. What this stuff does is just make the stain go in a little bit more evenly.
After getting that applied, I moved on to a stain which I let my mom pick out and she chose the color provincial, which I think is a little bit darker than the original chair but I still think it suits the chair very well. After putting on a coat of stain and letting that dry, I then applied three coats of Minwax Wipe-On Poly. I've just recently adopted the practice of using a cut-up t-shirt in order to apply my finish and I'm really happy with the way that it comes out.
I will tell you right now that there is nothing about this project that was quick or easy. Big high five to all of you out there who restore furniture for a living. For the reassembly, I'm using hide glue in almost every single joint. Whenever I got the base assembled, I did put the seat in place, however, it was just dry-fitted into place so I could make sure that those spindles were at the correct angle.
Then I resorted to using my good old ratchet straps to hold everything in place while that glue set up. Once it was dry, I then glued on the bottom, however, for these four joints, I chose to use two-part epoxy just to ensure a really good bond and connection. After once again letting that set, then I flipped it over and completed the assembly process by putting in the back arch and all of those spindles, once again going back to using hide glue here.
You'll notice at the beginning that I labeled everything while I was disassembling it. Since I hadn't removed the tape, I transferred the markings to the bottom of the dowel. Even though it seems like a simple task, this was also a very big challenge getting everything in its place all at the same time. Be good, everybody just be good. It's very nerve-wracking.


Keep the inspiration coming!
Subscribe to our newsletter for more woodworking tips and tricks