Video: Organizing a Crafting Workbench
In this video, Michael Alm helps organize a workbench by adding tool holders, drawers and more.
Michael Alm improves on a workbench project by adding several tool holders. He also built some patterned plywood drawers, installed a work light and installed drawer dividers.
You can find more great projects and techniques from Michael Alm at his website.
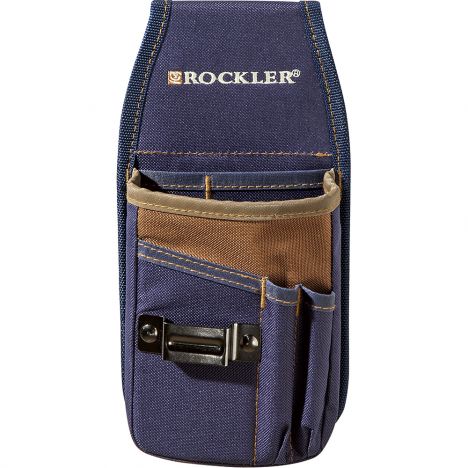
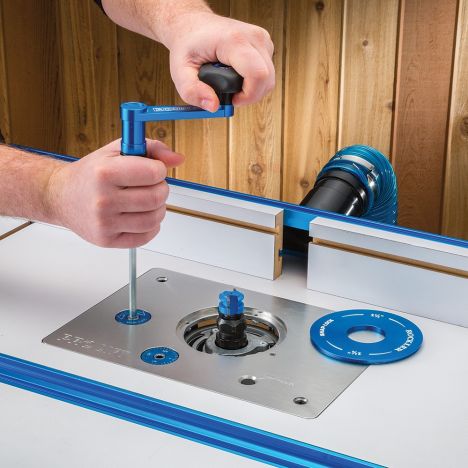
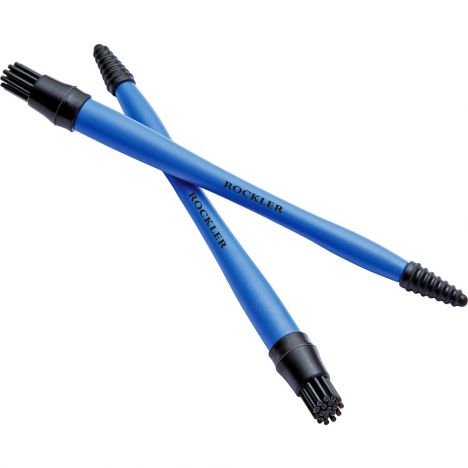
Featured Tools:
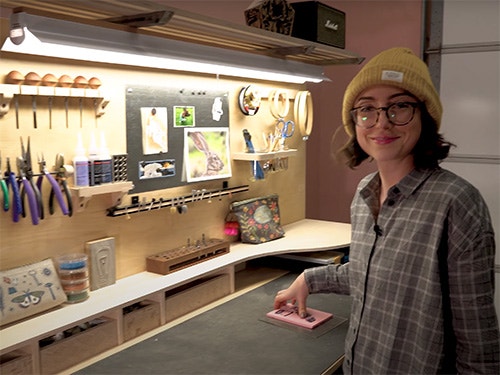
Michael Alm: Hey, everyone. Michael Alm here. This week I'm back working on Ashley's workbench. We've done two videos so far; one on building the workbench itself, one on building the drawers for the workbench. This one is going to cover the organizers. I know that Ashley is going to be using her laptop on this workbench a lot for reference and to watch movies while she works and so I figured it'd be good to build a riser for it. This will also give me space to add a couple more drawers, and it'll lift the laptop up off of the surface of the table so it won't get into any harm.
Whenever I'm designing something like this cardboard is such a great tool. It's great for making my cuts. It's really quick to rough out designs. This was great because I could bring Ashley in, have her take a look at it, and make sure that she liked the shape of it before I committed to making it out of plywood.
What do you think?
Ashley Looks great.
Michael: About right?
Ashley: Yes. That's perfect.
Michael: Does this seem about right, 6 inches right here?
Ashley: Yes, I think that's perfect.
Michael: It's just enough but it doesn't get in your way.
Ashley: Yes, this is great. I think this is nice because I still have space here to show off my nails.
Michael: I'm making our plywood now. With Ashley's seal of approval, I could start making it for real. Since I just drew this by hand, I didn't want to rely completely on it but it was a good starting point. What I did was I used an ice pick and found the center of the circle and then just used the string to make a perfect arc.
With the top all sanded up, I could start making the dividers for the riser. I'm making a back panel out of quarter-inch and then these dividers out of half-inch. I cut all those down to size but I needed one for the longer end. For that, I wanted to match the curve. You don't really have to cut it on a curve. At this point, it's just really an angle, so I'll use my angle finder, set my table saw blade to that angle, and then I can cut it with my Rockler miter gauge.
Since this is just a workbench, I thought I'd take it easy on myself and just nail the back on. You could recess this back if you wanted to hide the plywood but there's so much exposed edge green plywood on this build anyway, I figured why not.
For the center section, I wanted to add some drawers and so I just picked the spot where the curve ended and nailed in another block there, making sure that it's really nice and square. It's pretty important because I'm just going to have some free-floating drawers in here. For the drawer fronts, I'm going to be using some pattern plywood that I have in the shop from previous projects. Pattern plywood is great for this sort of thing, little accents and stuff.
If you're not familiar with pattern plywood, welcome to my channel, I have a whole bunch of videos on the subject. I have four different tutorials on the different styles of patterns that you can make and I'll link them down below. They're not as complex as they look. They're way easier to make than you'd think. I've tried to make it as easy as possible for people to learn how.
Making four drawers here and I set the first three just to the width of the plywood that I already had and then I'm cutting this last one down to fit. I cut a little extra off of that last panel just to make sure that I had a 16th-inch gap between the drawer and the compartment. I'm going to use the drawer front and a 16th-inch handy shim to space out each compartment and then glued and nailed the dividers into place.
While the dividers were drying, I went over to the router table to route out the sides of the drawer fronts. I wanted to do a little rabbeted edge but as you could see, the router was not kind to me. It did not like this pattern plywood and it tore out the edges and it ripped out whole corners. You see, this was the second one and this whole side is gone now. [chuckles] It's okay. I was able to fix it. For the next two, I went over to the table saw and I cut the rabbets on the table saw.
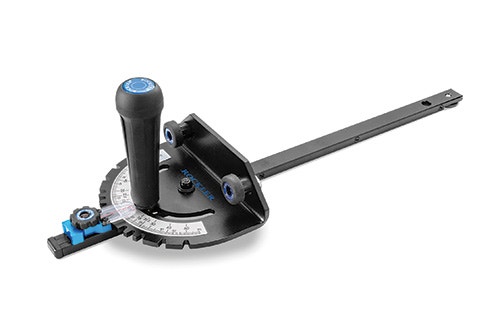
In my last video, I showed these setup bars and people asked me a whole bunch about them. It is a Rockler product. I'll link it down below. They're the Rockler precision setup bars. After getting my table saw blade set up to the correct height, I was able to cut this. It wasn't perfect, it still tore out a little bit but it was way gentler than using the router table. To repair the broken pattern plywood pieces, I reached into my bin of excess pattern plywood. I keep this for this exact reason because it has a tendency to chip out if you're not careful. Like I said, it's not that hard to repair and I'm going to show you how.
For the one that I cut at the table saw, you can see this corner just got lopped off and for that, I just took one of my hex pattern plywood pieces and use a chisel to cut off a corner that was big enough to handle but small enough that it wouldn't be too much trimming. When it came to the ones where they lost a full corner, what I did was I used my chisel and I carved back to where the pattern started. I then took an excess piece of patterned plywood over the bandsaw and I ripped it slightly larger than I needed. I don't want to have to remove a ton of material. Then once it was to thickness, I could just glue them back into place.
To finish off the drawers, I'm making the drawer sides and bottoms. This is just out of half-inch plywood that I had left over from the rest of the build. Now you can see why I made those rabbets. this just slots right into place. It's a super simple way to make a drawer, barring the explosion of the pattern plywood. If you were to make one like this without the pattern plywood, it would be a snap.
When I originally designed the workbench, I designed this top shelf and by the time I finished it, I didn't have a full panel to go on top of it, and I still don't, but I actually think that this is a much cooler solution. I cut what scraps I had left down into individual strips and then I was able to make this old-school roof rack-looking thing.
Another use for those steel bars is to hang a work light. I quickly fabricated this piece out of scrap, and it's just enough to get a couple of screws in so that the work light has a place to hang. I really like having this above my working space just set a little bit in front of my eyes. It seems to light things up pretty well. I think Ashley will like it.
Another feature that I'm going to be stealing from my workbench is this. It's just a piece of sheet metal that I'm screwing to the back panel. This is great for hanging up inspirational images, templates, drawings, whatever you need for whatever project you're working on, just hanging them up with magnets.
Speaking of magnets, I also picked up a magnetic tool holder for Ashley's workbench. These are great for Dremel bits or, carving tools, whatever you like. There's a lot of things that this can be used for. One thing that I don't like about them is they always put this cheap tape over the top of them. I've done this trick before on another project but I really like it. I just take a piece of double-stick tape and add a piece of wood veneer to it, and it gives it a much classier look.
The next thing to organize is Ashley's hand tools. She said, specifically, that she wanted a nice place to put these gouges for printmaking. She does a lot of lino block printing, and she's hoping to do even more of it with the new workbench. I thought I'd make her a super classy one out of ashwood.
Again, I wanted to make this really special for Ashley and I decided to fancy it up with this corbel, I think, is the term. I think it's called the corbel. It's a support block from underneath, but it's got some fancy curves to it.
To give the corbel a little bit more strength. I decided to dado out the organizer. This just adds a bit more glue surface so when you glue it up, it'll be nice and strong. It might not be completely necessary for something this small, but it also looks really nice. For a cut like this, I like to use my crosscut sled and just sneak up on it, gradually getting that fit closer and closer, and eventually, the corbel will slot right in.
Another function of the corbel is that it gives me a spot to anchor it to the wall. I just quickly drilled out some countersink holes, and it's ready to go. Before I hang up that section onto the wall, I wanted to make sure and get a few more of the organizers under my belt. I did a few different designs, as you could see from all the templates on the table. I arrived at this one. I'm going to be using this for two different style holders. One's for hammers and one's for pliers.
There are a lot of similar steps to making all these tool holders. You essentially use a template, cut it out on the bandsaw, and then sand it down with the sander. One thing is that I do design this around my sander to make sure that the curve isn't smaller than my sander. Another thing is to get that hole in the exact center point. I just use my template along with the brad point bit that I'm going to be using to drill out the hole and I can tap it in and get a mark in the exact right position.
Both of these tool holders are made pretty much the same way, but I didn't cover the hammer one because it fails. You'll see that in a minute but one thing that I need for both of them are some steel rods, and I cut those on my porta band.
I definitely should have done a dry fit earlier in the build process than this because what I did wrong, I measured the hammers off of the width of the neck, but not the base. When I tried to fit the first one in it, it fit just fine, but the second one, it didn't fit at all, not in any way whatsoever. [chuckles] What I did instead was just used what I had and I tore off one of the sides and then I actually figured that might work on its own. Both of the hammers fit just fine and so all I had to do was adapt that to a somewhat new design. I just ended up using the same parts, drilled out some countersunk holes, cut it down to fit, and sanded it up.
I was a little concerned that the hammers might fall with vibration and stuff so I took the two metal rods that I had and used a pipe as a lever arm and bent them slightly on the end. The last thing to do on the hammer holder is to glue the rods into place. For this, I'm just going to use five-minute epoxy.
With the number of organizers made, I felt comfortable screwing in some to the actual back wall. I talked with Ashley about where she wanted things approximately, and we sort of decided where it makes the most sense. I feel like these will move, they'll change, we'll replace ones just depending on what she's working on and what she needs. There's nothing precious about this. I know it's looking like I'm making things nice and perfect, but the hope is that, as her collection grows, as things change, you can just unscrew these from the wall and screw new ones in or shift them around as you need.
Once I mounted those three tool holders, it became apparent that I had a little extra space to work in. For that, I decided to make a little 6x2-inch shelf that I don't know what Ashley's going to use it for, but I'm sure she'll find something to put on it. This is made exactly the same way as the chisel holder. The only difference is I put a little bit of a lip on the front edge and I didn't add any holes to it. It's basically just a rinse and repeat, and it shows that you can make all sorts of different organizers using this same exact technique.
That's the left side done. Now, I'm going to move over to the right-hand side and Ashley requested a spot to keep her embroidery hoops. This is a really simple one. It's basically a block of wood with a bunch of dowels in it, but sometimes the simple solutions are the best solutions.
The last back panel organizer I'm going to build is for Ashley's paintbrushes and odds and ends. She's got some sculpting tools and things like that. Great way to store those is in mason jars and so I'm going to make a little mason jar holster. If you're using a big hole saw like this on your drill press, just be careful. You can tell I'm gripping pretty hard on this one. You can clamp it down if you need to. Just take your time.
At this point, I decided I had made enough corbels so I just countersunk the holes through the holes for the mason jars. Then all I had to do was connect it to the back panel and it was ready to go.
There's still a couple more odds and ends to do on this workbench. While I installed this divider into this side cabinet, I wanted to mention that this workbench has complete plans on my website. As I mentioned before, there are two other videos on this project and there's also a 25-page step-by-step guide in both metric and imperial on how to build this for your own workshop. Go check it out. It's almfab.com/plans. I'm really proud of this design and I've put a lot of effort into making the plans DIY-friendly. There's an option to make the workbench entirely out of wood so if you don't have a welder, you can totally build this. If you do make this workbench, please let me know. I would love to hear about it. Hit me up on Instagram. You can also use the hashtag #fabworkbench.
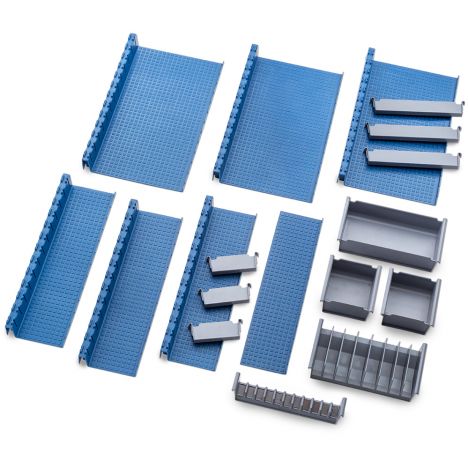
The next thing I'm going to organize is Ashley's drawers. I picked up some of the Lock Align Rockler. This stuff is great to quickly organize your drawers, set it up, and you can change it super easily which is really cool. Basically, all I'm going to do is I'm going to put these into place in the drawers for Ashley, and then she can go through and arrange them as she needs.
I swear, I didn't plan this at all but these fit perfectly into these drawers. If they don't fit, you can cut them down to size, but as you can see, they clip into place super easily. They're a really quick way to organize your drawers. Last and definitely not least is power. You got to have power when you're working at a workbench and I decided to conceal it back in here. It must made a lot of sense and it will be close to the computer. You can put a computer charger in there. I just made a mark on the underside of the riser, and then I can bring it into the shop and drill a hole on it.
To keep the riser from moving around I just put a couple of screws in each corner and that was enough to stabilize it. Then the last thing to do on the power strip is just to connect it to the back. There wasn't a good mounting method with this power strip, but I found that just using some sticky back Velcro was a simple solution. Now after more than a month of designing and building and organizing this workbench, it's all done and Ashley can move in. What do you think of it?
Ashley: It's great. I'm so excited.
Michael: Yes?
Ashley: Yes.
Michael: Ashley, can you take me on a tour?
Ashley: Yes. I'm trying to figure it out, but I'm thinking watercolors and gouache up here so it's easily accessible and I can just dump it out. Then top drawer, beading stuff, and a little bit of accessories. Next drawer, jewelry making stuff and all the little eye pins and things like that. Then I have this as a screen-printing drawer, but I think it'll possibly become embroidery. Dremel, more screen-printing, other stuff. The rest, I'm still trying to figure out.
Michael: Cool. Do you like it?
Ashley: I love it. Winston, what do you think? So good? Come here. There you go. Come on. Yes, sit there. Oh, good boy.


Keep the inspiration coming!
Subscribe to our newsletter for more woodworking tips and tricks