Video: Making a Walking Cane

In this video, April Wilkerson makes a walking cane using walnut, paduak and oak.
With her dad recovering from knee surgery, April Wilkerson decided to make him a walking cane. But rather than turning one on a lathe, she used scrap walnut, paduak and an oak core to create a unique and special piece.
You can find more great projects and techniques from April Wilkerson at her website.
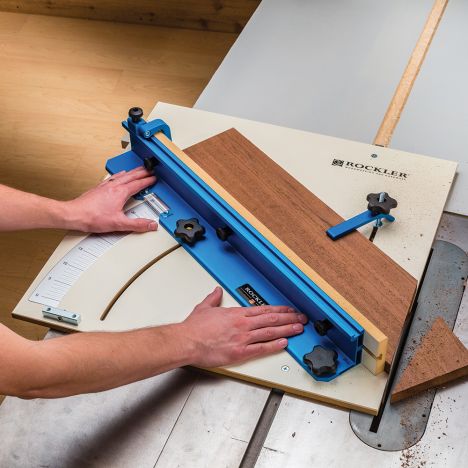
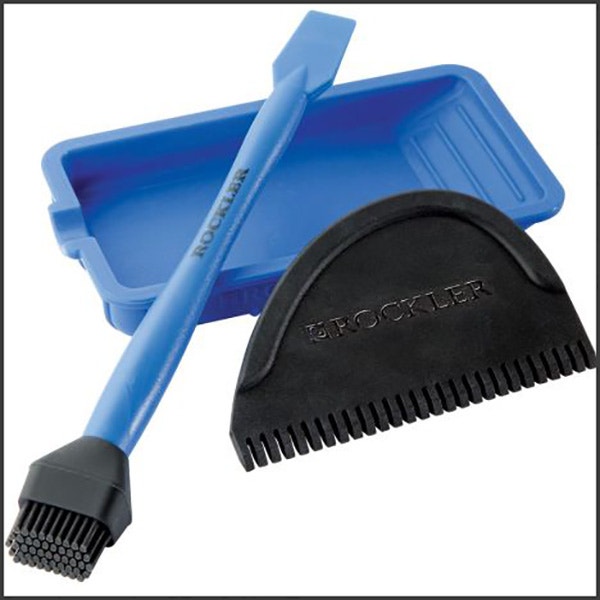
Featured Tools:


April Wilkerson: For the last little while, my dad has been using a regular stick that he found as a walking stick. My dad never asked me for anything. When he asked me if I could make him a nicer looking walking stick, I, of course, said yes immediately. Looking at my lumber rack, I decided to make his walking stick from the walnut strips I had left over from making my kitchen table top.
It would be very simple to make a cane using a lathe. However, at the time of making this video, I had not yet unpacked all of my turning accessories. So I decided to take a much different approach and not use a lathe at all. Instead, I decided to cut multiple round plugs or little round segments, stack them on top of one another, and then attach them using a dowel. However, I didn't want to cut through the face grain, because then when assembled, the ingrain would be exposed. Instead, I wanted to go through the end grain so the face grain would be exposed.
Since the scraps I was using were too thin, I ended up gluing them together to thicken them up just slightly larger than the diameter of the hole saw bit I would be using. Instead of pulling out every single clamp I own to do all of these glue-ups, I instead stacked all of my blanks next to one another, then use my SuperJaws as one massive clamp. I then decided to glue a padauk blank up as well, so that I can have some accent to the walnut.
After letting all of that set overnight, I then used my crosscut sled to cut the blanks into one-inch pieces. The reason I did this is because I wanted the grain orientation to be vertical on all of my segments, but I can only make the segments as tall as my hole saw bit can go down.
While making all of these cuts, I was very careful to keep the order in which they were cut. That way I can try to have a continuous grain, especially since there's such dark and light contrast in these blanks.
When it came time to start drilling out the round segments, I made a very quick jig out of some scraps, make holding the block easier and safer. I tried two different methods for drilling these. First, with the hole saw, and then second, with a plug bit. I can tell you right now that it was much easier and much more consistent using a hole saw. The only downside to the hole saw is how much of a pain in the butt it is to try to get the plug out once you cut it. Thankfully, somebody sent me a tip and told me not to go all the way through the wood, but instead to stop a 16th or 8th inch above the bottom. Then take it to the bandsaw and cut off that bottom, and then the plugs just pop right out.
Now the hole saw only has a quarter-inch center hole, which in my opinion was too small, because I wanted to have a dowel go through the center. To open all of these up, I attached a vise to my drill press, held the segment loosely, all lowering down the quill. The drill bit will automatically find center on the existing quarter-inch hole. I would get the end in or dimple started, then tighten down on the vise and continue the cut until I had a large hole all the way through. This method actually worked like a champ.
After getting the inside diameter opened up, I could then start assembling the cane. I originally thought to glue together about 12-inch segments on a piece of all thread, then use a nut and bolt in order to act as a clamp for those individual segments. However, that didn't work out good at all. Gluing up the segments was easy, however, whenever I tried to apply glue to the center dowel and then put the dowel in the segments, it created a suction toward the dowel. It would not go in further than an inch, and I also could not remove the dowel. So I ended up scrapping that and starting all over.
To prevent that suction from happening, I took a trick from Jimmy DiResta's channel. He has a video showing how to cut a spiral on a dowel using a table saw. What the spiral will do is allow that glue somewhere to go so that it won't create that suction and lock it into place. It's a pretty cool trick, if you ask me, and more importantly than it being cool, it actually worked. Something to note if you plan on making one, I would recommend going with an oak dowel like I did versus a pine, just because it's stronger. Now before assembling it, I did turn my belt sander upside down and just very lightly go over the dowel and take off some of the diameter.
Then I started assembling once again. On this go around, I drilled a hole in a scrap piece of wood, and this hole is larger than the diameter of the dowel but smaller than the diameter of the segments. You can see here that I stuck it in my SuperJaws so that I could have a way to very easily hammer these segments into place.
After getting about a foot or so assembled, I would set them in my clamps and let them dry. After letting it dry for about an hour, I repeated the process until the entire cane was assembled. While all of the segments were drying, I started working on the handle of the cane, which I decided to make from padauk and a small layer of walnut.
I found this cane handle template online. I cut it out and traced it on my blank. I will leave you a link to the template in the description. I cut it out of my bandsaw, then spent some time at the spindle sander to clean it up. I then moved over to the belt sander to refine the shape of the overall handle, making it much thinner than it was, and also rounding it over so it fits in the hand nicely.
When it came time to attach it to the cane, I marked off how deep I needed to drill the hole into the handle, and also, where to cut the excess dowel off to. It would have been much smarter to drill this hole whenever it was still a square blank, because by cutting the handle out first, I had to chuck it up on one side to level it out so that I would get a nice straight hole. I then glued the handle in place and set it in clamps to dry.
Wait, there's more, more sanding. This project was a lot of sanding. I once again went back to the belt sander to take out the larger inconsistencies, but then I stuck it in my SuperJaws and use my palm sander to do the detail and refinement sanding. I also found out that the palm sander was the best way to massage that transition from the handle diameter to the body diameter.
After getting everything exactly the way I wanted it, I then applied three coats of white bond poly, and ooohhh, does that padauk look pretty. Now, try as I might, I was not able to get a consistent grain the entire length of the body, which I found disappointing, but my dad's calling it character, because he's sweet.
This was a much more challenging project than what I was originally anticipating, but it was definitely a fun one. If I was going to do it for a third time, I would pick out a piece of walnut that I can make the entire cane from. That way, I go to have continuous grain the entire length, and I would make sure that it was the dark walnut instead of this blond walnut, just because I like the contrast better with padauk. Either way, I think my dad is going to get plenty of use out of this.
I hope that you enjoyed coming along in the learning process. I will see you on whatever it is I'm building next.
April's Mom: It is beautiful.
April: Thanks, mama.
April's Mom: I want a cane.
April: Mama, you don't need a cane.
April's Mom: You can make mine with a sword in it, and I could pull it out.
April's Dad: Do not make her one with a sword in it.
April: No, I don't think that's a good idea, at all.


Keep the inspiration coming!
Subscribe to our newsletter for more woodworking tips and tricks