Video: Make a Folding T-Track Table
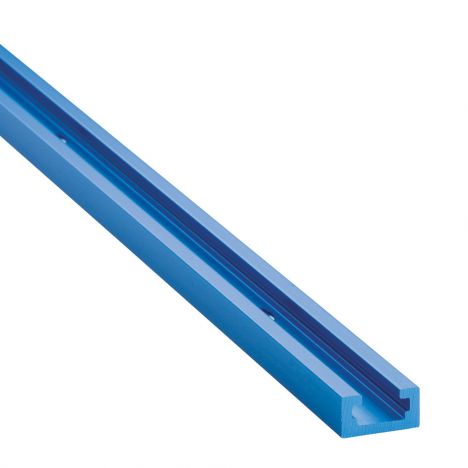
In this video, April Wilkerson creates a space-saving worktable for her garage using Rockler T-tracks.
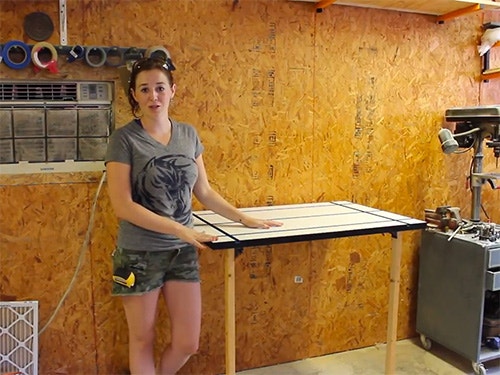
Need to save some space in your garage or workshop? This simple folding T-track table will give you a fully featured worksurface in a small area. April Wilkerson shows you how.
You can find more great projects and techniques from April Wilkerson at her website.
Featured Tools:
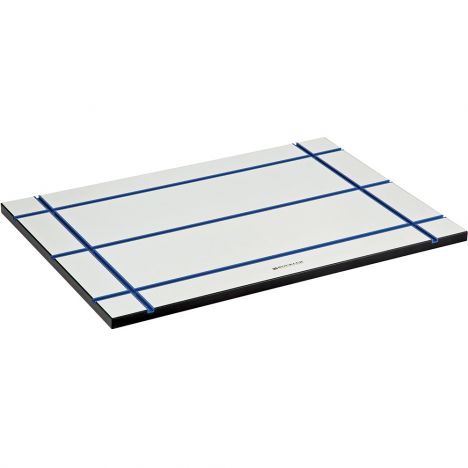
April Wilkerson: Yet another shop project. Rockler sent me this awesome T-track tabletop, and I think I've decided on turning it into another folding workbench. Unlike the last folding workbench that I did that folds up into the wall, I think I'm going to make this one fold down. If you're interested in seeing how I do it, then stick around. I'm using some one-by scraps that I had for this project. I started by cutting the size of the legs at the miter saw and table saw. Then I use pocket holes and glue to join them together.
My third process is the legs will fold in and the workbench will fold down on top of them. To create that folding action, I attach two hinges, one near the top and one near the bottom. I started attaching them to the wall. However, since my floor and walls are not exactly square to one another, they would not fully extend without me having to force them.
To fix this, I cut down the feet a few inches at the miter saw, making sure to use a stop block so that the feet were the same length. Then I took some scrap cut-offs and attached them to both feet to thicken up the material. This way, I could turn it upside down and attach casters to the bottom. Then I started attaching it to the wall once again and I use some scrap cut-offs to act as shims to square these up to the wall.
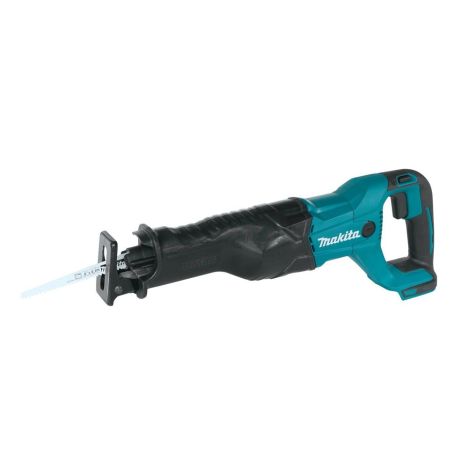
Next, I grabbed the piano hinge and use my reciprocating saws to cut it to size. I haven't purchased any files for my shop, I don't know why. I just use sandpaper to smooth over the edges. Then I started attaching the hinge to the tabletop. Now, the tabletop is heavy, so instead of using the screws that came with a hinge, I upgraded to a larger screw. Then I attached the board to the wall, making sure to put it in all the studs.
I'll use this to attach the other portion of the hinge too. I set the workbench into place and crawled underneath and attached it with the screws. However, again, I didn't use the screws that came with the hinge, I upgraded them to something larger. Now what I needed to do was add some spacers so that the tabletop would actually sit level. I decided to do this by taking some thicker material and using my table saw to cut in that channel, leaving a lip on both sides. I set the spacers in place and made sure that they made the tabletop level.
Then I went underneath and took a sharpie and just made three little marks so that I would be able to flip the tabletop up and attach them a little bit easier. However, I ran into a problem when I tried to fold it down, that inside lip I left on the spacers ended up running into the legs. I decided to cut off the inside ones, and I was worried that this meant the legs would be able to easily be kicked out. I gave him a few kicks, light kicks, but they still didn't feel like they were going to be going anywhere, so I'm not worried about it.
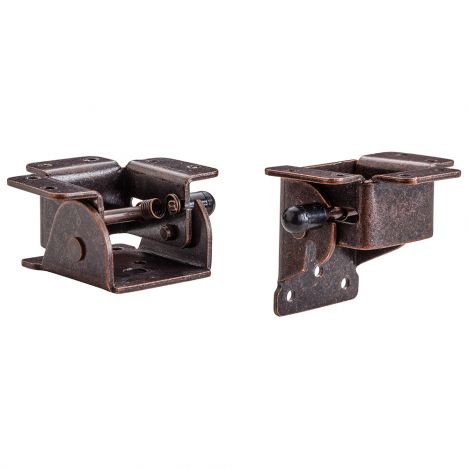
I was worried about this front portion, there's a little bit too much workbench unsupported. At this point, I decided to completely change directions and I cut some legs then use some folding leg brackets from rockler.com, to attach to the front. Now I pretty much disassembled everything I had done up to this point, taking off the bat folding legs, the spacers, and now that the workbench doesn't have any support in the back, I even took the tabletop off so I could upgrade the board attached to the studs. Not only is this route a lot easier to build, but it's also a lot more secure feeling. When I'm not using this I can fold in the legs and lower it down, reducing 30 inches to just 4 and 1/2.
However, when I do want to use it, I can lift it up and then just lower the legs. Now, I hated to let all those other pieces go to waste, so I found a scrap board that was the correct depth and I just set it all up on the other side of my shop. This is another option for a folding workbench. However, the depth of the tabletop can only be around 20 inches, but that's fine for me. I personally plan on putting my shop fan over here. I should have definitely dusted that off before starting it.
Okay, man, so now I have three different workbenches, folding workbenches in my shop. If you're interested in any three, then, of course, I have those tutorials on my website. You can check it out wilkerdos.com. Now the reason I specifically wanted this one to fold down is because I want to move it underneath this window unit. However, first, I'd figure out how to safely extend this power cord without creating some fire hazard, so eventually, I'll move it over there.


Keep the inspiration coming!
Subscribe to our newsletter for more woodworking tips and tricks