Video: How to Build a Picnic Table
In this video, April Wilkerson upgrades a picnic table to a new piece with detachable benches..
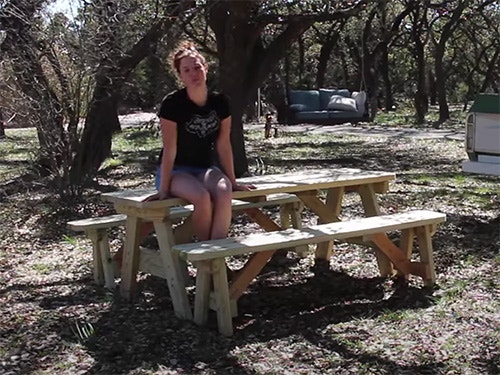
Everyone needs a good picnic table, including April Wilkerson's mom and dad. While moving around their property, she got a chance to look at their completely broken down picnic table underneath the oak trees out front. So, she decided to move forward with building them a brand new table with detached benches and put together a summary video which you can see below.
You can find more great projects and techniques from April Wilkerson at her website.
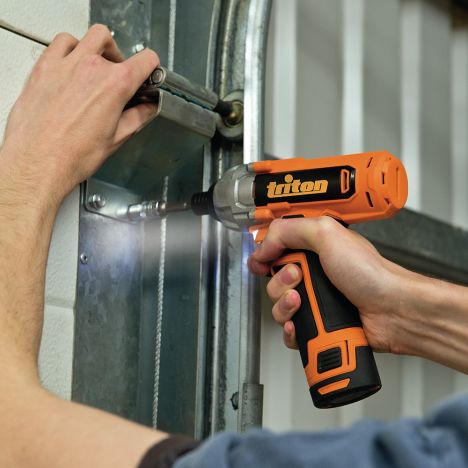
Featured Tools:


April Wilkerson: Mom, this thing is terrible.
April's Mom: It is. Don't sit in the middle.
April: Don't sit in the middle. This table has been around for 25 years. For it being that old, I honestly don't think it's in that bad of shape. I do think it's high time that my folks get a brand new one. In this week's video, I'm going to be building a traditional style picnic table.
Now, I've been getting a ton of comments and questions regarding when I'm going to be getting my new shop. Unfortunately, it's not going to be for a few months. In the meantime, I am primarily working from the tailgate of my truck and/or my dad's shop, which is fine because the weather's perfect for it right now. Also, I hope it gives you a reminder that you don't have to have dedicated workshop in order to do projects that you want.
For the picnic table, I set up a stop block at the miter and started cutting all of the boards that will make up the top to length. Now, if you want specifics, I do have a set of plans on my website for you to build your own. I'm going to be building the entire table from treated material. Once the wood fully dries, then I'll come back and give it a coat of paint.
After getting all of the top pieces cut, I decided to cut the outside boards with an angle just to give it a little bit of a decorative look. I laid out all of the boards and arranged them in the way that I wanted them. Then I cut the boards that will be attached to the underside in order to connect all the boards for the table top. On these end pieces, I went ahead and use pocket holes. For the inside boards, I went straight into the underside.
Next, I moved the table top up to some sawhorses and started attaching the legs. Since I'm building it upside down, it's also acting as my makeshift work bench. To attach the legs, I clamped some in place and predrilled a hole. I use carriage bolts with some flat washers and nuts to attach them. After getting in one in each leg, I could then remove the clamps and then repeat the process in order to put a second carriage bolt into each leg. When it came time to add on the leg bracing, I would first cut one end off, hold in place by way of a makeshift shelf, which is made out of clamps, then just mark the other end on where it needed to be cut. Then I could clamp that into place and repeat the process using two carriage bolts per leg.
Now, you could stop there. However, I decided to come back with a diagonal member just to give it some more left and right stability. Now, if you have a helping hand, then it would be great just to each take an end and flip it over. If you're like me and you're working by yourself, then you just got to take it slow and be a little creative. I'm a champion. I know I said I was going to build a traditional style picnic table, but I decided to make removal benches instead of attach benches just because I personally find it easier to be able to scoot the bench out, sit down, and then scoot it back in. The benches are very simple. They're pretty much a direct duplicate of the table but just in a smaller form. I cut the top, attach the underside bracing, and then attach the legs, again, using some carriage bolts.
However, when I put the first bench down and sat on it. I realized it was just a little tad bit too low. I called in my dad to get a second opinion.
April's Dad: It looks good.
April: I think it might be too low.
April's Dad: Yes, it's a little too low. It's not stupid low.
April: It's maybe a little low.
April's Dad: Yes, it is.
April: Okay. No big deal. The cool thing about this build is that it was very easy to correct. I could just simply take out the carriage bolts, take off the leg pieces, cut some longer ones and then reattach them. That turned out to be a much better height. However, since I did extend them. I figured I'd add in some additional support, some leg supports, and then also cutting in a diagonal member. You can see here just how much of a big difference this diagonal member makes. Here's one with the diagonal members. Then this one, I don't even want to step on it. If I can't step on it, then I can't trust it. With all three pieces done, I loaded it up in the back of my pickup truck actually using those lumber racks that I made last summer. Man, they come in handy.
April's Dad: Hey, that's cool.
April: That is cool. Then I just drug it over to where my folks wanted it and offloaded it into place. Now, this is a very quick build. If you're looking for a fun spring time project to do, maybe even with the family, then I definitely recommend this one. One last test. Yes, I trust all three of these pieces. That's going to be it for this one. I hope that you enjoyed the video. I'm definitely going to get tons of use out of this. If you would like to build your own, then of course I have set of plans on my website, and I will link to those in the description below.
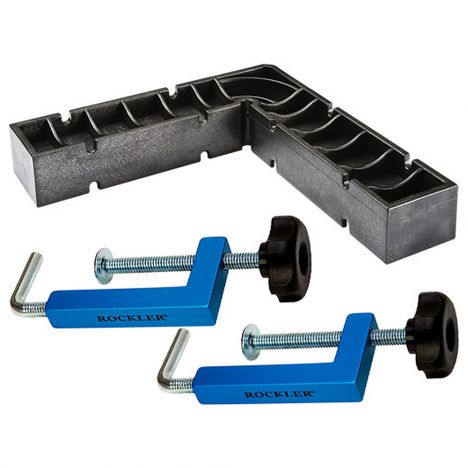
Big thank you to Rockler for supporting my channel. As always, I will see you on whatever it is I'm working on next.
-
 Rockler Clamp-It Assembly Square with 2-Pack Universal Fence ClampsSpecial Price $14.99 Regular Price $29.99 Save $15.00


Keep the inspiration coming!
Subscribe to our newsletter for more woodworking tips and tricks