Video: How to Build a Modern Console Table
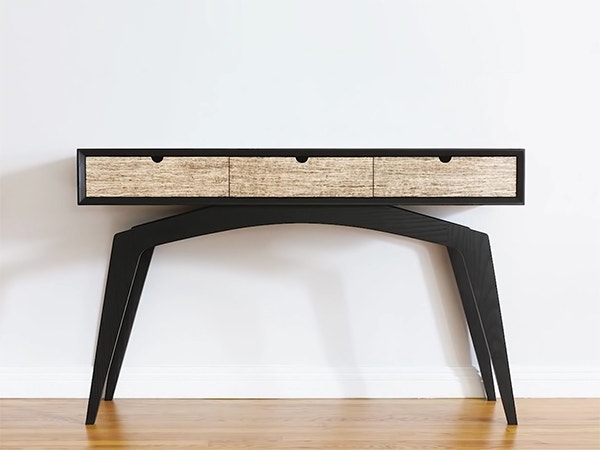
In this video, Chris Salomone designs and builds a modern console table.
The project is on the slightly more advanced side of woodworking and includes lots of angles, inset drawers, template routing, mitered case construction and more!
You can find more great projects and techniques from Chris Salamone at his website.
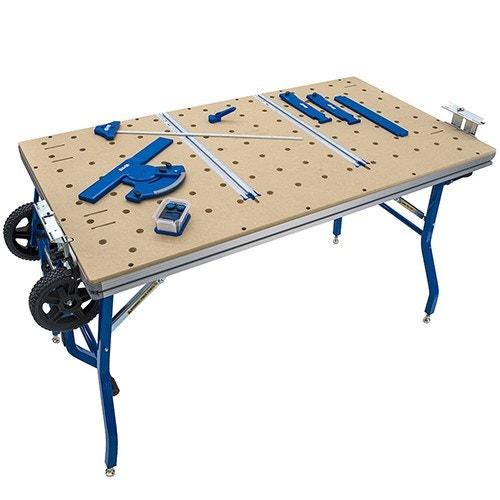
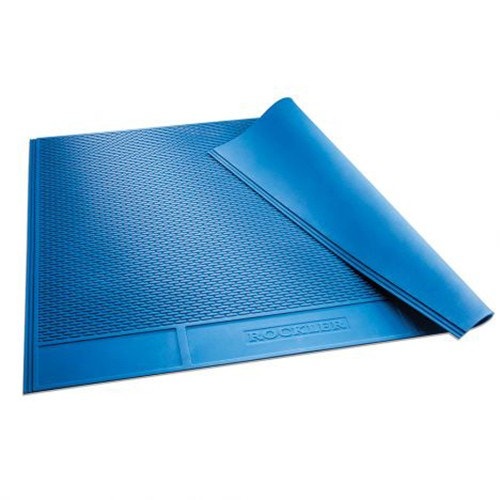
Featured Tools:


Chris Salomone: Today, we're going to build this modern spider-inspired hall table out of urbanized red oak with hemp wood drawer fronts, and - I ran out of the adjectives. In the shot, you can see two templates that I made for myself for this project, a leg template and then another that represents half of the legs sub-assembly that we're going to put together. I made these on my CNC but I've shown on some other videos how I make them by hand.
Yes. I'll link it below but anyhow, once I had those worked out, I grabbed another piece of red oak and started roughing out some chunks that would yield the pieces that I'd need. With my chunks, I started laying out my pieces by tracing my template, and then I could head over to the bandsaw and rough those out. When I fired it up this happened. I didn't know that Shaun likes to leave the saw untensioned, so it popped right off the wheel. I didn't feel like fixing it so I used his.
Next, I'm going to grab my template and apply a wood sled and go ahead and cut the edges of the leg that's going to connect to the stretcher. Actually, while I'm doing that, let's hop into Sketchup to go over the design in detail so that you have a better idea of what's going on. As you already know, I've got templates for my leg as well as half of my entire sub-assembly piece. From the leg template, I'm going to create four hardwood leg pieces. Once we have those, we'll connect each pair with a stretcher, and then we'll use the other template to turn that into our final shape. Finally once that's done, we'll connect those two sub-assemblies with three more stretchers.
We've got our roughed-out legs and next, we're going to cut out the rectangles that we'll use for our stretchers, again leaving them totally blocky at this point, and then we can connect everything with some dominoes. Now while these are drying, we can turn our attention back to the case panels that we glued up a few minutes back. The first thing that I did after getting the panels out of the clamps was run them through the drum sander to clean them up a little bit, and then I could finalize their size by ripping the front and back edges and putting a 45-degree bevel along all of the ends.
With that done, there's still a couple of things that we want to do before we glue anything up. The first of those is cutting four dados in the top and bottom panels to accept two vertical partitions. You may notice that these look really thin, and that's because as you'll see in a minute, we're going to cut a tongue on the ends of the partitions. Basically, only part of it goes into the groove rather than the entire thing which just makes for a cleaner glue-up.
Finally, we're going to put this little inside bevel detail along the front edges of all four pieces, and then we can cut in some dominoes and glue up. The dominoes, I'm sure, add a little bit of strength to a piece like this but honestly, I think that they're pretty unnecessary and really they're just here for alignment purposes.
Now while that dries let's finish off the base. The next morning, I unclamped my sub-assemblies, put on my beanie, tried to record a pro tip, and realized while editing that I didn't have any audio. Then, I could take my larger template, trace it onto my glue-up, rough it out on the bandsaw, and then use it to start template routing my final shape.
With one sub-assembly done, I used the first one as a template to make the second one since that's easier than using a half-sized template. This way no matter what, they're going to end up identical and then we could cut some stretchers and assemble everything.
You'll remember a few minutes back we had cut those thin dados and now we have to cut the tongues to slot into them. Really here, there's a few things that we need to pay attention to. First, the size of the area between the shoulder needs to be the same as the distance between our top and bottom panel. Next, the tongue needs to be shorter than the dado is deep. Finally, the tongue needs to stop shy of hitting the end of the dado.
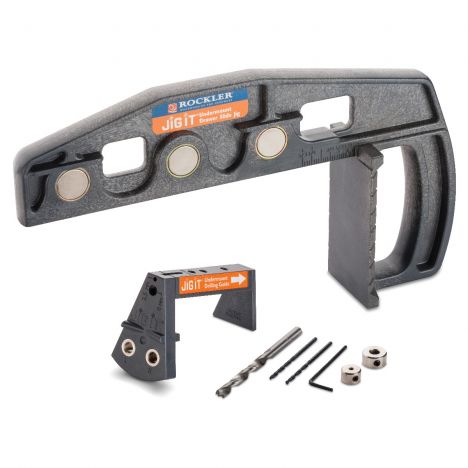
All right. By the next day, our case was dry and we could start fitting some boxes and I'm going to be using Blum soft-close slides, which are slightly trickier to install than some of the other hardware, but also quite a bit nicer as they're highly adjustable. You also don't see them from the side since they sit up and under the bottom panel. Once I had determined how big each box would need to be, I just had to make sure to stay really organized as I cut out all of my pieces.
One thing I will say though is if you are going to use these drawer slides, this little Rockler jig for drilling all of the holes in your boxes is worth its weight in gold. The instructions from Blum are pretty specific about where the holes need to go and this makes it way easier to do it quickly and accurately.
Okay. We're on the home stretch, but now's a good time to do a little cleanup work before we get to the drawer faces. Okay, hemp wood. Even though this is a relatively small part of the overall project, it dictated a lot of what I ended up doing. It's the reason that I finished it in black. It's the reason that the drawer boxes are relatively small. Basically, I started with this and designed around it.
Now, this next part is going to sound like a sponsored ad read, but it's not the truth is my friend, Danny, who's the marketing director at the local lumberyard that I go to, Reel Lumber, read an article about hemp wood about a year ago, contacted the people producing it and jumped on a plane to Kentucky, and started a partnership. A few months later, I was in the store, we got to chatting and he asked me if I wanted to try it out, and well, here we are.
Now you guys know that I'm not a big fan of highly figured woods. Not that there's anything wrong with them. It's just personal preference. Hence, that I'm using it for such a small focal point in this build, but that said, I do like the philosophy behind hemp wood. I don't know any of this for a fact, but from what I've been told, it's really eco-friendly and sustainable. I think that it can go from seed to cultivation in five months. For as much as this can be objective, it does make for a pretty unique and eye-catching look.
It's also just random luck that Reel Lumber happens to be my local place and they happen to be the only lumberyard stocking this stuff at this time, at least as far as I know. It's not like they're some huge company. They've been around for a long time, but they're basically a family-run local place. In fact, Danny, who's part of the family set up an e-commerce site specifically for selling hemp wood and I think it's the first time that they've ever done anything like this. Again, this isn't a sponsored video by hemp wood or Reel Lumber, just kind of a random but interesting opportunity to try something new that fell into my lap.
Keep the inspiration coming!
Subscribe to our newsletter for more woodworking tips and tricks