VIDEO: Drill Press Station with Fence and Storage
David Picciuto shows how to create a simple drill press station that will help you work more efficiently.
How to make a drill press station with storage and a fence for repeatable drilling and dust collection. Easy woodworking project made from plywood with basic woodworking tools.
You can find more great projects and techniques from David Picciuto at his website.
Featured Tools:


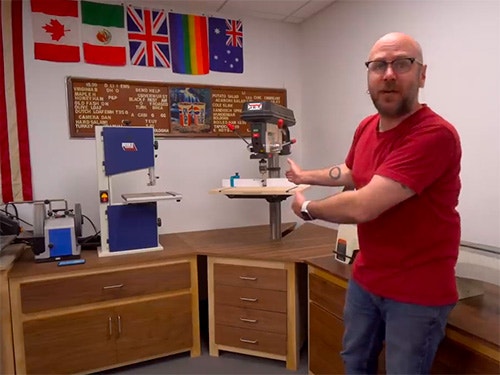
David Picciuto: Welcome to Make Something with me David Picciuto and today we're going to build this drill press station with the base, with storage, tabletop, and fence. Check it. Today's video is sponsored by Rockler Woodworking and Hardware: Create with Confidence. Each leg uses two pieces that forms an L, so I need eight for the stand. Just going to add a little bit of glue. Don't need much. Maybe more than that. Then screw them in. I just need clamps temporarily to hold it in place. We can remove the clamps and the screws work as clamps while the glue dries.
The next thing we need to do is make the side. Glue and screw the side in. Goes in there like so. I got my two sides set up here around my drill press and I'm trying to figure out the width that I want and I think that is going to be good. What we need to do for the drawers is we need to build out the sides. We'll just take a couple pieces of wood and glue it on there so it's flush with this frame. That'll give us a place to put the drawer slides. We're also going to flush this up right here with another piece of wood that we're just going to glue into place. We're just going to use a two by four easiest way and we're going to plane it down to the proper thickness.
The next thing to do is make the drawers and we're going to make that out of half-inch plywood. We're going to measure this, and then we're going to cut another piece and just glue it right on the bottom. If you're wondering if that's going to hold, don't worry about it, it's going to hold. I'm going to use quarter-inch plywood. Again, you can use half-inch or three-quarter doesn't really matter. We just do this number. That's our four drawers.
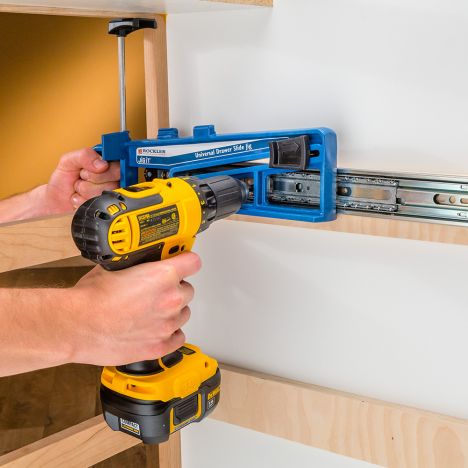
Now it's time to install the door slides. This is how I do it. I figure out where I want them to be and I'll make a little mark on the front here. Then I remove the middle part and I use this universal drawer slide jig from Rockler. That fits into there and then this friction fits over that and I can line this up with the line that I just drew and screw this in. What this jig does is it places it perfectly perpendicular to the face and then a perfect distance back from the front. Now it's time to install the drawer. I'm going to do the top drawer first because I made these little spacers for these top drawers to sit on and as we work down we can cut these spacers down.
I'm going to set them in there like so. I will bring the drawer out and then screw in this first hole and then screw in this first hole, and then pull it out, screw in the second hole, second hole, pull it out, screw in the third hole, third hole. Now we got all four drawers done, we're going to make the faces and they're just going to be glued and screwed on to the front. We're going to go do that over at the table saw. I have my drawer fronts cut. I'm making them out of walnut because that's who I am. I'm going to edge band them with some adhesive back walnut edge banding. I'm just cutting them down to size. This stuff just has glue on the back and you're ironing it on and trim it off.
Now we're going to drill the holes for the handle but we're not going to attach the handle yet. I'm going to show you a cool trick. I'm just going to lay out the drawers where I want them and these holes that we drilled for the handles, we can temporarily screw them into the drawers. This is a trick I learned from Stumpy Nubs.
We can come from behind and then screw them. I can lift this up. I can pull out the drawer. I can remove these temporary screws. Then drill all the way through for the handles. There we go. Now all that's left to do for this base is to make a top. We have a big sheet of plywood; too big to cut on the table saw so we're going to use the track saw for this.
Now that we have the top cut, I'm going to leave that back open and I'm going to put a cardboard box in there and then I can just push all my chips in there and then once a year will this out, empty out that box. One of my Instagram followers David Cooper came up with the idea of actually putting a dust collection hose back there so you can just sweep everything into there which I thought was a brilliant idea but I'm just going to do the cardboard box. We're going to drill some pocket holes into the base so we can attach it. Dan made a cardboard box custom for the corner. We were debating if the back needed more support because it overhangs but it's doing really well.
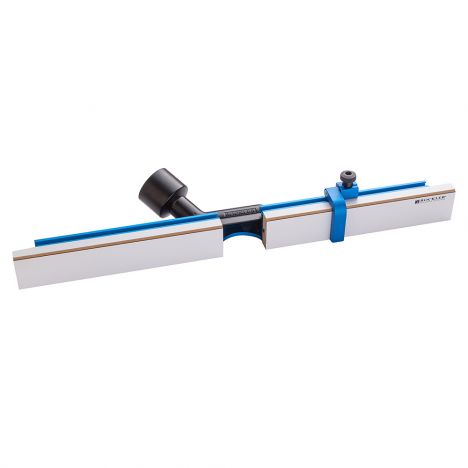
Now if you were not going to have this in the corner, and this was open you could put shelves on here for more storage. Now that the bottom part is done, we're going to make the top and we got this drill press fence from my friends at Rockler. We're going to build our top to the width of this but we're going to do it in two layers. The bottom layer is going to be the full size and then the top layer is going to be built into sections. Instead of routing grooves for the T-track, we're just going to screw the T-track into the bottom piece and then cut pieces to fit along the side.
Then we're going to have a removable sacrificial piece for drilling and then we can easily move that out, swap it with another piece so we can have a zero clearance, no blowout, drilling experience. Now, that piece goes there. That piece goes there. That pencil gets out of here. That piece goes there. That goes there. We'll glue these down. We'll screw in the T-track and then this will go right over top of that. This fence goes on over the top of that.
From the bottom with a washer and screw, just attach this to the base. There it is, the movable fence with the stop has already come in handy. I've used it to make repeatable mortises and the doors in my shop cabinets here. I will have plans for the drill press station. The plans will include the corner top and also just the regular rectangular top. The middle section is movable so as it gets chewed up, I can move it around, even flip it and make new ones as necessary.
In a few weeks, we're going to make another video where we motorize the table so it moves up and down with a push of a button and then another button to lock it in place, so look forward to that. The purpose of the big table that goes all the way back in the corner is just for easier cleanup. This is one of the messiest tools in the shop and now I have a hole with a bin back there where all the chips can go. If you're wondering, yes I am going to fill these gaps along the sides and along the bottom just to make cleanup a lot easier. With my drill press in the corner, I can get a full 7-foot board on there, and this table will go down another 16 inches.
In the two years that this drill press has been in here, I've never had to drill on a board longer than seven-foot and I've never had to move it down past this point right here. This is my shop, I get to do whatever I want in my shop. You might be building different things in your shop so you might need that full height and you might need your drill along a wall. Everybody's different. Everybody's making different things. That's the great thing about woodworking. Nearly all of the supplies for this project came from my friends at Rockler including this fence which is a huge upgrade to this drill press. It also comes with this dust collection fitting.
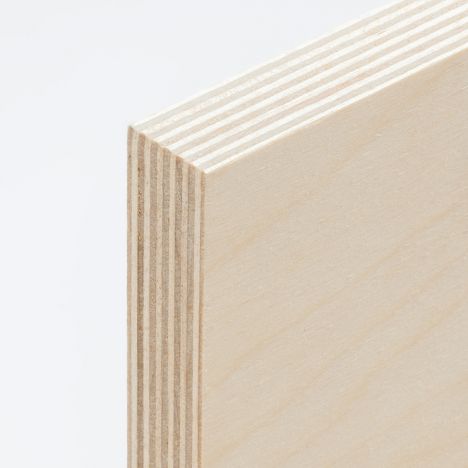
The drawer slides came from Rockler and this universal drawer jig which makes installing the drawers so much easier. All of the Baltic Birch came from Rockler.


Keep the inspiration coming!
Subscribe to our newsletter for more woodworking tips and tricks