True Your Table Saw Miter Gauge, Blade and Fence
You probably rely heavily on your table saw for accurate cuts, every time you use it. Here are some easy checks you can do on your saw to make sure it's cutting perfectly.
This approach makes your saw super accurate because you're doing the tests with the machine running, instead of with the blade standing still. This simulates what will be happening when you're actually making cuts.
Square the Miter Gauge
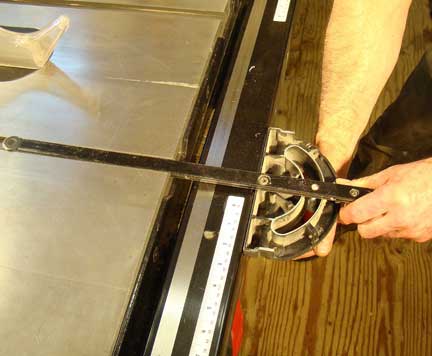
Here's a trick I learned way back in my high school shop class. Square up your miter gauge by loosening the head, turning the miter gauge upside down and, with the bar in the slot, pushing the head against the rip fence rail. It may not be perfect after this, but it'll be close. We'll make it perfect in the next step.

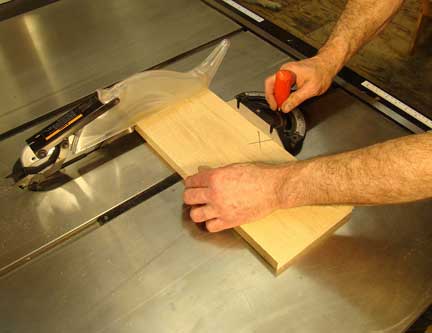
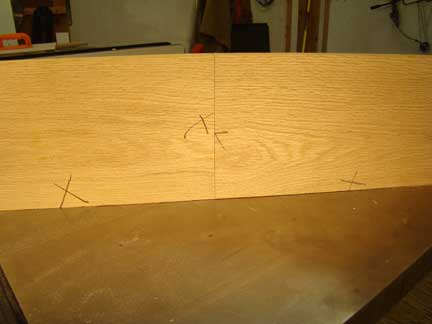
Now fine-tune your miter gauge. Joint one edge of a board so that it is flat and square to the top face. Then, with the jointed edge against the miter gauge, crosscut one end.
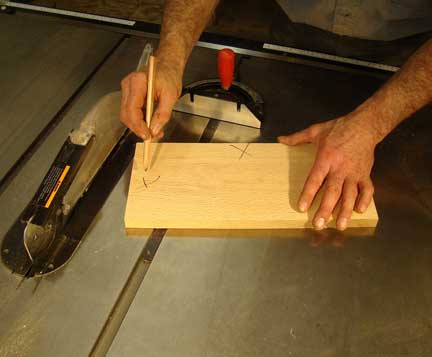
Mark the cut end to make sure you can keep track of it. Repeat the process on a second board.
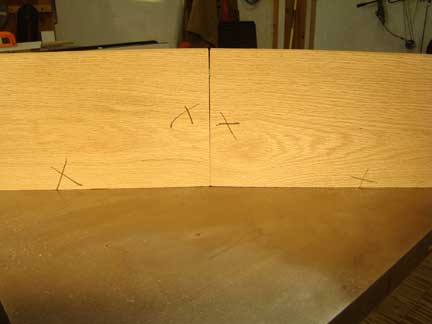
With the jointed edges on the table saw, slide the two cut ends against each other. If you can see a gap, you're not making perfectly square cuts.
Adjust your miter gauge and keep making test cuts until the end cuts close up. The wider the boards you use, the more accurate this test will be.
Square the Blade to the Table

Next, do a similar test to see if the blade is square to the table. You'll need to use narrower boards. The width of the board has to be less than the maximum height of your saw blade. With the jointed edge down, cut and mark one end of the board. Repeat the process with a second board.

Push the cut ends together. As before, they'll close up when the cut is perfectly square. Check your owner's manual to see how to set the blade for square.
Set the Fence Cursor

Lock your rip fence down at the 4" setting.

Rip a board. Don't move the rip fence.

Check the width of the resulting cut. The more accurately you can measure, the better. It's hard to beat a digital caliper for this test. In this case, the ripped board is 1/16" narrower than my cursor setting.

With the fence still in its original position, loosen the cursor and move it to match the reading you got when you measured the board. In other words, make the cursor match the width of the board you just ripped.
Follow these simple steps, and your saw will be making perfect cuts in no time.


Keep the inspiration coming!
Subscribe to our newsletter for more woodworking tips and tricks