DIY Horizontal Benchtop Sander
With things the way they are with the economy, more and more woodworkers are looking to get the most use out of the tools they already have, which is why I created this simple base fixture that transforms a standard portable belt sander into a small horizontal benchtop sander.
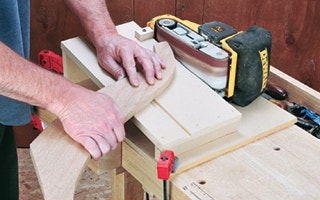
The fixture is simple to build and lets you use your sander to accurately shape, trim and smooth small parts safely.
Use a square rule to ensure that the sander is completely level, if it isn't save some wood scrap to prop up the end until it has leveled out. To build the fixture, start by cutting out a base plate from 1/2" or 3/4" plywood or MDF that’s 14" wide and 6" to 8" longer than the length of your belt sander.
It’s important to note that we’re providing the actual dimensions of my jig, but you’ll need to adjust them to fit your sander.
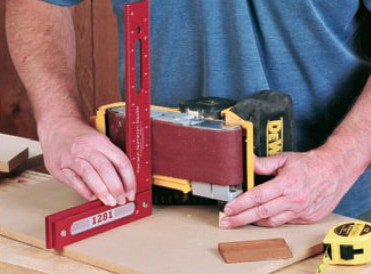
Set your sander atop the base plate with the open side of the belt rollers facing up, and position the belt platen (the flat surface below the working part of the belt) parallel to the long edge of the base.
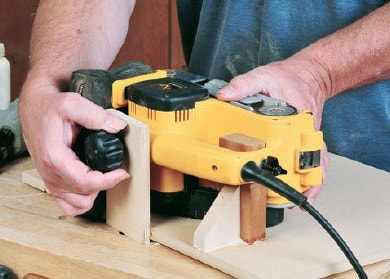
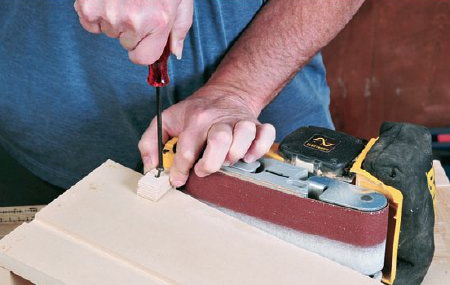
Some sanders, like this DeWalt model, have detachable knobs or other parts that you can run part of the fixture through to secure the sander to the rest of the base. Now square up the platen surface to the base plate using spacers, wedges or shims under the body of the sander as necessary. Mount the sander to the base plate using any threaded mounting points your sander may have, such as a detachable front knob or holes for attaching accessories.
Make brackets from plywood scraps to suit the positions of the mounting holes, screw them to the sander, then glue them onto the base. For best stability, secure the sander in at least two places: one at the front and one at, or near, the rear.
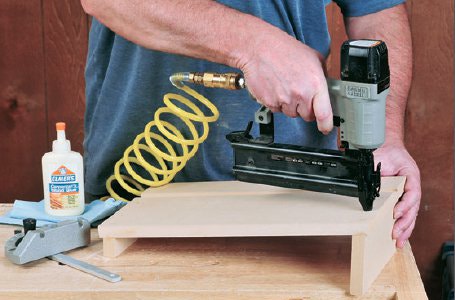
Once you've glued up the legs and fixture base, use a brad nailer to secure the joints. Cut the fixture’s angled work table from plywood or MDF that’s 8" wide and about 2" shorter than the base. If you wish, plow a miter slot into the table top using either a straight bit in a router or dado blade in a table saw. This slot lets you use a regular miter gauge or other miter-slot-guided jigs or devices with the fixture to accurately sand square or angled edges.
The table is designed to be higher at the rear end of the sander: it reduces chatter during sanding and distributes wear more evenly across the belt. Size the table supports so the table’s top is slightly below the bottom edge of the belt at the low end and 1" to 1-1⁄2" below the top edge of the belt at the high end. Glue and screw the supports to the underside of the table. Then, screw the table supports to the base from underneath, leaving a minimal gap between the belt and table.
For safety, screw a stop block onto the end of the sanding table to prevent the piece from pulling back too far by the sander. Finally, screw a small stop block to the table near the rear end of the belt, to keep small parts from being thrown off the table top by the force of the running sander.. Before using your belt sander fixture, clamp the base plate to your bench top. Use your belt sander’s trigger lock to keep the tool switched on while you sand.
Sander fixture project diagram & material list in PDF format

Keep the inspiration coming!
Subscribe to our newsletter for more woodworking tips and tricks