Rubbing Out a Finish
When you apply the final coat of clear wood finish to a project, are you “finished”? That depends on the look you’re after. In reality, simply applying a few coats of clear finish and waiting for them to dry rarely leads to a smooth, consistent look. Most of the time, you have to “finish the finish”. The process is called “rubbing out”, and serves the purpose of getting rid of minor imperfections in a surface film finish, such as varnish or lacquer, (sometimes) leveling the finished surface, and establishing a consistent sheen. Those of you who have heard of rubbing out a finish may associate it with hours and hours of painstaking work and difficult to master techniques known only to members of organizations with names like “The Absolutely Secret Society of Buffers and Polishers”. To be fair, getting a mirror-like surface to appear across the expanse of a dining room table top does take some know-how, and usually a little practice. But some rubbed out finishes are easy, and don’t take a long time. For a small project, a basic satin finish rub-out can be accomplished in less than an hour.
To get you started, here are the basic steps:
When to Begin Rubbing Out
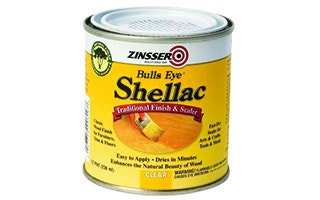
If you’re like most of us, the minute a newly finished project is dry enough to handle, you pick it up to proudly examine your accomplishment. When you do, you’ll probably notice that the finish isn’t perfect. Almost always there will be a few dust nibs sticking up from the surface, and a couple of places where the brush or applicator marks didn’t level out perfectly. Time to start rubbing out? Unfortunately not. You have to wait until the finish is fully cured. A finish that isn’t fully cured won’t rub out well, and the risk of sanding through the finish is much greater. That means waiting several days for an evaporative finish like shellac or lacquer, and at least a week for reactive finishes like varnish.
Getting Rid of the Imperfections
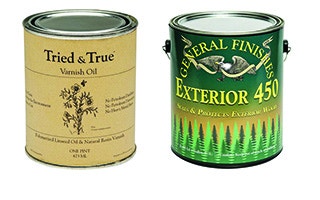
In a basic rub out, you just want to take off any dust nibs and smooth out any visible tracks left over from the application process. There are cases where you’ll want to sand the surface down until it is perfectly flat, but doing that – and more importantly, knowing when to do that – requires some knowledge of how various types of finishes behave chemically and how to create a surface that will stand up to more aggressive sanding. You’ll find a few resources for learning the more advanced techniques at the end of this post. Here, the important things are to sand as little as possible, and to be very careful not to sand all the way through the finish - or even through the top coat of finish, if you’ve used a finish that doesn’t completely fuse from coat to coat, such as oil-based varnish or a waterborne finish.
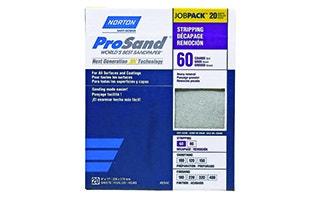
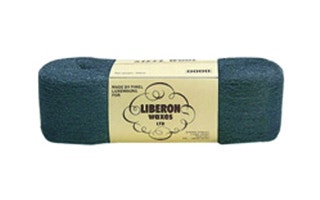
Sand with the grain just enough to smooth out major imperfections. It’s best to use the finest grit possible; in most cases, 600 grit will work well. You’ll need to use a type of sandpaper that won’t clog with hunks of dried finish. The clumps of dried finish that quickly collect on uncoated, un-lubricated sandpaper are called “corns” and will damage the surface of the finish. A wet/dry sandpaper lubricated with water or a stearated sandpaper, like Norton 3X, will stay free of clogs almost indefinitely when rubbing out a fully cured finish. Master wood finisher Jeff Jewitt prefers the stearate coated variety for this type of rubout. It gives him a better feel for how much finish he’s taking off and makes it easier to avoid sanding through the finish. While you’re sanding away, remember that it’s all to easy to accidentally sand through the finish near sharp corners; be extra-careful not to bear down too much. It’s a good idea to sand these areas separately after you’ve sanded the bulk of the surface so that you can pay close attention to how much finish you’re taking off near delicate edges.
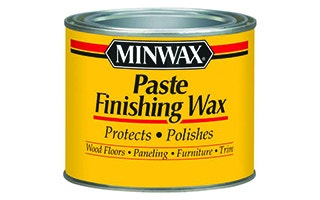
The steel wool buffing process is fairly straightforward: After carefully wiping off the sanding dust or residue with a damp cloth, rub the entire finished surface with steel wool and lubricant in the direction of the grain. Use medium to heavy pressure, and try to keep the pressure and the direction of your strokes as consistent as possible. With overlapping strokes make you way across the finished piece. Remember that steel wool can cut through a finish, too. Using lubricant slows down the cutting action of the steel wool, but it also makes it harder to judge how much finish you are taking off. Wipe away the rubbing slurry frequently to check your progress, and stop as soon as you have a consistent satin sheen. Again, it’s best to do the edges separately and with extra care not to cut through the finish. Once you are satisfied with the look of the finish, and have completely removed the rubbing residue, apply a coat or two of a quality paste wax. The wax will “warm up” the look of the finish, increase the sheen, and help protect the surface from scratches.
Alternatively, you can continue with finer grits of sandpaper and final rubbing with pumice and rotten stone to reach a high gloss surface (provided the finish you started with didn’t contain flattening agents, as anything labeled “satin” or “semi-gloss” does). But as we mentioned above, advanced rubbing out is more involved; if you’re new to it, we recommend further research. Jeff Jewitt’s, Great Wood Finishes and Bob Flexner’s, Understanding Wood Finishing both have excellent sections on rubbing out a finish, along with everything from detailed information types and properties of wood finishes to the basic finishing “dos” and “don’ts” that every woodworker should know.


Keep the inspiration coming!
Subscribe to our newsletter for more woodworking tips and tricks