Repeatable Thin Cuts on the Table Saw
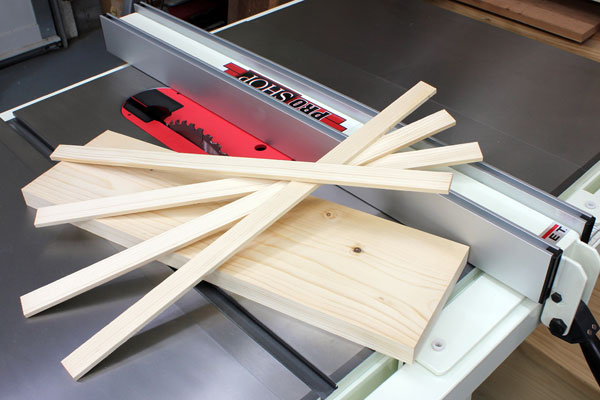
Here's a good trick for cutting a multitude of identical thin strips quickly and safely.
Making repeat rip cuts on the table saw is easy: Just set the fence and make as many cuts as you want, right? Each will be identical, no matter how many you make. The trouble is that, because all those identical cuts take place between the fence and blade, it’s not a practical method for extremely thin workpieces. Sometimes the space between blade and fence is just too narrow to safely handle the workpiece, or to even fit a push stick into the gap. You can cut those thin strips on the outside of the blade, of course, but you have to move the fence with each cut, and it’s just not possible to get it set exactly right every time — those thin pieces are bound to be off a bit from one to the next. However, if you give your main workpiece something to register against, you can set the correct distance with a single measurement, and then easily reset the fence to the workpiece itself for every subsequent cut. We’ll accomplish this with a magnetic stop.
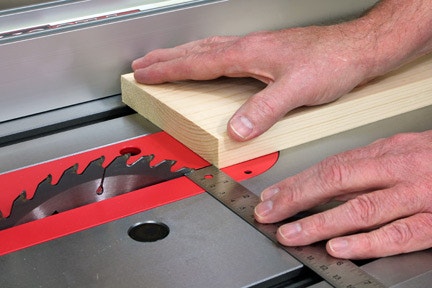
STEP 1: Let's start by setting up that very first cut. For this example, I've decided to cut a series of identical 1/4" strips from the 1"-thick main workpiece. Measure from the outside edge of the blade — making sure to register the ruler from one of the teeth — and align the workpiece at exactly 1/4". When the workpiece is precisely in place, bring the fence up to the opposite edge and lock it down. Check the measurement again to be sure you didn't accidentally nudge the workpiece out of place while adjusting and setting the fence, and tweak as needed.
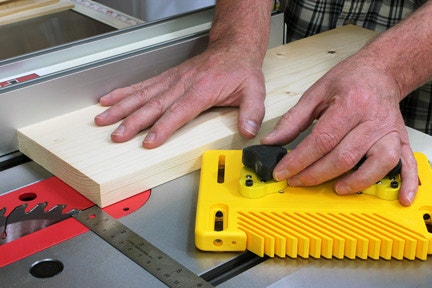
STEP 2: With the workpiece set and ready for the first cut, place a stop up against the outside edge of the workpiece about halfway between the blade and the front of the table saw. For a stop, I'm using a back corner of a magnetic featherboard; the "switchable" magnets hold it rock-solid against the cast-iron table. Note that I'm using just one of the corners to register against the workpiece. That's all you need, plus the single point of contact ensures that you'll be able to feed the workpiece smoothly without binding between the stop and fence.
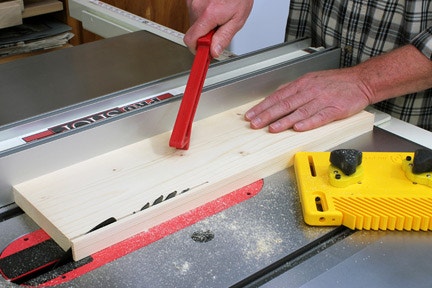
Step 3: Now, it's just a matter of firing up the saw and feeding the workpiece through to begin your first cut.
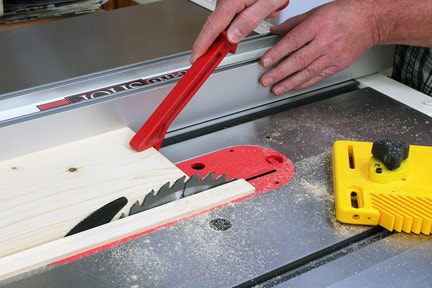
STEP 4: Continue the cut until the workpiece clears the stop and feed it smoothly through the blade until the first strip is free. Shut off the saw and wait for the blade to spin down.
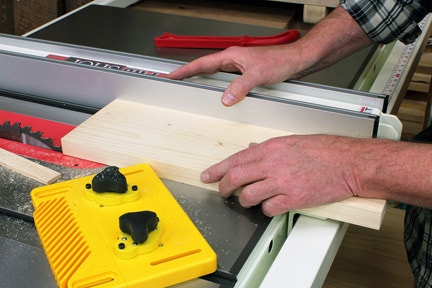
STEP 5: Bring the main workpiece back to the front of the saw so the outside edge registers once again against the magnetic stop. Loosen the rip fence, and slide it up against the other edge of the workpiece. When you have it in place with the workpiece against both the stop and fence, lock it down. You want the workpiece just slightly firm on both sides — the stop on one and fence on the other — but it shouldn't be so tight as to make sliding the workpiece difficult. Likewise, there should be no wiggle room at all. Readjust the rip fence as necessary till it's just right.
STEP 6: That's it. From this point forward, it's just a matter of repeating the process until you've made as many strips as you need.
Step 7: Now, if you need a lot of strips it’s likely you're going to go through your original main workpiece in short order. If so, once you've made so many cuts that you get to a point where you've moved the fence too close to the blade for safe handling of the remaining workpiece, toss it into the scrap bucket and start with a new piece. The beauty here is that you don't need to measure again. Just pull the rip fence back, then register the new workpiece against the stop as before, move the fence back up, lock it down and start cutting.
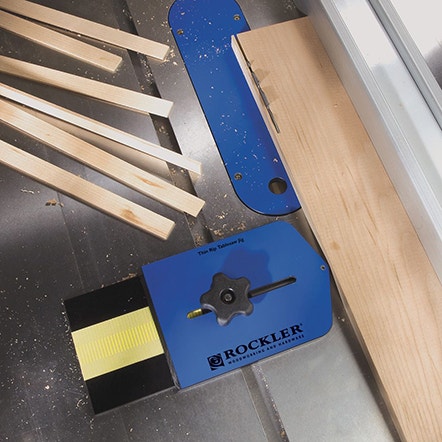
The Rockler Thin Rip Table Saw Jig allows you to rip thin strips on the left side of the blade, eliminating the danger of pushing narrow strips between the saw and fence. Since the strip is not trapped between the blade and fence, there is also less risk of binding and kickback. It's simple to use; a single knob locks the jig into the miter track and locks your setting at the same time.


Keep the inspiration coming!
Subscribe to our newsletter for more woodworking tips and tricks