How to Repair Wood Dings, Dents, Flaws and Knots
How to get rid of these small problems, before they become big ones.
During the final smoothing of any piece of furniture, imperfections invariably appear. These can be simple dings and dents that are self-inflicted during moving the piece around the shop. Often they are defects in the wood such as checks, knots or bark inclusions. All of these problems can be dealt with fairly easily. Doing so saves a huge amount of time and sandpaper in the long run because sanding the rest of the surface to get below small defects is very time-consuming.
Steaming Dings and Dents
Dings and dents can occur from causes ranging from a hammer blemish to a collision with something sharp and heavy. It is easy to dent something you did not intend to hit while hand planing or by simply dropping a tool. How easy the repair is depends on the force behind, and the shape of, the object that causes the dent. Sharp object strikes are much more difficult to repair than blunt, round objects. Light strikes from round objects can sometimes be completely steamed out, but most need some sanding as well.
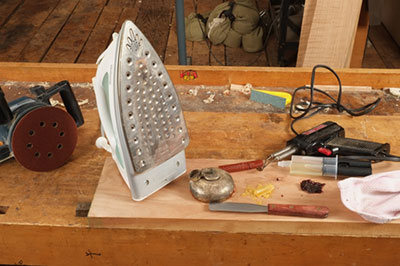
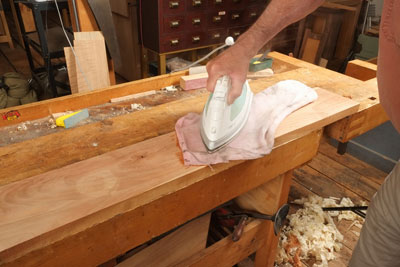
A common household iron is perfect for the task of steaming, and it will not be harmed in any way, although my wife was sufficiently skeptical that she bought me my own. A really cheap one will work for our purposes as we are simply looking for heat. Set it as high as it will go: the linen setting. Wet a thick piece of absorbent cloth (I use a piece of an old bath towel) and lay it over the dent.
Place the hottest part of the iron over the cloth and press down firmly without touching the wood surface anywhere. Hold it in place for about thirty seconds. Check progress and, if necessary, repeat after again wetting the cloth. It may take three or four times. Steaming can sometimes completely remove a dent, but usually the swelling only undoes about 80% of the damage. If that is the case, sanding and/or filling will be necessary.
Filling Partially Steamed Dents, Checks, Bark Inclusions and Dead Knots
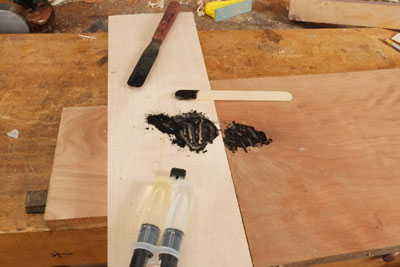
It is possible to fill some serious flaws in a piece of wood, leaving a good-looking surface that no one will see as repaired. Depending on the situation and the size of the hole, I use either five-minute epoxy, shellac flakes or burn-in sticks.
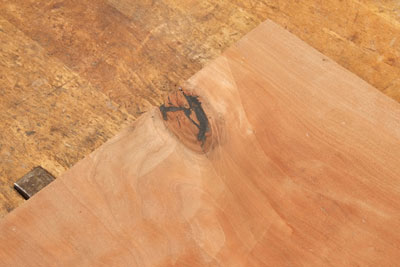
Epoxy is great for a large dead knot which is either loose or has fallen out completely.

I use shellac flakes for small to medium blemishes, as well as small knots and bark inclusions.

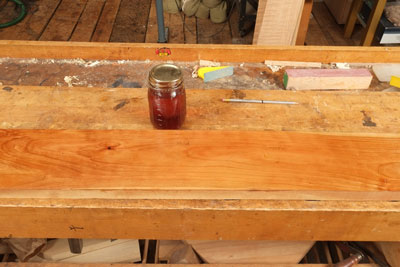
If you use shellac as a finish, it is easiest to make it from flakes rather than buying it ready-mixed in a can. The can has a shelf life, and you get a much higher grade shellac in the amount you need by mixing flakes with denatured alcohol. I use a process of padding shellac called French polish. It is possible to get shellac flakes in about five grades, ranging from super blond to amber to a dark garnet color. I pick one that is as close to the color of the wood as possible.
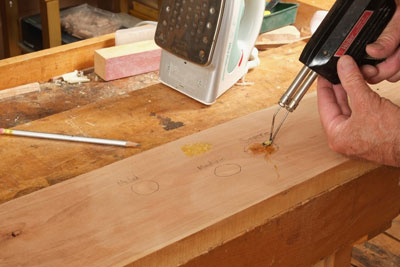
Burn-In Sticks
Burn-in sticks are easier than using shellac flakes, especially if you do not finish with shellac. They are what the furniture repair guys who come to your house in vans use to take the obscene words out of your tabletop after the stoats have been driven out to Toad Hall. They are a modern version of beaumontage, which, up till the mid 20th century, finishers made themselves by heating beeswax, resin (from pine trees), shellac and ground color till they liquified and mixed. Traditionally, the finisher heated a steel wire over an alcohol lamp, held it over the defect and touched the beaumontage to it; the beaumontage liquified and ran down the wire into the void. Today, you can buy burn-in sticks to match just about any wood or finish. They can be troweled in with a heated pallet knife or with special electric irons for the purpose.

Please give any and all of these techniques a try. It is best to do as much of the repair as you can before sanding. While your repair may look bad at first, sanding blends everything together, making it all but invisible. A second benefit to these techniques is that they are just as valid for repairing furniture or woodwork that gets damaged in day-to-day use. It saves you having to call the furniture repair guy, once you see the last of the stoats.


Keep the inspiration coming!
Subscribe to our newsletter for more woodworking tips and tricks