Providing a Base for Antique Chalky Paint
In 1990, Annie Sloan, a decorative painter working in England, started offering what is essentially a highly pigmented primer in a range of attractive dun colors.
She trademarked the name Chalk Paint® and spawned the latest round of repainting used furniture to look like antique painted furniture, sometimes replete with artificial wear and tear.
That's nothing new. Over the years, that look has come and gone under a variety of names and colors: Country French, antique white and shabby chic. If you've got furniture crying out for this treatment, read on, and I'll show you exactly how to do it, step-by-step.
Prep the Surface
Starting with finished furniture, scrub the surface clean with soapy water or your favorite cleaner (I use Windex®) to remove any wax, polish or dirt. Be sure you rinse off all the soap residue, then sand lightly, just enough to break the gloss of the old finish. Even very worn finishes can be painted without stripping, but be wary of finishes that are flaking off. Those you'll have to strip; flaking paint will take new paint with it.
If you must remove the existing finish, don't worry. You can do this paint treatment over stripped or new raw wood as well. Sand as usual, stain with dye or water-based pigment stain, then seal with dewaxed shellac. This will be the color that shows on the "worn through" areas we'll create later in the process. Feel free to add distressing to the wood in the form of dents, scratches and worn corners.
Paint
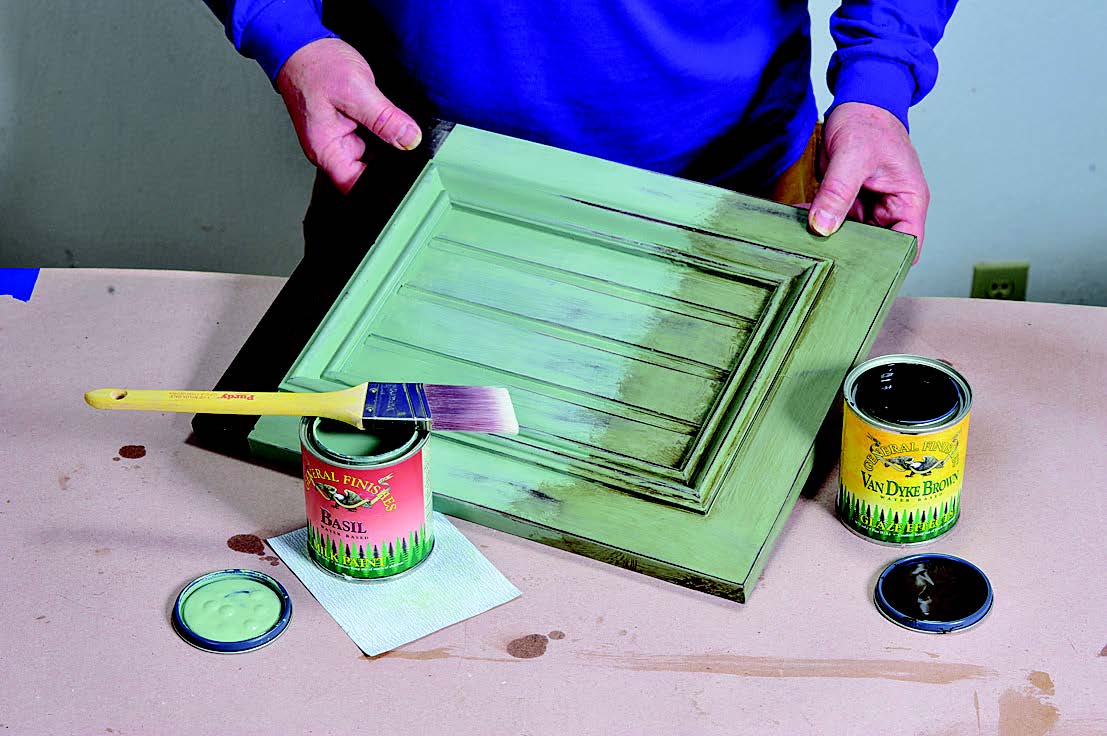
On the pieces shown here, I used General Finishes Chalk Style paint, which is somewhat cheaper than Annie Sloan's. On the sample shown, I used their Milk Paint. You can also use white or tinted primer, or even a dead-flat latex paint.
Choose a color and paint your piece evenly using a brush, roller, paint pad or spray — whichever works best for you. You may want to add more than one coat, or you may want to leave it looking a bit pentimento, with a thin, almost semitransparent coat of paint that gives a hint of what's below.
I like to highlight some areas with a second contrasting color of paint. That way, when I wear through in the next step, the second color will wear to the main color of paint, and the main color will wear through to the original finish or stain.
Wear
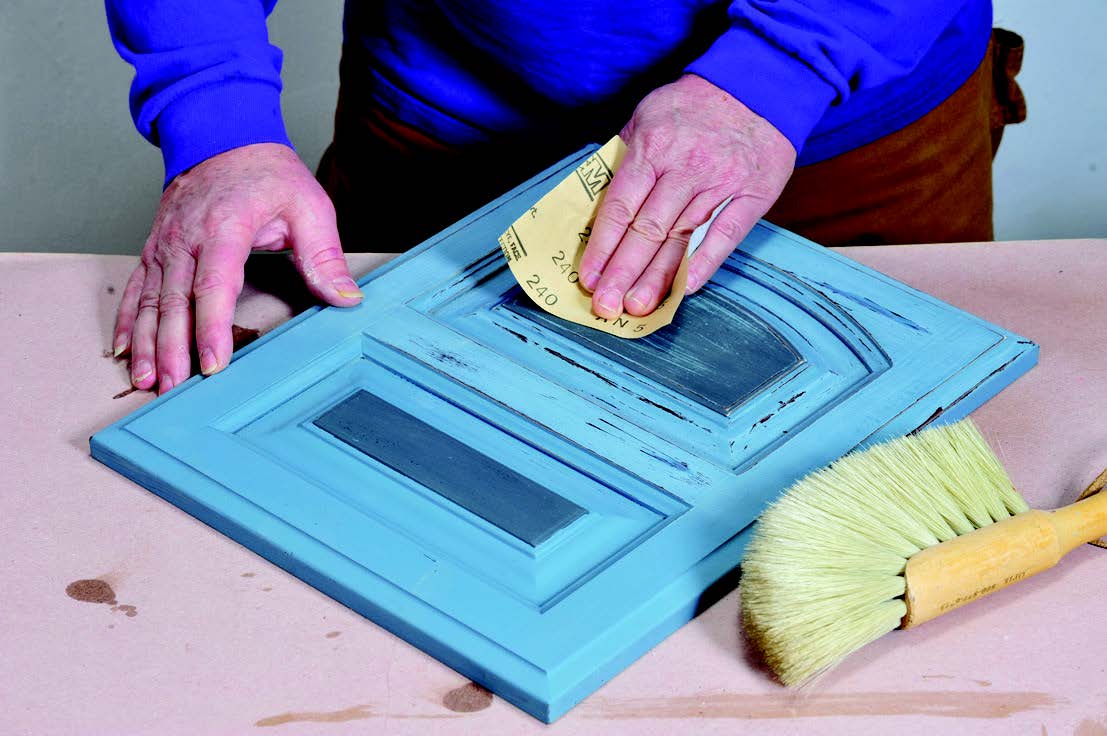
Once the paint is dry, use medium-fine sandpaper, 220- or 320-grit, and carefully rub through the paint in those areas that would naturally get a lot of wear and handling. Focus on the raised areas or edges of furniture, moldings and carvings. On chairs, the backs, arms and feet get the most wear and damage, and you often find extra wear behind and around any door or drawer handles.
Add as little or as much "wear" as you like. If you go too far, don't worry. Just add another coat of paint and start over.
"Dirt": Pigment Stain...
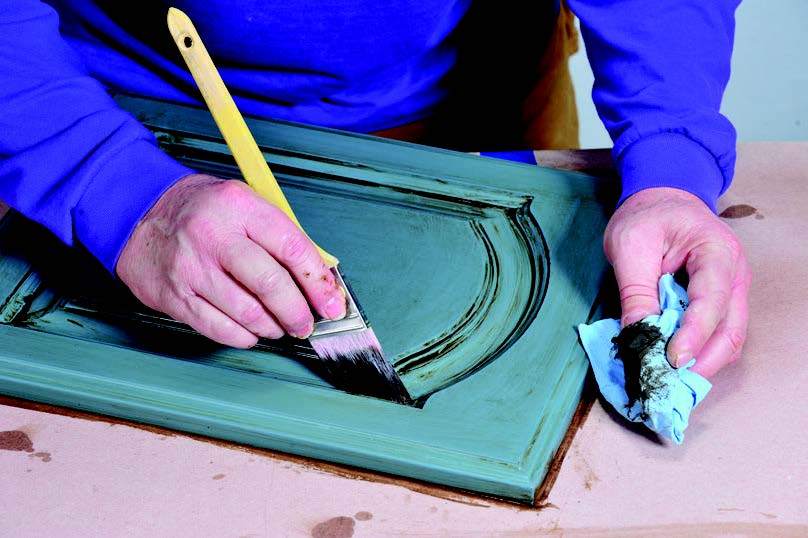
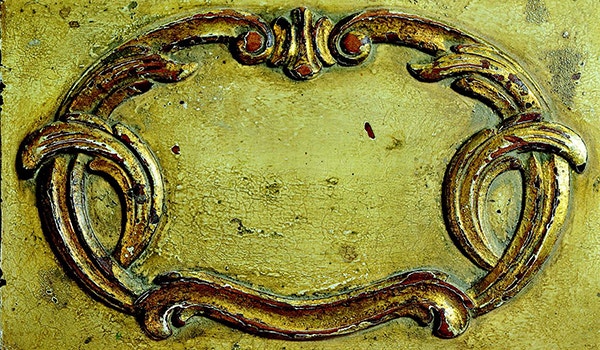
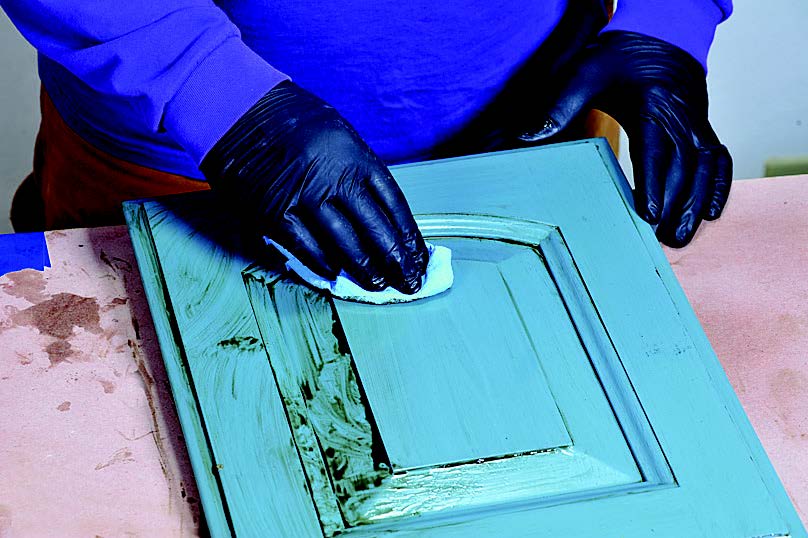
To change your paint from fresh to old, add dirt in the form of pigment. Use a glaze or gel pigment stain in a dark color, like Van Dyke Brown or Burnt Umber. Wipe it onto the painted surface, and wipe it off again, leaving as much or as little "dirt" as you choose in the corners and recesses.
To reduce excess stain that collects in recessed areas, use a clean, dry brush to scrub out the excess and to blend the color gradually. As the brush picks up that extra stain, wipe off the bristles with paper shop towels. This is where your sense of artistry comes into play, deciding how much wear and dirt the piece wants, and how gently or abruptly the "dirt" blends to the cleaner areas.
Once the pigment is dry, you can use the furniture as is, or seal it with a coat of clear, dead-flat water-based topcoat, which will make the sheen more uniform and add a bit of wear protection.
...Or Wax
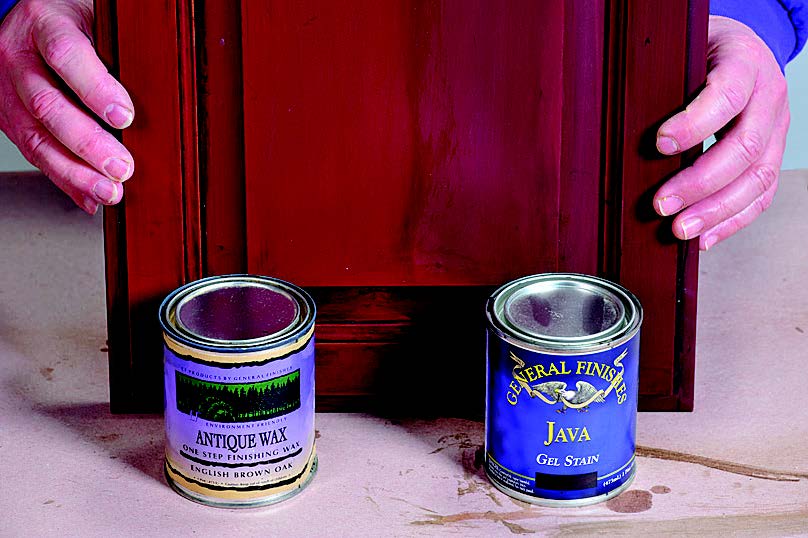
You can also add color using black or very dark wax instead of, or in addition to, the glaze or gel stain. However, you will not be able to clear coat after you apply wax, so if you plan to use dead-flat sealer, do it before waxing.
Scrub the wax on, making certain you get it into all the corners and recesses, and wipe it off before it dries. You'll notice that wax will not add as much color as glaze or gel stain.

Want to add authentic-looking dust? Sprinkle rottenstone onto the piece after waxing, then blend it with a soft brush. The rottenstone powder will stick to the wax, making it look like years of dust has accumulated in the recesses.
Lagniappe
In reality, chalky paint will pick up dirt on the high spots even before it collects in recesses, and well before the paint wears through. You can mimic that look with dry brushing.
Dry brushing starts by getting just the tips of a dry, natural bristle brush dirty with very concentrated pigment. A dense, rich glaze, like General Finishes Java, works great for this.

Put a small dab of the color onto scrap cardboard or wood, and scrub only the tips of a China bristle brush into it. Keep scrubbing until the tips are "dirty" with color and the pigment is almost dry.
Lightly brush the dry, painted surface with a delicate, glancing sweep of the brush. The dirty bristles will leave a bit of color as they hit high spots on carvings, moldings, edges, or even pores or distressing in the wood. Done right, it should leave a sprinkling of color everywhere, with a bit more collecting on any sharp or raised edges. Let the pigment dry overnight, then coat the surface with clear, dead-flat topcoat.
Keep the inspiration coming!
Subscribe to our newsletter for more woodworking tips and tricks