Pen Turning Tips
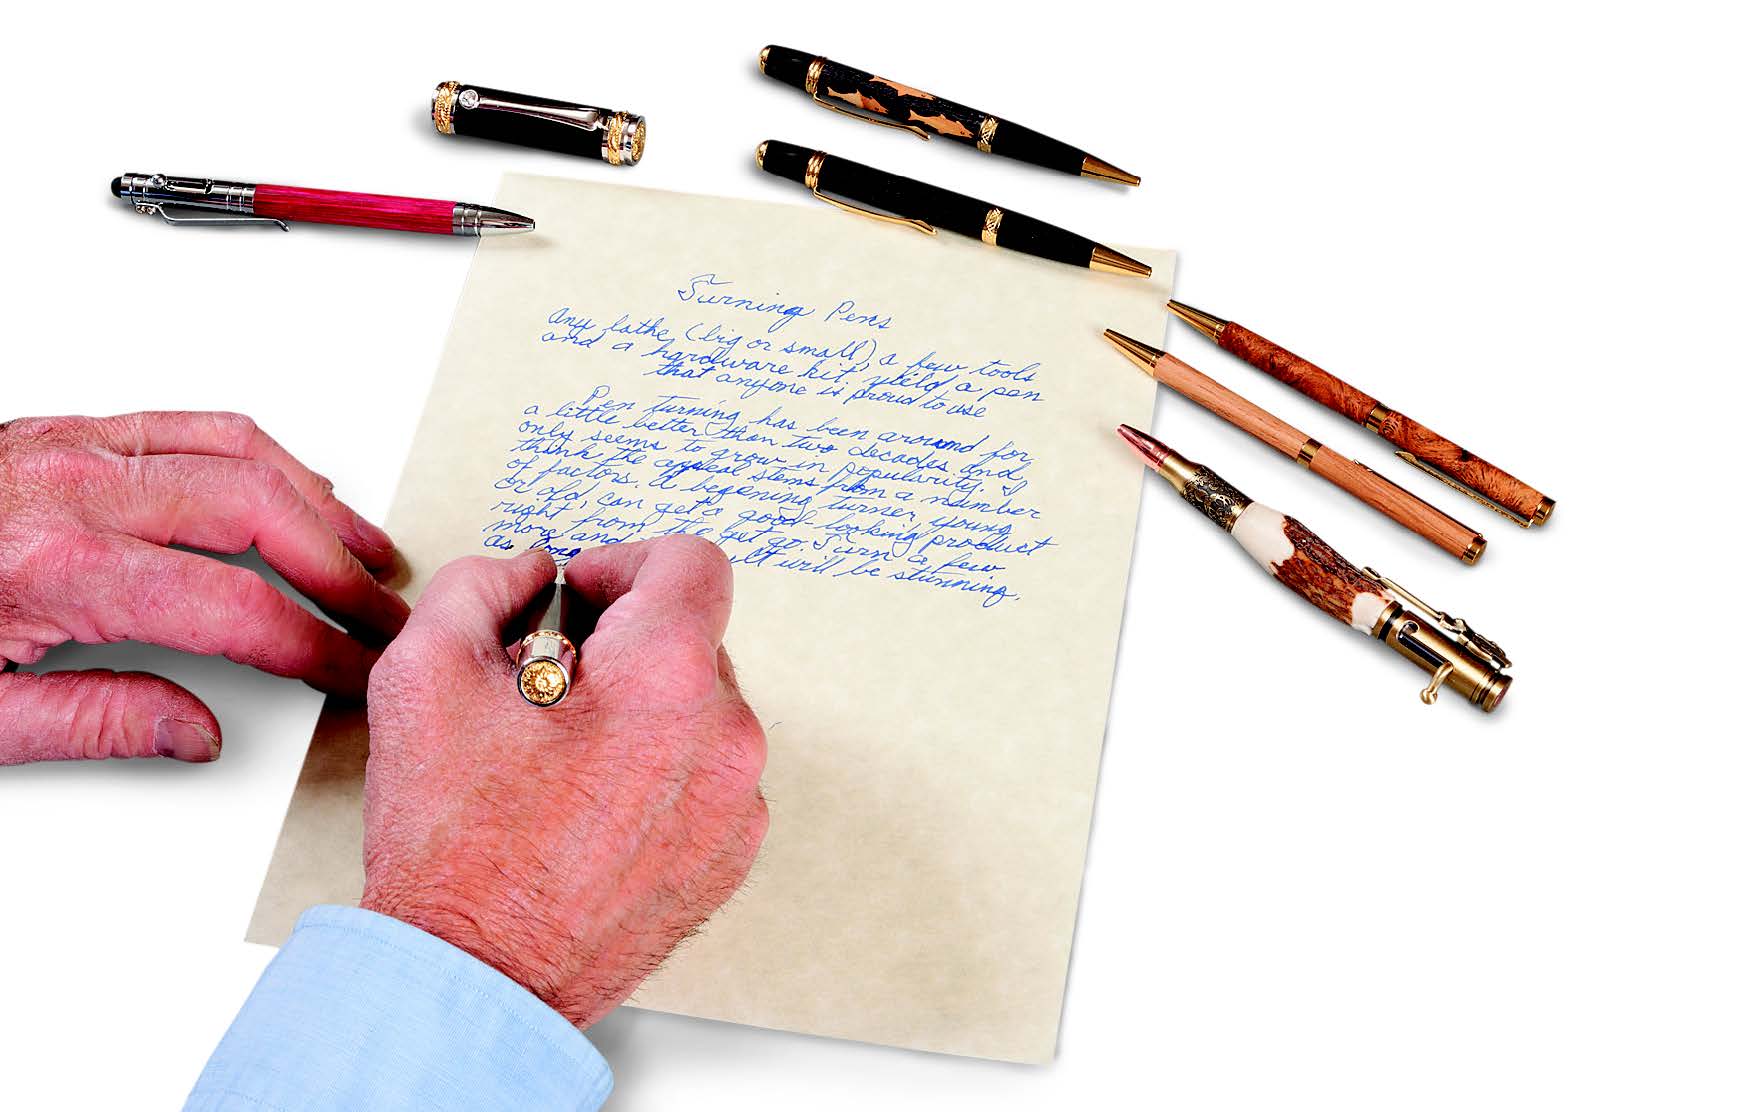
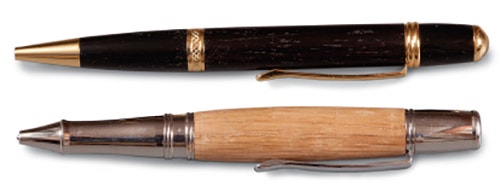
With a lathe (big or small), and just a couple of tools and a hardware kit, you can create a pen anyone would be proud to use.
Pen turning has been around for a little better than two decades and only seems to grow in popularity. I think the appeal stems from a number of factors. For one, a beginning turner, young or old, can get a good-looking end product right from the get-go. Turn a few more, and the results will be stunning. Plus, as long as it has Morse tapers, any lathe will work — a good many mini-lathes have been purchased for the sole purpose of pen turning. You can also choose how much to invest in this type of project: pen hardware kits can range in price from $3 to $55, the former being a simple retracting ballpoint and the latter being a fountain pen with a German iridium nib.
VIDEO: Pen Turning Tips
Pens are turned from 3/4" x 3/4" x 6" blanks of wood. You can either mill such blanks from scraps or buy them pre-milled for as little as $1.50 each. Although almost any domestic hardwood can be used, a dense, close-grained wood is best. Good domestic choices are maple, cherry, dogwood, apple and pear. Burl is always a good choice but it’s much chancier to work with as it can crumble at thin wall thickness. Just about any tropical wood is excellent.
Pens can also be turned from a variety of other materials, such as plastic, scraps of solid-surface countertop, or even antler. Wood made by pressing layers of phenolic resin under heat and high pressure which has the look of wood and the ink and dirt resistance of plastic. A little later, I will walk you through my experience with pen kits using specific materials.
Drilling Your Bore
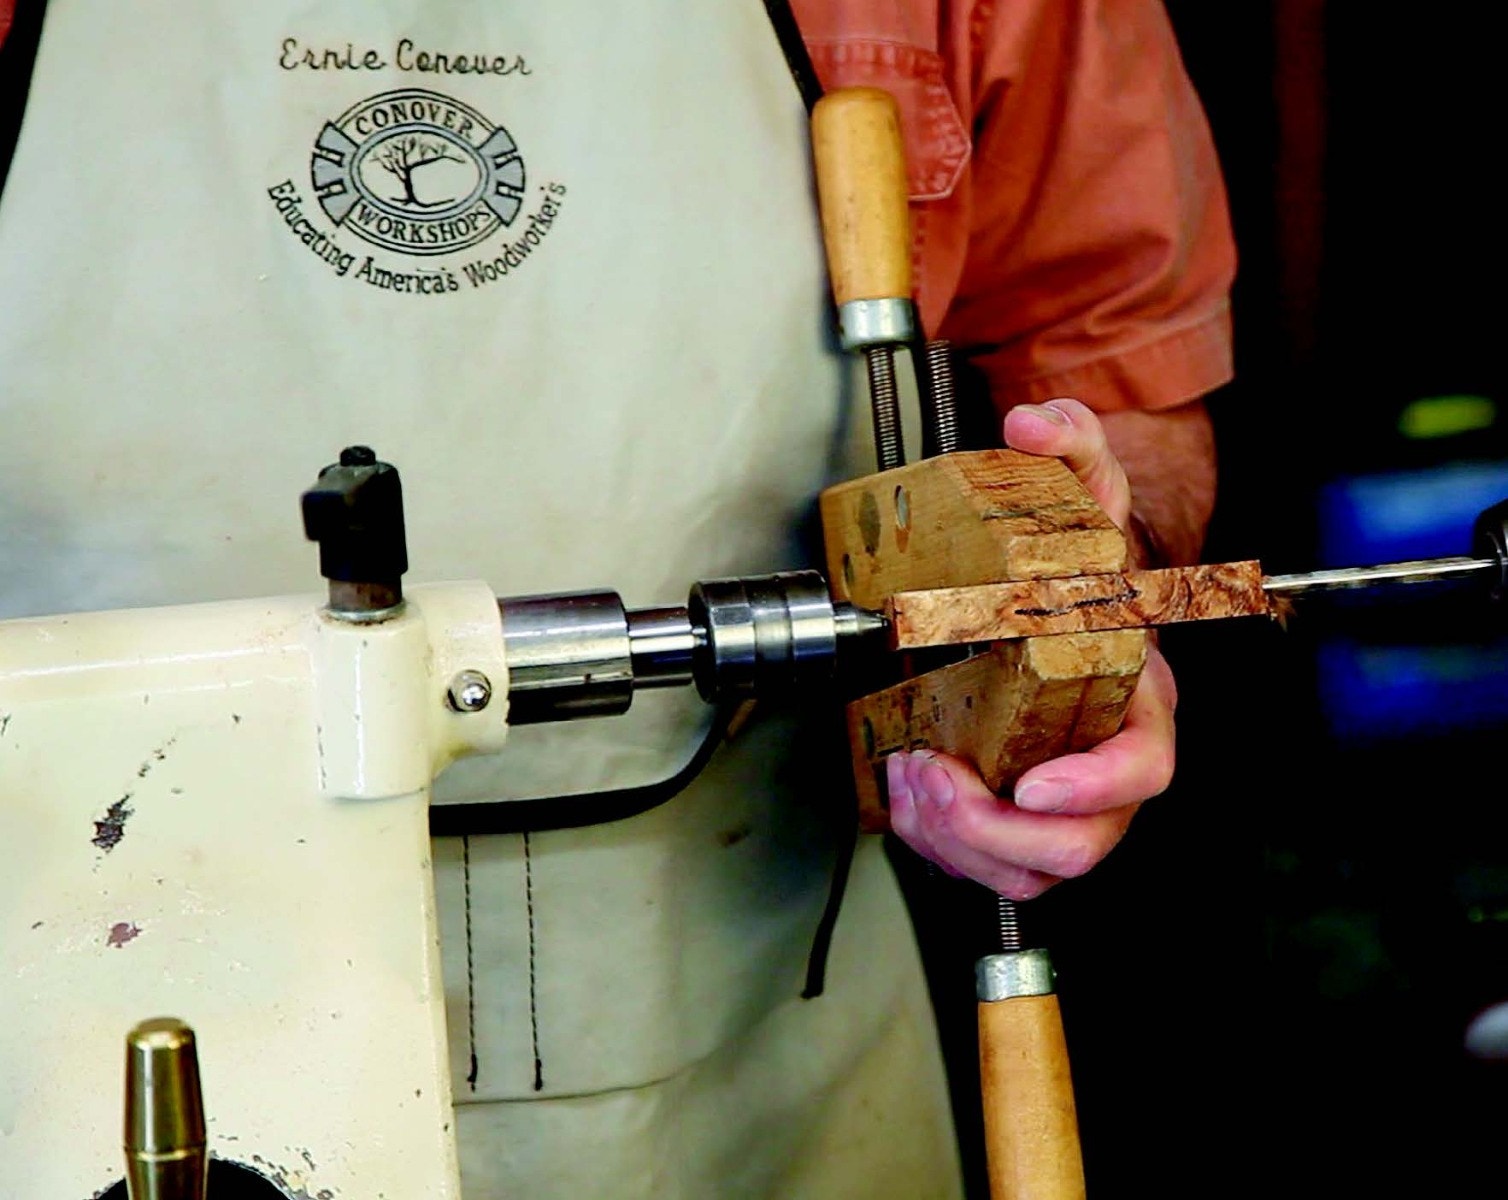
Whatever blank material you choose, you need to drill a hole through the center of it, into which is installed a brass tube that facilitates the press kit connections with the pen parts. Pen kits are all metric so, depending on the kit, a drill bit between 6 mm and 15 mm will be necessary. Having been first trained as a machinist, I have an index of fractional, number and letter twist drills. This allows me to make my pens to closer tolerances than envisioned by the kit manufacturers. I drill this hole on the lathe, rather than the drill press. Mounting my bit in a drill chuck on the headstock and pushing the opposite end of my blank with a live center in the tailstock, I bore about halfway through the blank from one direction, then flip it around and complete the process from the other direction.
It may then be necessary to cut the blank in half (drawing a line across it helps you to reassemble the grain pattern correctly later), before you glue in the brass tube.
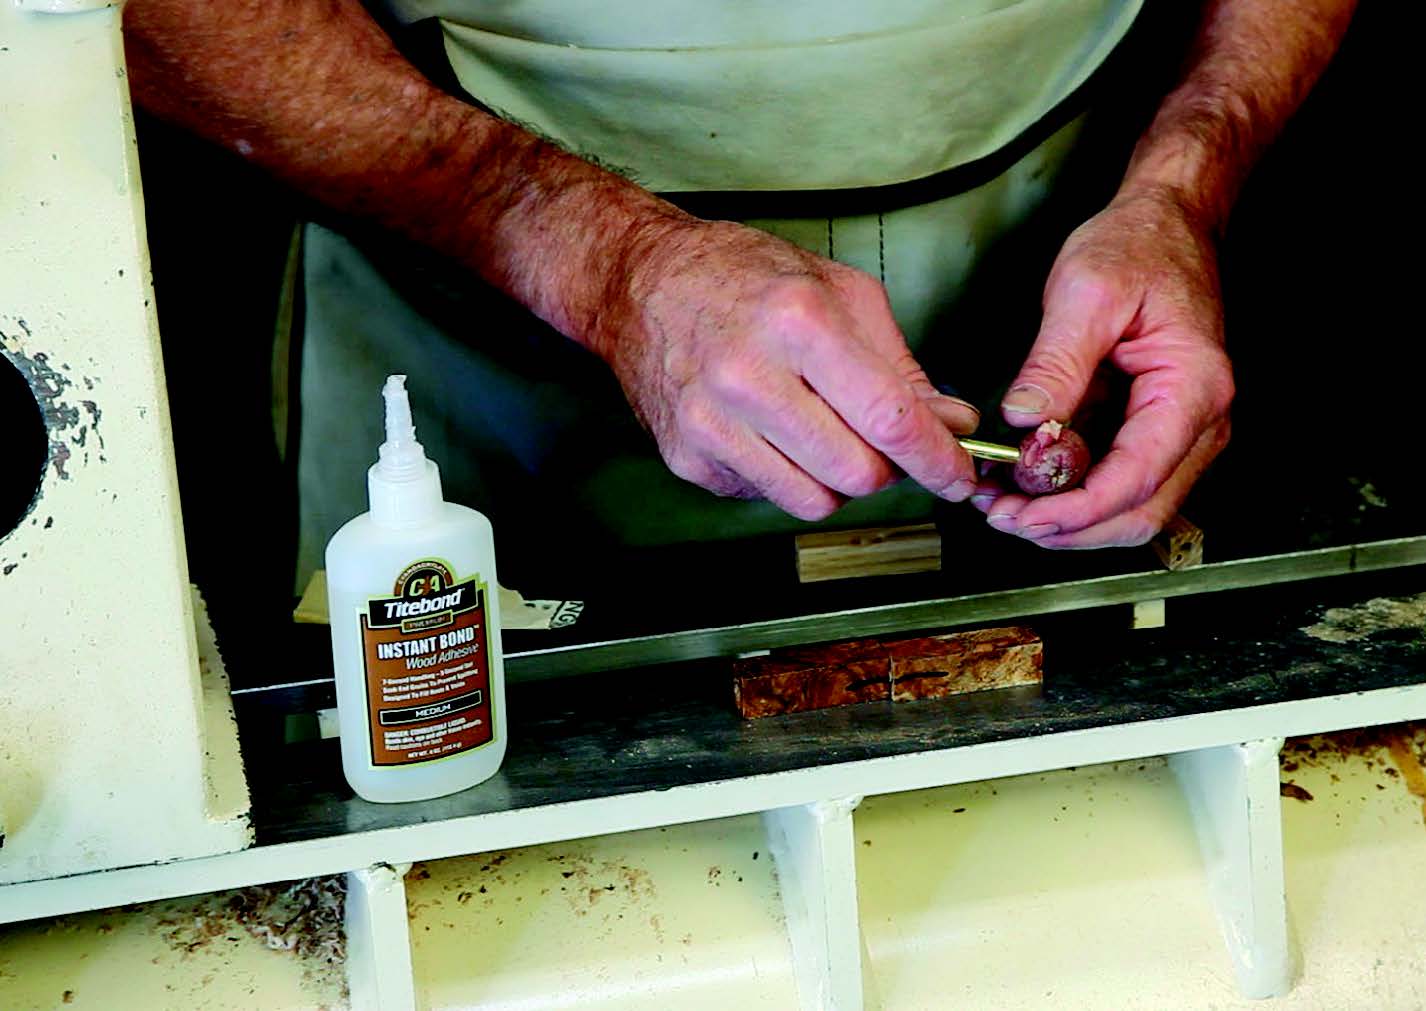
A couple of tricks when it comes to installing that brass tube: roughing it up with sandpaper will provide some surface grip for your glue. Also, you're not supposed to get any glue inside the tube. How do you accomplish that? My trick is to first press each end of the brass tube into a raw potato, as if you were on potato-peeling KP duty, which creates "plugs" of raw potato at either end of the tube.
After the brass tube is glued into your pen blank, a Barrel Cleaner/Pen Mill Kit makes it simple and foolproof to trim the ends of the pen blanks square to the center of the bore. It also cleans out the glue — or potato — from your brass tube.
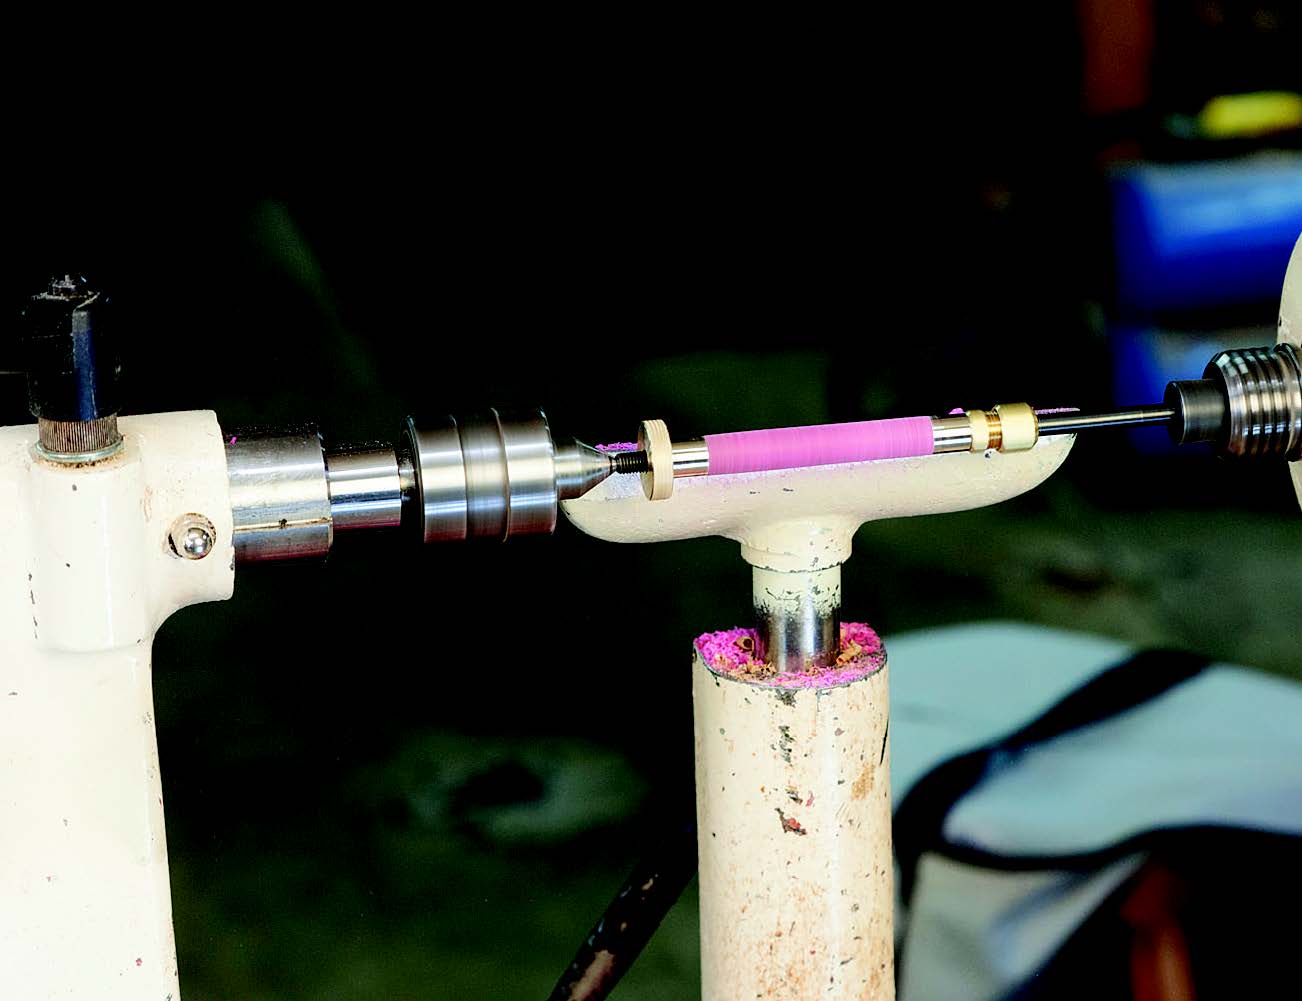
Turning to Size
After trimming your pen blanks, you’ll mount them on a pen-turning arbor in your lathe, with metal bushings between the blanks. Each pen style requires a different bushing set (there are more than 10 different styles), but once you own a set of bushings you can turn an unlimited number of pens of that style. Bushings range in price between $1 and $6.
A key factor to remember with your pen bushings is that they indicate the minimum diameter you can turn to: you want the other parts to match this diameter. It is my not-so-humble opinion that the best-looking pens are turned to tubes that are the same diameter as the bushings. This means the wood will be very thin — about 1/32".
A Pen Turning Mandrel greatly simplifies turning. It mounts into your headstock Morse taper and holds things on center while also indicating the correct diameter to turn to. A 60° live center stabilizes the outboard end of the mandrel.
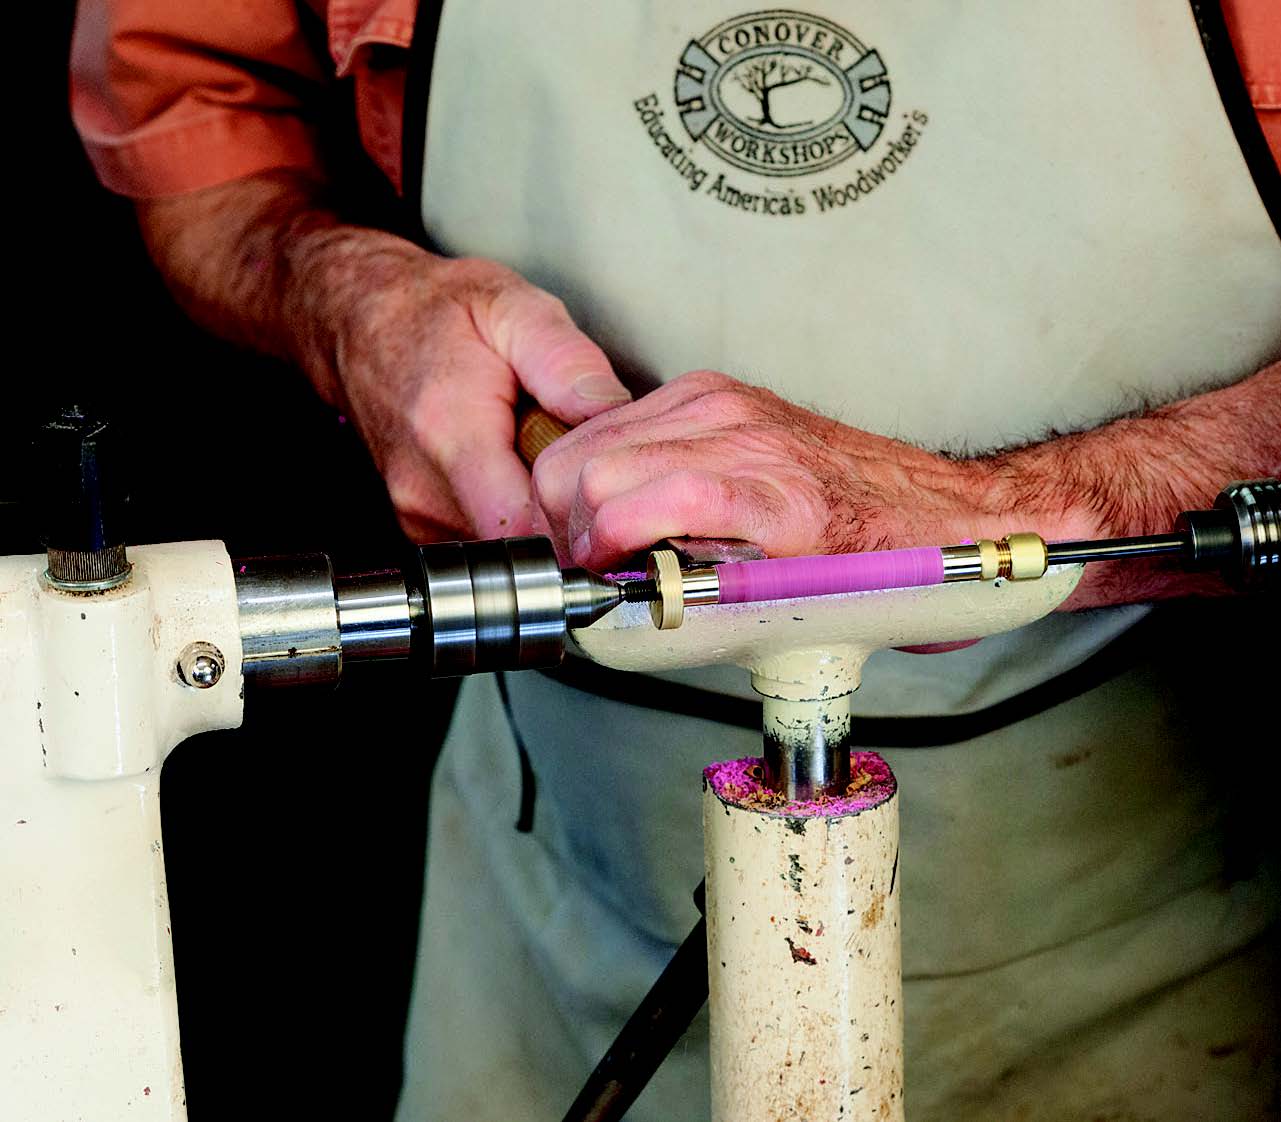
After you’ve turned the pen blanks to final size and completed your sanding, you’ll also want to apply your choice of finish (I often use carnauba wax) to your pen pieces before final assembly.
To assemble your pen, the finished pen needs to be pressed together. Special presses for this job are readily available (Rockler's, item 24577, sells for $99 and also serves as a drilling fixture for boring the hole in your blank). Another, cheaper option is to double-side tape some wood blocks to your headstock and tailstock spindles and make your lathe into an awesome pen press at zero cost. You can also use a rubber-faced clamp or a bench vise.
Fun With Specific Pen Kits
While working on this article, I tried out a few different pen kits. The Deer Hunter Bolt Action Pen was one of the more challenging. Your blank is a piece of antler, which means center drilling is hard because antler is oval and the ends are seldom parallel. You have to center-punch both ends and use the tailstock to push the piece against a drill mounted in the headstock, while holding the antler with a clamp. Because antler is curved, you have to calculate where to punch by eye.

Also, cyanoacrylate glue does not stick well to antler, so epoxy may be a better choice. Once the tube is glued and the ends of the antler trimmed to length, it must be tapered at the ends to match the pen hardware. Because antler is oval, the highest part of the oval sometimes needs to be turned away.
Then, during assembly, the antler has to be oriented so that the pocket clip will work. It cannot be pushed out too far or have a big gap under it. The bolt action is realistic, but it’s a mirror image of a real bolt action, putting it on the wrong side of the pen. Still, this pen brings rave comments.

Rockler's Tec Pen Bolt Action, a kind of companion piece to the Deer Hunter, is more straightforward to make and works very well. This kit also gives you the option to install either a standard metal pen cap or a touchscreen stylus for use with tablets and phones.

There are many other choices as well. For instance, Rockler’s Fishermen Laser Cut Pen Set comes with fish inserts that glue into place with medium cyanoacrylate glue. The resulting pen is good-looking and says things about the owner’s hobby. Kits are also available with piano keys, violins, horses, and the list goes on.

I also tried out both an inexpensive and a pricier kit. With the Slimline Hardware, you could pay more for a plastic pen at an office supply store. It is small and light like its plastic cousins, but you get a really classy pen that looks good in anyone's hands.
At the other end of the spectrum of pen kits, the Majestic Fountain Pen Kit was the most expensive I found in the Rockler catalog. I have been a fountain pen afficionado for years and I was pleasantly surprised at the quality of the German nib and the rest of the hardware. The clip even has a Swarovski crystal at the end.

The Majestic Fountain Pen Kit requires the bushing set, which sets the top of the barrel at a smaller diameter than the lower end that receives the nib.
Closing
In closing, let me say that pen turning is great fun that brings smiles to seasoned turners and confidence to beginners.
My biggest worry for pen turning is that, in this age of instant messaging and email, young turners are going to wonder just what exactly this thing they made is used for?


Keep the inspiration coming!
Subscribe to our newsletter for more woodworking tips and tricks