More on Using a Router Table as a Jointer
Can you use a router table as a jointer? As we've said before, "Yes, you can."
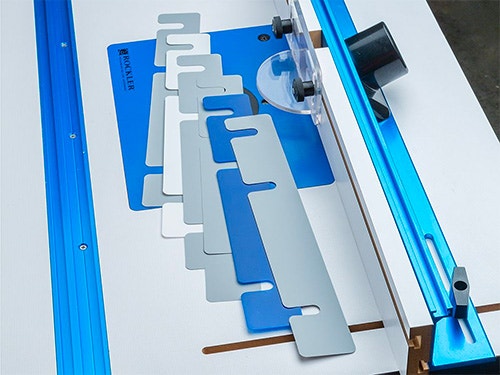
What's more, the set-up process is pretty simple if you own a Rockler Router Table and a set of Rockler's Router Table Jointing Shims. For more on how these handy shims can turn your router table in to a jointer in a couple of minutes, read "Using a Router Table as a Jointer" here on Rockler Learn.
Judging from the response generated by the jointing shims, this space-saving jointer alternative is a fairly popular idea. But it's caused a little confusion, too. The perplexity stems in part from the fact that in table routing, there is rarely a need to align the fence with the miter slot. Put another way, a router table is not a table saw. Since most of us have internalized the table saw imperative that says, "Thou shall keep thy fence in perfect alignment with thy miter slot," the confusion is understandable.
One common question was: Do you have to square up the fence to the miter track? What if you try the edge-jointing set-up and your stock comes out tapered (wider on one end)?
As with most router table operations, there is no need to align the miter track with the fence, since it is not used in the jointing operation - the fence guides the stock.
The important thing is to make sure that the in-feed and the out-feed side of the fence are parallel, and that the out-feedside of the fence is lined up with top dead center of the cut radius of the bit. That is the most difficult part.
You can use a straight edge to align the fence with TDC of the bit by placing it up against the out-feed side of the fence and (with the router unplugged, of course) turning the bit manually and adjusting thefence until the bit's cutter just brushes up against the straightedge.
An easier way is to use a piloted flush trim bit and a straight edge. The pilot bearing will tell you where top dead center is, regardless of where the cutters are positioned.
Jointing is really only good for one thing: making one straight edge on a piece of stock. If you want parallel edges on either side of the stock, you have to joint one edge straight and then run it through a table saw to make the edges parallel.
The taper you are getting may simply be a result of the shape of the stock. If a piece of stock has a good sized crook in it, ending up with a piece that's narrower on one end is not uncommon, and ending up with parallel edges is impossible. The usual solution is to take several partial passes on each end of the stock with the convex side facing away from the fence until the stock begins to "straighten out". Then make full length passes to finish off the straight edge.
If the taper you are getting is severe and the stock you are starting with is relatively straight, there's something wrong with the set-up, or the technique. Check to make sure that the in-feed and out-feed sides of the fence are parallel and that the bit is positioned in correct alignment with the out-feed side of the fence. The set-up has to be precise. After that try again, making sure to keep the stock in contact with the fence throughout the cut.


Keep the inspiration coming!
Subscribe to our newsletter for more woodworking tips and tricks