Making the Most of Your Router Bits: Dish Carving Bit
There are many projects that require the milling of pockets, and the dish carving bit is a huge help.
There are many projects that require the milling of pockets. Antique game tables nearly always had dished-out areas for candles and game chips.
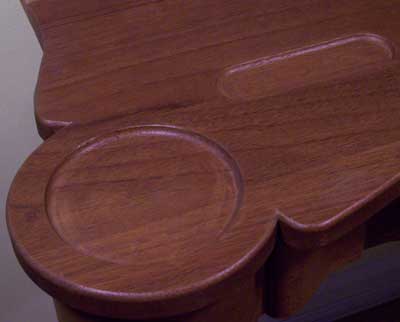
Signmakers often raise letters by removing the background around them, and all sorts of serving trays, bowls and stands are dished out to provide a rim for keeping things in.
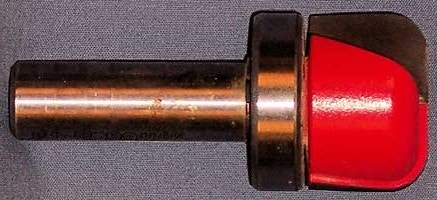
I used to use a simple round-nose bit to mill out these areas, but the Dish Carving Bit (sometimes called a bowl bit) vastly simplifies the process and has other uses in your shop. Since the very tip of a round-nose bit is quite small and has no real flat on the tip, it takes many passes to mill out an area, and typically needs carving and scraping to smooth the bottom. The Dish Carving Bit provides a wide, flat cut at the tip, but is rounded over on the corners of the cutting edge so the area being milled always has a smooth curve transitioning from bottom to side. This is especially important for serving trays and such as it makes them much easier to clean after use.
This particular bit comes with a matching bearing. The bearing makes it easy to use templates to control the shape and size of the pocket being milled.
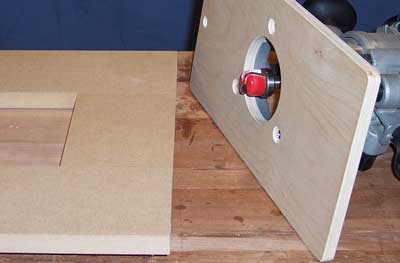
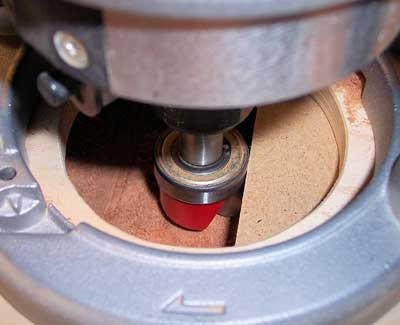
For deep cuts (like snack bowls) as the cut deepens, the bearing will guide along the previously cut edge, so the template does not need to be overly thick. Templates allow you to make a number of pockets that are the same size and shape, or even irregular shapes. The only real limit is in the corners. Their minimum radius is determined by the bit diameter.
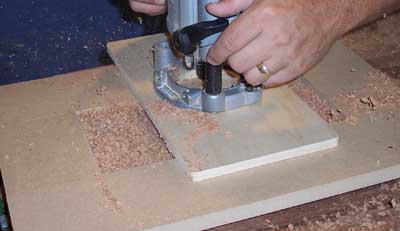
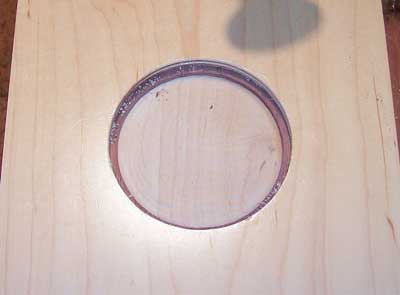
Here, I am using the bit to mill a water well for a Japanese style tea tray. Because the pocket is wider than the router base, I am using an auxiliary base to span the template, insuring a smooth bottom. Waste will need to be removed as it builds up or the bearing might be guiding along a pile of chips rather than the template.

This bit earns its keep in my shop just for making pockets, but I find myself using it for other tasks as well. Here, I am using it to trim edge banding on a cabinet side (Photo 6). The rounded corners keep it from leaving lines. The smooth transition from side cut to bottom cut also minimizes tearout along the outside edge.

Mounted in the router table, the round corner and flat bottom combine to make an excellent back cutter for door panels. Thicker panels tend to sound and feel better than using 1/4" plywood, and this setup allows you to tailor your panel to fit the groove.

For serving sets, reproduction tables, gameboards and a host of other projects, the Dish Carving Bit will become your "go to" solution for many common tasks.


Keep the inspiration coming!
Subscribe to our newsletter for more woodworking tips and tricks