How To Make a Perfect Miter Joint

How to cut and assemble a perfect miter joint.
Cutting tight, clean miters requires that two conditions be met: The angle cut on each end of the joint is the same and adds up to the desired corner angle (a 90 degree corner requires two 45 degree miter cuts) and, for square or rectangular assemblies, that the length of opposing pairs of parts of the assembly be exactly the same. Each member in a rectilinear construction equals the length of the outside dimensions of the assembly. For example, a 10 in. by 8 in. mitered frame requires one pair of members 10 inches long and the other 8 inches long.
There are lots of different ways to cut parts for a basic miter-joined frame: with a handsaw and miter box.
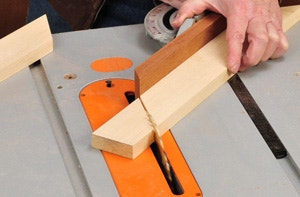
You can also use a table saw and miter gauge or a special miter jig.
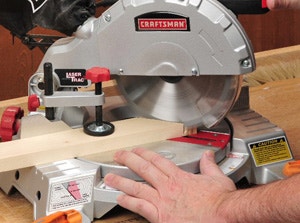
Or use a dedicated crosscut saw, such as a radial-arm saw, or compound miter saw.
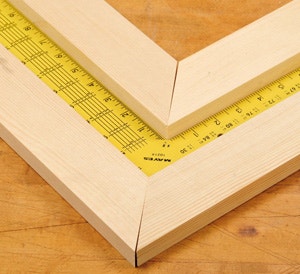
Regardless of the material or method you use to cut mitered components, accuracy is a must: very small discrepancies in the angle of mitered parts results in "open miters:" joints with gaps either at the tip or the base.
To assure tight fitting corners, set your saw (or miter box) to the desired angle and cut a pair of sample pieces. Put the pieces together and check it with the largest, most accurate square or angle gauge you have. If your cuts are off by only a degree or two, the resulting corner will show a visible gap.
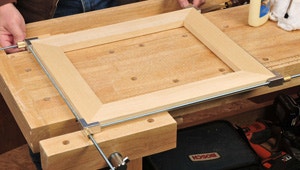
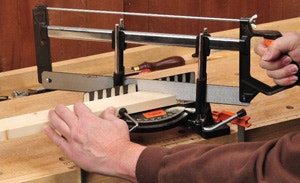
Mitered parts can be butted together and glued, as both solid and plywood members will have partial side grain contact. Gluing produces enough strength in plain butted miters that don't have to endure heavy use, such as picture frames, small boxes and trays, etc. But miter joined assemblies that lack reinforcements (dowels, splines, etc.) are a bit tricky to glue up, as parts tend to slip out of position during glue up. There are several ways of keeping parts in place as clamps are fitted and tightened. One way is to use a special frame clamp or web clamp that applies pressure on all four corners of the assembly as the clamp is tightened.

If you use regular bar or pipe clamps, try driving a small nail into the miter at each corner, to keep parts from sliding around.
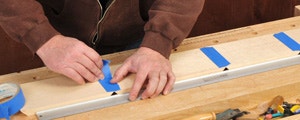
A useful method for gluing up small boxes, trays and drawers is to use masking tape to hold parts together. Start by laying all four parts inside-face down on a flat bench with mating corners paired together. Align the parts' edges flat against a yardstick or straight board. Apply a strip wide masking tape across each joint seam.

Next, carefully flip the taped-up assembly inside-face up and spread a thin layer of glue to each miter surface, then set the assembly on edge and "roll it up" so that all the miter joints close. Add tape to draw the open ends of the assembly together, and apply clamps as necessary to draw each corner tight.


Keep the inspiration coming!
Subscribe to our newsletter for more woodworking tips and tricks