Installing Torsion Hinge Lid Supports
These specialized all-in-one hinges prevent pinched fingers and hold lids open on chests or boxes.
Lids on chests and other large boxes can be heavy, especially when they're made of solid wood. To counteract the potential for slamming and pinched fingers, you'll typically need to supplement a lid's hinge system with a separate lid stay or support hardware of some sort to hold the lid open. But not all lid stay options counteract a potential free fall as a lid is being opened or closed. They also can be tricky to install accurately and waste interior storage space. Some of the hardware options aren't particularly attractive, either.
Rockler's popular Lid-Stay Torsion Hinge Lid Supports solve a number of these shortcomings. Similar to the hinges on laptop computers, these heavy-duty, cast-zinc hinges have a unique torsion mechanism in the barrel that can support lids in the open position, as well as hold them open incrementally up to 90 degrees. There's no need to incorporate separate lid stays. Available in bronze or nickel finishes, this hardware has been tested to 25,000 cycles, assuring that these unique hinges should never need to be replaced.
Rockler offers its Lid-Stay Torsion Hinge Lid Supports in 15, 30, 40 and 60 in-lb ratings to suit a wide range of lid weights. Combining the hinges in multiples of the same load rating or even different load ratings can help you achieve the right hinge action for your project. Calculating the correct combination of hinges is easy.
Online Torsion Calculator

Rockler provides a convenient "Torsion Calculator" feature on the Lid-Stay Torsion Lid Supports order pages. To determine the correct load rating and number of hinges for your project, simply measure the width of the lid panel and weigh it on a scale. Enter these values into the calculator, and it will instantly report the number of in-lbs required to support the lid as well as the hinge options for achieving it. Since these hinges can be purchased either in pairs or separately, you might be able to combine two higher-capacity hinges or a combination of three or more hinges of varying capacities to achieve the torsion required.
Installation Options
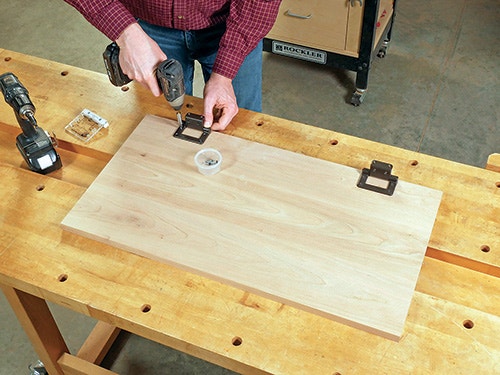
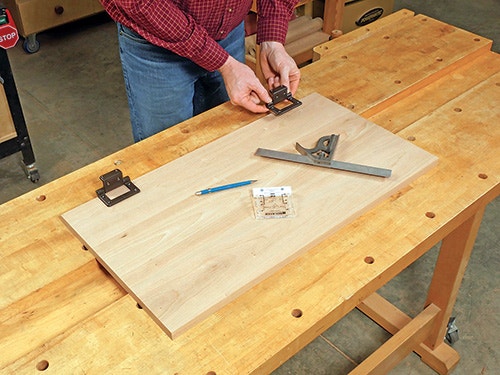
Lid-Stay Torsion Hinge Lid Supports are simple to install. The larger flat hinge leaf mounts to the bottom face of the lid without the need for a mortise.
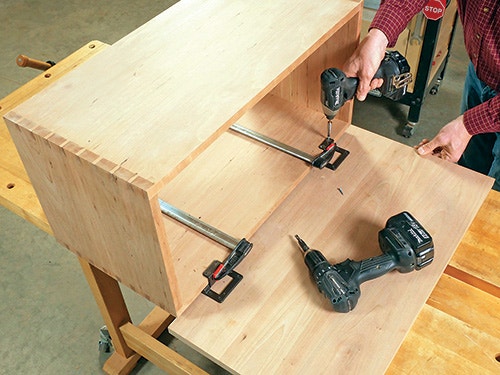
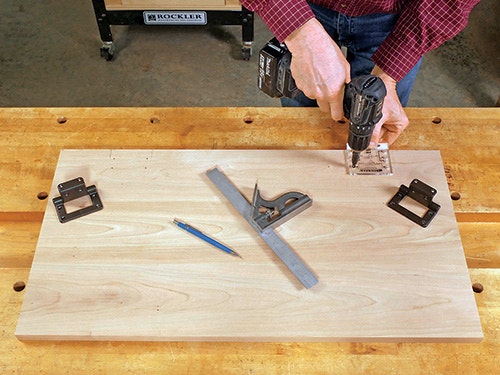
Rockler offers a Lid-Stay Torsion Hinge JIG IT template as an accessory that makes the process even easier by setting the exact position of the lid installation screws.

Holes in the jig are sized to fit a #6 self-centering drill bit for boring the screw pilot holes, and two options for hole placement enable you to mount the lid either flush with the back of the carcass or with the lid overlapping the hinge barrels.

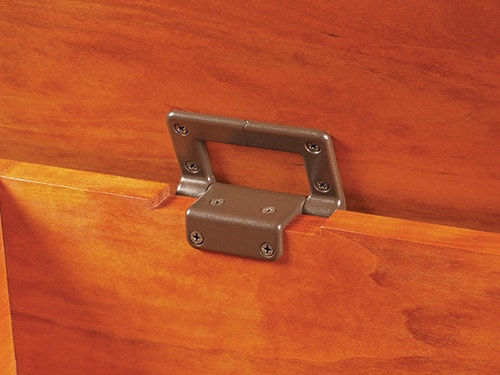
The smaller "bent" hinge leaf wraps around the top back edge of a chest or box (3/4" stock only) and attaches with a pair of shorter screws driven horizontally and two longer screws driven vertically into the carcass.

This leaf can be mounted to the project without a mortise. However, when the hinges are folded shut in this configuration, the lid will stand proud of the chest or box in back by the thickness of the hinge hardware (about 3/16").

You can hide the gap by applying moldings around the lid or by making the lid oversized with wide overhangs.

Alternately, you can eliminate the gap by routing or chiseling mortises into the top back edges of the carcass to recess the hinges. The width of these mortises must be as wide as the wider lid hinge leaf so the leaves can nest together when the lid is closed.


Keep the inspiration coming!
Subscribe to our newsletter for more woodworking tips and tricks