How to Prepare Edge Joints with Hand Planes - A Free Video from the Center for Furniture Craftsmanship
Often, machined edges are still not flat enough to have a perfectly tight joint with no visible glue seams. Learning to sharpen, tune and use a longer hand plane will help you achieve the perfect edge joints.
This video was produced for its free video library by The Center for Furniture Craftsmanship in Rockport, Maine. The Center is a nonprofit, international woodworking school dedicated to providing the best possible education in wood craftsmanship and design.
How to Prepare Edge Joints with Hand Planes with Tim Rousseau
In this video, Tim Rousseau, an instructor at the Center for Furniture Craftsmanship, demonstrates how use a hand plane to prepare an edge joint that is going to be glued.
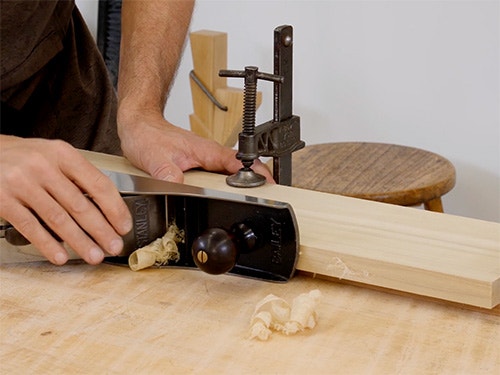
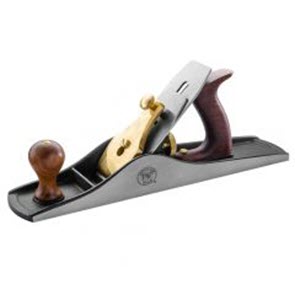
In all joinery, but especially highly visible edge joints, it is important to have a smooth fit. One of the best ways to accomplish this is with a well-tuned #5, 6 or #7 hand plane. The longer plane body will help reach a flat surface.
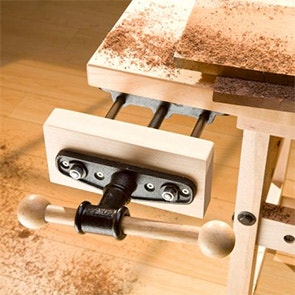
After choosing the grain pairing of the boards, mark a cabinet makers triangle across and mark arrows on the edges to know which sides you are planing. For unobstructed planing, you can use a shooting board or clamp on top of each other to raise the board off the surface, or fold together like a book and secure in face vise.
There are important methods to flatten the boards accurately. Start by planing a cavity and then flatten with pressure to avoid convexity. You will know they are flat when you hear the squeak.
The goal is to end up with a light spring joint; slight hollow inside so when clamped, tightens flat and the ends will always be in compression.
Related Product Categories


Keep the inspiration coming!
Subscribe to our newsletter for more woodworking tips and tricks