Video: How to Make the Ultimate Router Table
In this video, David Picciuto redesigns his router table to make the ultimate workshop accessory.
David Picciuto builds his dream router table, with all the bells and whistles and every accessory he can think of.
You can find more great projects and techniques from David Picciuto at his website.
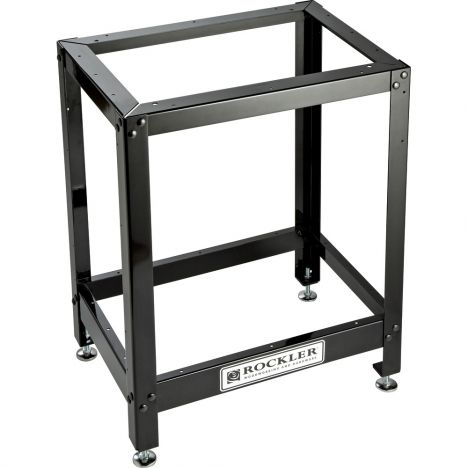
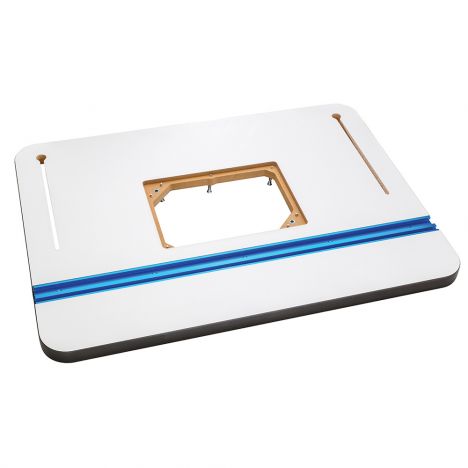
Featured Tools:


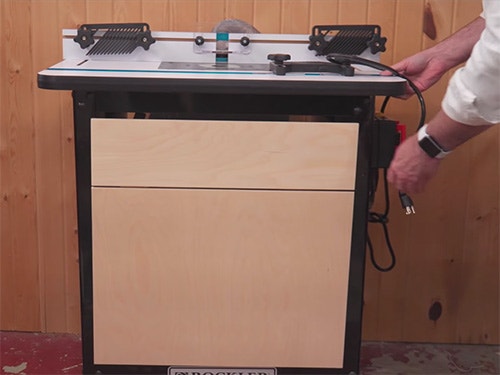
David Picciuto: Today's video is sponsored by Rockler Woodworking and Hardware, create with confidence. Today we're teaming up with Rockler to build the ultimate tricked out router table. If you recall a few weeks ago in my tools, I like tools, I don't like video, I showed the Bench Dog router table over here. This is a perfectly fine table. The things that I wish were different was I wish I had a bigger top, I wish I had dust collection on the inside and I wish it was a little bit more organized.
The inside here is just a mess. This is embarrassing. This is why I don't have people over to the house and it was built on top of this cabinet. This is one of the first things I ever built way back when I had a 10 foot by 10 foot shop. We're going to redo this whole thing. We're going to have better organization, we're going to have dust collection below, we're going to have dust collection on top, we're going to have a bigger table.
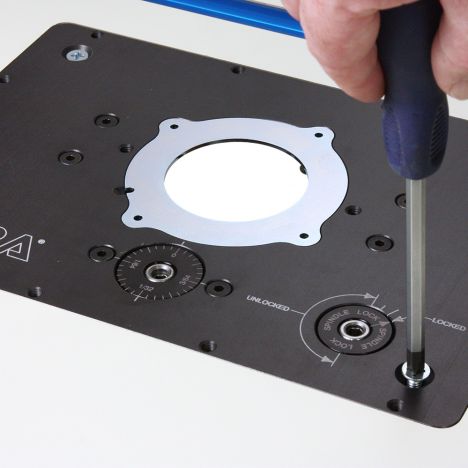
I have this Incra router lift that I want to reuse because this thing makes life a lot easier so you can raise and lower the bit. Run your hand over a sharp bit. I didn't say I don't like James Bond movies, I just said I've never seen a James Bond movie.
Cameraman: How do you know you don't like them? Maybe you hate them.
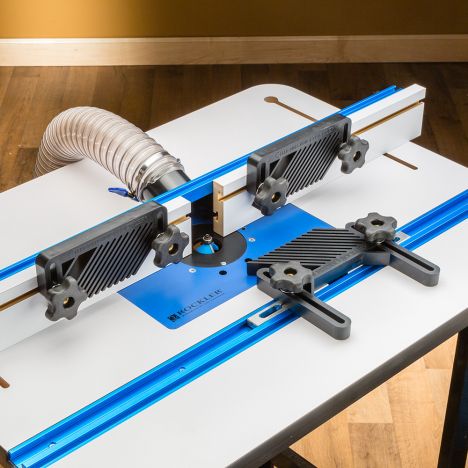
David: We didn't get to watch a lot of movies when I was a kid, and as an adult, I became a picky ass bastard. I'm eating a taco for lunch. Who's in your house? This fence looks awesome. You can position it any place and even pop out over here, which that's a cool little feature, and then it just tightens down quickly and with ease. These two pieces can move in and out and easily tighten down. If you wanted to just line up the fence with the bearing on there, tighten that down.
If you're in the safety get this little guy to keep your finger safe. There you go. Now, this could be done. We could be done with the router table, but we're not. We're going to trick this guy and we're going to add some dust collection, we're going to add some bit holders and some customization and some...There we go. Now, we've got those two connected. We connect that to the dust collector. How do you like me now? When screwing things in, always get it started spinning before you put it in.
Cameraman: Is that a pro tip?
David: A pro tip. Just a pro tip. Now we got the side panels put in. Here's my thought about the front. There's some good space in here that I want to use, and I'm thinking about a big drawer or doors down here to hold my other router stuff. Up here, maybe some sort of slide out tray for all my bits and one on each side here. Maybe a front panel right here, where I have the variable speed control sticking out of there, and then this thing that I just broke [laughs] the safety stop right here. That's my thought. Where do we go from here? Can you hand me the tape measure?
Cameraman: Yes, man.
David: Start it early. We have the bottom of the drawer done, not installed yet. For the top drawer we have this, where the router is, this is going to be an issue. What I'm thinking about doing is creating a little U that comes around and pulls out. That'll be bit storage, and I can make custom little bit storage thingy do- things that go right here. We're going to cut that over in a table saw. We're just going to make a bottom to this shape, and we're going to cut little rabbets in here for some side pieces. We're just going to wing it, and we're going to see what happens.
We've got a nice rabbet all the way around. Now, we're going to cut this part out over...There we go. Top drawer. I have this little router bit rack I'm going to screw on the side here. I need to order another one to screw on this side because this doesn't hold on my bits. Let's get this guys installed. Finally, some organization. Let's put this drawer fronts on here. Normally, I would glue this on, but I'm just going to screw it on because I might want to change it out later for something more fancy.
It works. I'm not going to put any drawer door handle on there just yet because I like the clean look. Maybe someday if it starts to drive me nuts, I'll throw some door handle on there. Right now I can store all my routers, jigs in there, my bits in here. I have to build a little compartment to hold all the bushings and things like that. That's going to go right here, and then I'm going to put another little router bit rack on the other side. One last thing to do. Now, typically, you would do this on the front so you can hit the stop with your knee, but this ain't your typical woodworking channel now, is it? Also got the speed control hooked up.
I'd like to thank Rockler. Without them, videos like this wouldn't be possible. Once again, I have links to everything down below. That is it, folks. If you're new here, please hit that subscribe button. You might also want to hit that notification button down below so you get notified when the videos go up. I try to put out videos every Thursday, and sometimes on Tuesdays. I do have signed copies of my books available at my website at makesomething.tv. As always be safe, have fun, stay passionate and make something.
Cameraman: Make something.
David: Can you hand me the tape measure?
Cameraman: Yes.
-
 Incra Mast-R-Lift-II-R Designed for Rockler TablesSpecial Price $429.99 Regular Price $479.99 Save $50.00
 -


Keep the inspiration coming!
Subscribe to our newsletter for more woodworking tips and tricks