How to Make a Tongue-and-Groove Joint
What do you get when you cross two rabbets with a dado? A simple, multipurpose joint you’ll make again and again.
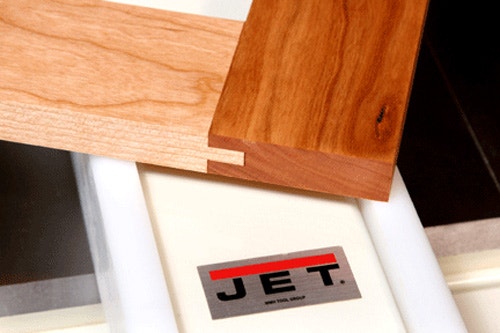
The tongue-and-groove joint consists of a centered tongue on one workpiece that fits into a matching dado or groove in another workpiece. Their interlocking geometry, combined with lots of surface area for glue, makes tongue-and-groove joints good choices for assembling cabinet doors or face frames, installing wood shelf stiffeners or for use in practically any frame and panel application you need. A dado blade cuts the joint in a jiffy. Here’s how:
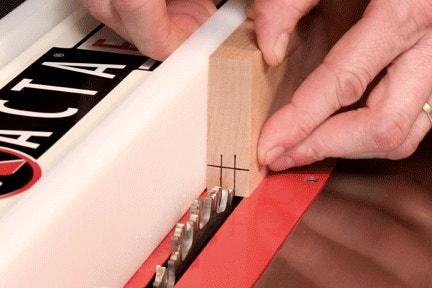
STEP 1: The usual convention for building tongue-and-groove joints is to cut the groove (or dado) first, then mill the tongue to fit it. Although the proportions of the joint parts can vary, usually the width of the groove is 1/3 the thickness of the mating part. So, on 3/4-in. stock, make your groove 1/4-in.-wide. Use a combination square or mortising gauge to mark the groove location on your workpiece. While you’re at it, mark the groove depth now, too: 1/4- to 1/2-in.-deep grooves are typical.
STEP 2: Install a 1/4-in.-wide dado blade in your table saw, and use the workpiece layout marks to adjust the rip fence for a centered cut. At this stage, it’s not crucial that the blade be perfectly centered on the workpiece; just get it as close as you can between your layout marks. Then raise the blade to meet your groove depth layout line.
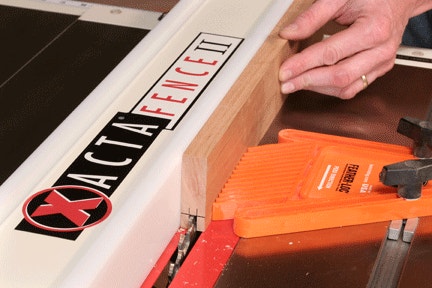
STEP 3: Guide the workpiece along the rip fence to cut the groove, then flip it end for end and make a second pass to center the groove. Use a featherboard, clamped just ahead of the blade, to keep the workpiece pressed firmly against the fence during cutting.
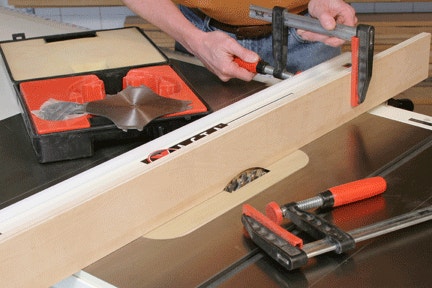
STEP 4: A pair of rabbet cuts will create the tongue on the other workpiece. To set them up, start by restacking your dado blade so it’s wider than the length of tongue you want to make. Then, you can use a sacrificial fence, clamped to your rip fence, to expose only as much of the dado blade as you need to cut the rabbets. The sacrificial fence already has a blade relief area cut into it. You can make this relief cut by raising the blade slowly into the sacrificial fence with it clamped to the rip fence, but make sure the blade teeth will not come in contact with your rip fence in the process.
STEP 5: Use the grooved workpiece as a guide for setting the tongue’s length. To do this, adjust the rip fence until the outer teeth of the blade meet your groove-depth layout line. Lock the fence here. Raise the blade until it just “kisses” the bottom of the groove.
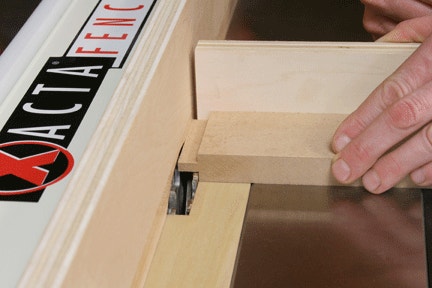
STEP 6: At this stage, it’s time to make some test cuts on scrap that matches the thickness of your tongue stock. Back up these rabbet cuts with your miter gauge, and feed the workpiece along the rip fence to cut the first “test” tongue. If you screw a scrap fence to your miter gauge first, these rabbet cuts will be crisp and tearout-free.
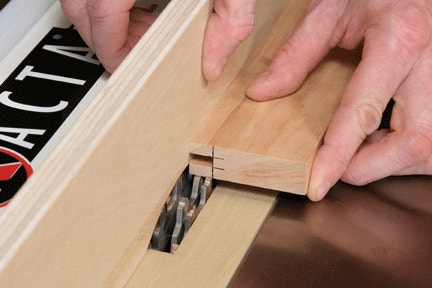
STEP 7: With some luck, your test tongue may slip perfectly into its groove. Good show! Grab your workpiece and cut the actual tongue. But, if the initial setup didn’t quite hit the mark, here’s how to fix the common misfits:


STEP 8: What constitutes a good tongue-and-groove? Aim for the parts to fit together with just a bit of friction but no force.

You may even want to cut your tongues about 1/32-in. shorter than necessary. That way, there will be a little clear space in the bottom of the groove for excess glue to escape.


Keep the inspiration coming!
Subscribe to our newsletter for more woodworking tips and tricks