Video: How to Build a Large Bookcase
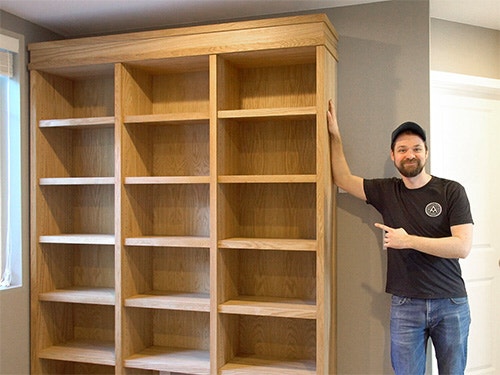
In this video, Michael Alm builds a large, sturdy bookcase that can be broken down.
Michael Alm had a client that wanted a large, well-built display case for his artwork. Here, he builds out a large case with many display panels and extra features.
You can find more great projects and techniques from Michael Alm at his website.
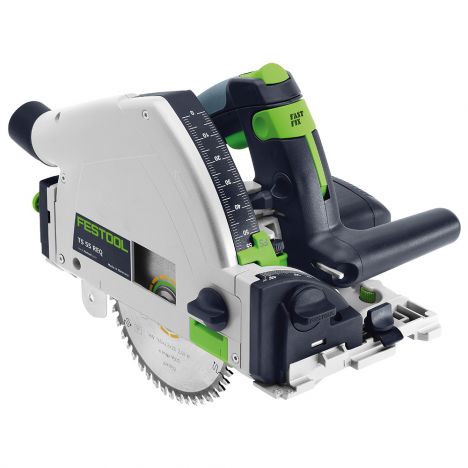
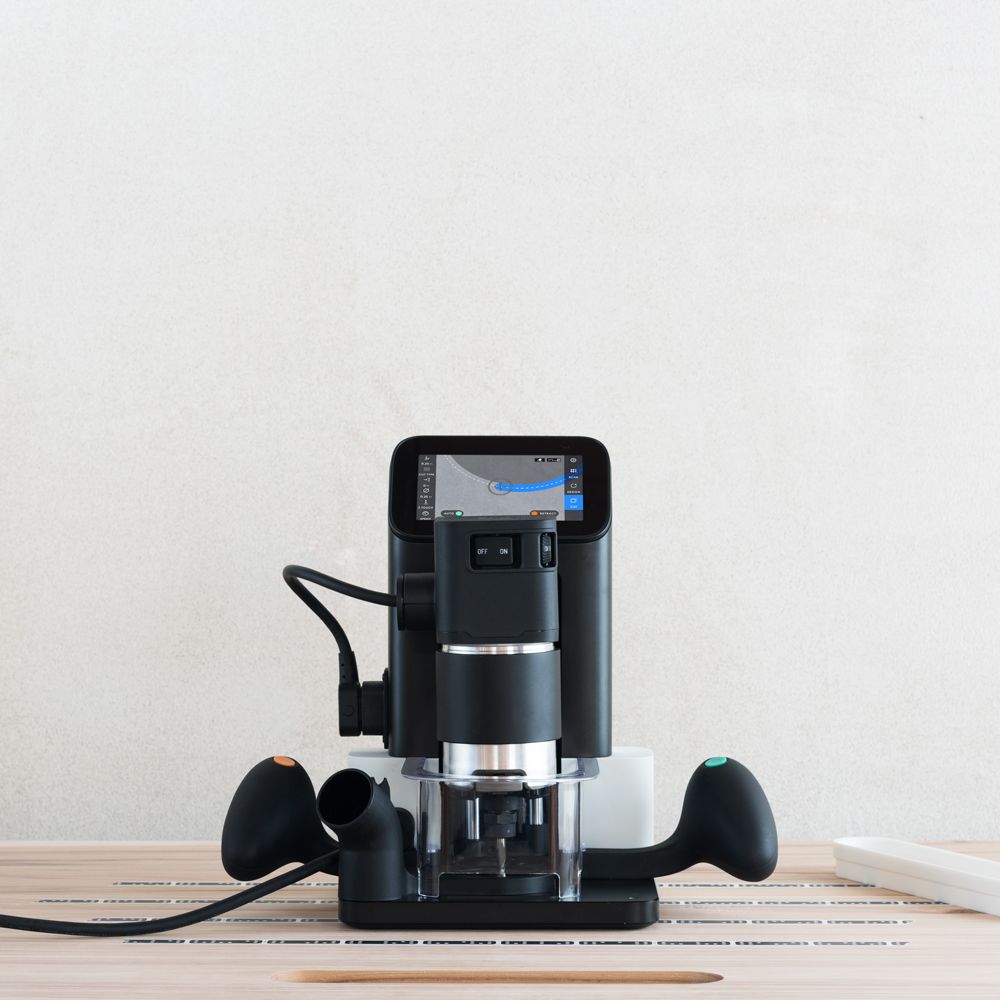
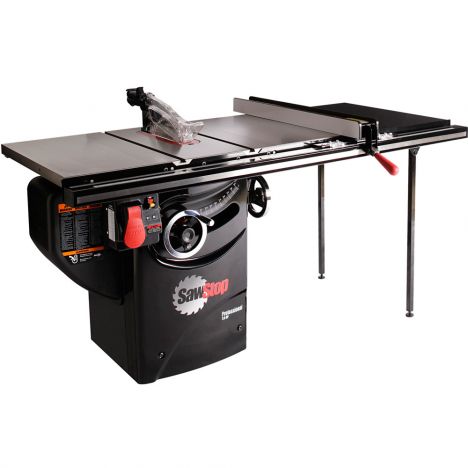
Featured Tools:


Michael Alm: Hey, everyone, Michael Alm here, I'm back in the workshop, working on a bookshelf this week. This bookshelf is being built for a client of mine and they requested a bookshelf to house their art book collection. It needs to be pretty sturdy. Then they also told me that it needs to be able to be broken down and moved eventually. I need to take that into consideration with the design. I'm using white oak plywood on this build as well as some solid white oak for the trim. I really like white oak. I haven't used it a ton, but every time I use it I think to myself, "Oh man, this is really good looking." Hopefully, it'll be using it more in the future.
I cut down a whole bunch of panels that are to the depth of the bookcase. What I'm doing here is I'm squaring up one edge and then I'm going to cut it to length. It's really important when you're working with sheet goods, not to trust that the factory edge is actually square. I always square off that front edge make sure that the whole panel is square together. Then I can move from there. I can trust it. It's really important for these bays to be perfectly square. I'll keep mentioning that throughout this build about how to ensure that your cabinet bodies are squared.
The first six panels that I cut are for the sides of each bay. There are three bays total and now I'm setting up to cut the tops and the bottoms. I like to use a stop block here. This just makes sure that the panel doesn't bind in the table saw when it goes through the crosscut sled. You can see on that left side, it's clear so I can just pull it away from the saw blade. I cut six of these panels and these will make up the tops and the bottoms for all three bays. I'm attaching some cleats to the side of my workbench now so that I can set up to drill the shelf pinholes.
I'm doing this at an early stage usually earlier than you would, but I wanted to try it out with the shaper origin. I've used shelf pin jigs before and they work fine. It's definitely an option and you don't need this machine to do this operation, but I wanted to err on the side of precision, I have messed up shelf pin jigs before and that tends to be user error. It's a really frustrating thing. I figured I'd test out shaper origin and see what it can do as far as precision and I was super happy with the results. Took a little bit longer than it would with a shelf pin jig but the holes were incredibly clean and consistent, which is what I was looking for.
These cleats not only hold the panel in place, they also registered the next panel. I was able to do all six of them pretty easily. I left that back panel with the shaper tape on it as a way to not use up more shaper tape than I had to. If you're looking at this and you're like, "What the heck is this tool? What is he talking about?" I have a full video on shaper origin that you can go check out and it covers the basics of it. It's essentially a handheld CNC, it's impressively precise, but it gives you the flexibility to work on something eight feet long without having a full CNC machine in your shop.
With the shelf pins out of the way, I'm moving on to assembly of the three bays. For this, I'm going to be using my domino joiner. If you don't have a domino, you can certainly use pocket holes or dowels. There's loads of different ways to make these connections. Just this is a client build I'm under time pressure. The domino is the fastest way to do it in my opinion. I don't even mark these panels. I just line them up with the outside edge from the sole of the machine. I can repeat that process again on the side panels.
That way, without making any marks whatsoever doing dry assembly, which would take a while, I can do this really, really fast. One thing that I didn't account for when I was designing this project is my clamp collection. I don't have long enough clamps. This is seven feet tall, I believe. My longest clamps are six feet. What I did was I just screwed on some cleats. You're not going to see the outside of this panel at all. They're all going to butt up against each other and you won't see the tops or the bottoms because they'll be covered.
We're okay. I was saying that there'll be covered up. I was able to screw these cleats on it and use those as a clamping surface. As I mentioned before, my biggest concern about these is just making sure that they are square. If they're not squared, they're not going to line up together. The whole thing is just going to be off. The old trick is to measure corner to corner on your cabinets to make sure that it's exactly the same. I checked this. This is actually my second glue up and the other one came out perfectly square, but this one was slightly off.
I just took a couple of my six-foot pipe clamps, put them against each other, and then measured out that corner. I could tighten it up to make sure that the fit was just right. Then at that point, I was good. I let it dry. Then I could glue on the back panel. The back panel is quarter-inch white oak veneered plywood got this from the same manufacturer as the body of the cabinet. It should match pretty well. I'm carefully laying this on because they don't want any weird glue streaks on the back panel. You can get them off, but it's a pain. Then I stapled the back on.
It's not uncommon to find that your plywood is a little bit wonky. This one had a nice bow in it, and an easy fix for that is just to clamp it into place. I'm using these Rockler sure-foot clamps and just tacking it. Once the glue dries, it'll be nice and flat. When I was at the client's house I noticed that they were going to be a couple outlets behind this bookcase. Wanted to make sure that they had access to those but I also didn't to try and match those perfectly because like I said this is not a permanent fixture there. If they ever move it to another space, I figured asymmetrical reveal made more sense than matching the outlets.
This was the moment of truth to see if my bookcase bays were actually square. It's the first time lining them up. It worked. Using the offcuts from the sheets of plywood that I ripped down before, I could cut down for the toe kick and the crown on top of the bookcase. I should mention that I have set up a set of plans for this project. If you want to download the plans they're available on my website, you can get all the measurements in both imperial as well as metric. The crown and the toe are designed as these structural elements that essentially tie the whole bookcase together.
They're going to be screwed in from the top and the bottom. It's what's going to both allow the bookcase to be sturdy and hold together as well as be disassemblable in the future. It's also, what's going to allow me to get it up the staircase when I go to install it. Both elements are built nearly the same. There's a few little details here and there that changed mainly because the toe kick needs to sit in front of a baseboard molding. We'll get to that in a bit.
For this part, it's exactly the same. I'm building a right-angle piece, and this is the piece that will go against the wall. Oops. Next, I'm going to be cutting the fronts and sides for the toe kick and the crown. In order to do that, I want to miter those corners because they will be seen. I set up my table saw at a 45-degree angle and then crosscut it on my 45-degree crosscut sled. I've been lying that panel up with the actual body of the cabinet because I want that miter to be right in line with it, and then I can use that mark to cut it again.
The side panels get cut the same way, except for they have a flat edge. Then I glue them onto the face using the blue tape method. I add in a support strip on that front edge to keep things nice and square, and it also is going to be a mounting point to anchor in the bays. Then I can slide in that right-angle piece and nail it into place. The toe kick and crown are exactly the same size except for the toe kick is three-quarter inches less deep, which just means that the side panel is cut three-quarters inch smaller. That allows for the baseboard when we go to install it.
You may have seen me use this trick before. I love this trick. It's a good way of burnishing the edge of plywood. When two miters come together, you don't want to sand this because you'll sand through it. It actually will pull a gap closed if you need it to do that so it's a good one to have in your back pocket. I've gotten a lot of questions in the comments lately about what saw blades I use. I do swap out my saw blades pretty frequently. I haven't really included it much in my videos. I use a plywood-melamine blade for most of the plywood cuts, and then I use this glue line rip blades to rip and mill material.
I'll put a list down below of all the saw blades that I use on a regular basis. The reason why I swapped out my blade is because I'm moving to the solid wood part of this. I'm going to be cutting trim out of solid oak, and this is going to cover up all the plywood edges. It's also going to allow the parts to interlock with each other. I'm going to be building these strips, very similar to how I mill a picture frame profile. In this case, I'm using the plywood to make sure that it matches exactly to the thickness of the plywood. You'll see why later, but it's really important.
Three-quarter inch plywood is not necessarily three-quarters of an inch and so I want to match it exactly to the plywood that I have. This trim is also going to be mitered because you're going to see that front edge. For that, I'm going to use the Rockler precision miter gauge. You see me use this before. It's really quick to set up and switch from one miter to another, and it locks into place which makes it super easy and you can trust it to be precise. I cut three of those elements so they fit really tight to the crown and the toe. The crown is going to get two of them and the toe kick will get just one.
Back over to the miter gauge. I can cut the side pieces. All six of these side pieces are going to be the same length and I just cut the miter first and then I'll cut them to length to match. Once I have all six of those, I can start gluing them in place. As you can see on the back of the toe kick, the trim sticks out a little bit, and again, that's to allow for the baseboard. Now is the moment of truth to see if all these parts actually fit together. We'll admit that I was pretty nervous but focused.
You can see it's like a giant sandwich with a crown on top and the toe kick on the bottom, holding the bays into place. This is pretty much just a dry fit to make sure that everything fit up properly, make sure that I didn't have to do any adjustment and everything worked out great. I wanted to thicken up the outside walls of the outer bays because there's the middle bay and they're against the two outer bays. That creates three-quarters plus three-quarters, an inch and a half, whereas outside ones are just three-quarters at this point.
To make it look more substantial and to cover up some of the trim, I'm gluing on these two sideboards. I removed the middle bay from the assembly because I needed someplace to put the clamps. Again, I don't have wide enough clamps for this but it made it really easy so I can glue up both panels at the same time. Part of the process of building big furniture like this is to put together, take it apart, put it together, take it apart. I decided to lay it down flat on my workbench, just to get a little bit better leverage.
I want to make sure that the toe kick and the crown line up really well on the front edge of all those bays. What I'm doing is I'm placing it into place and then I can actually push down on it when I'm adding screws and making sure that everything's fitting nice and tight. These screw holes are going to help me when it comes to the installation in the end because I know that I have screw holes that line up properly. When I disassemble it and reassemble it, it's all going to line up the way that it did in the shop.
I also took the opportunity while it was assembled to make sure that everything was flushed so that when I glue the trim on, these two line up really well. The middle bay is not going to be glued in. It's just going to be held in from the top and the bottom. The best bet I have for this trim to line up is right now to make sure everything's nice and flat. Speaking of the trim, I've got these pieces of white oak, they're just inch-and-a-half thick by three-quarters of an inch and I'm cutting them to fit. This is a cut that I'm just going to sneak up on until it fits really, really tight.
Again, I don't want any gaps on the job site so now is the chance to get the fit and finish just right. I started by gluing the outer sides. I should mention that I cut these just slightly wider than the plywood so that I can send them back to be flushed later. Then I glued on these outer ones, but I realized pretty quickly that I wasn't going to be able to glue the middle one without gluing them together. Once these were dry, I could go and pull out the middle bay.
With the middle bay removed. I could stand in the middle and I just packed the inside of the other bays with clamps. I just basically hung out in there and glued them up. After that, you guessed it, it's time to disassemble it and then reassemble it again. The last element to make in the bookcase is of course the shelves. For these, I'm just cutting a bunch of strips that are the right width, and I'm going to leave these intact.
I'm not going to cut them to length yet. I'm actually going to glue the nose on first and then cut them to length later. Since this is going to be used for art books, art books tend to be pretty heavy and so I'm putting a pretty substantial nose on this. It's going to be three-quarters of an inch thick. It's basically the same stock that I used for the trim. Once the glue is dried, I can cut them to length. Again, I set up a stop block on my table saw with the crosscut sled. This is a really quick way to do this, crank out a whole bunch of them and they'll all be exactly the same size.
When using shelf pins, I like to put a little champer on the backside of my shelves. This just allows for a little bit of room between the shelf pin and the shelf, because they always have this little edge on them, this 45-degree edge. It just gives enough space so the shelves don't accidentally start to ride a little high on one side. The last step in the process is to add finish. For this, I'm using Rubio Monocoat for the first time. My first time trying it, people have been recommending it for a while. It's a two-part mix that you have to get pretty precise.
Once you've got it mixed up, you've got about 15 minutes to put it on all the surfaces. I'm just progressively mixing up more and more. After about 10 minutes, you want to wipe off the finish. It was a bit of a process, a bit of an exercise. It took me two days to do this, but the cool thing about it is that there's only one coat so I don't have to reapply, I don't have to re-sand it between coats. It really is a time-saver in the end and it's super strong. It's designed for floors. I trust it to stand the test of time and I think it looks really good too. I'm probably going to use this a lot more in the future.
The bookcase got about a week of dry time, and then it was ready to install. I Invited my buddy Josh over to help out. You may have seen Josh in a couple of my videos before, light fixture build and the Murphy bed build. He was super helpful as usual and helped me get it into the truck and onto the job site. I'd been to the job site and I knew that they were tight spaces, but I'd forgotten how small this space actually was, but fortunately, everything fit up and down the hallway. We had to get a little bit creative with maneuvering things, but in the end, we were able to get all the pieces up into the space and start assembling.
There wasn't enough room to lay the parts flat so basically, we just leaned them up against the wall and held them into place. Josh was a trooper and was willing to sit inside of each bay as I screwed them in from the bottom. Once the toe kick was screwed into place, we could raise up the bookcase-
Michael: Ready?
Josh: Yes.
Michael: One, two, three. -and attach the crown. One, two. We'll clear this, and that. Since we are in an earthquake zone, it's always a good idea to secure a bookcase to the wall. I used some three-inch screws and drove them into two of the studs. Off-camera, I also cut these panels to go on top of the crown, just to make sure that it doesn't fill with dust, or if the client wants to put stuff on top they can. With the bookcase installed and everything looking good, the only thing left to do was to add in the shelves. Ta-da!
Josh: Ta-da.
Michael: It's good.
Josh: It worked.
Keep the inspiration coming!
Subscribe to our newsletter for more woodworking tips and tricks