Guiding Accessories for Circular Saws
There are a number of aftermarket products and a shop-built jig that can give your circular saw a performance boost without breaking the bank. Here are some options.
While track saws offer many features and enhancements that give them superior cutting performance and dust control, they're expensive. An occasional-use "specialty" saw like this, costing $300 or more, just might not be in the cards for your budget. Maybe the $79 circular saw you already own meets your needs, but you'd still like to be able to make straighter cuts more routinely than you usually do. Fair enough!
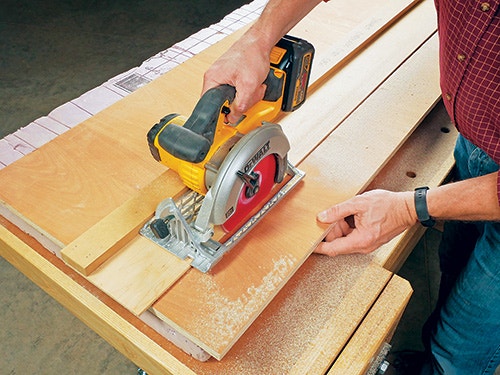
Shooting Board: A sheet of thin plywood and a scrap of long, thicker material is about all you'll need to create a "shooting board" for your circular saw. The thicker piece acts as a guide fence for the edge of your saw's base, and the thinner plywood serves as the shooting board's base. Cut a plywood piece 4" to 6" wider than your saw's base, and rip a guide fence to about 2" wide. Fasten the parts together with glue and brads so one edge of the guide fence and base are flush. Then use the circular saw to trim the shooting board's base to final width, running the saw's base against the guide fence while making this cut. Now the shooting board is custom-sized to the saw. Its "blade side" edge will give you a precise way to align the jig with layout marks on a workpiece, and the base of the jig will help to eliminate tearout and chipping where it covers over the workpiece.
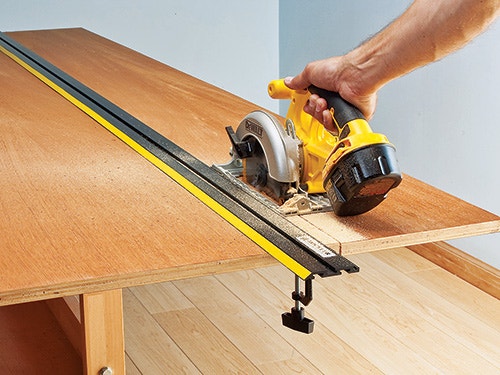
Clamped Straightedges: A long, straight piece of scrap, a thick length of angle iron or one of those aluminum straightedges with built-in clamps can also help your circular saw deliver deadstraight cuts. The trick to using this option is knowing the offset distance between the edge of your circular saw's base and the nearest face of the blade. When you mark a workpiece for ripping or crosscutting, also mark the saw's offset distance to one side or the other of your layout marks. Here's where to clamp the straightedge. It will align the blade perfectly with your cutting marks.
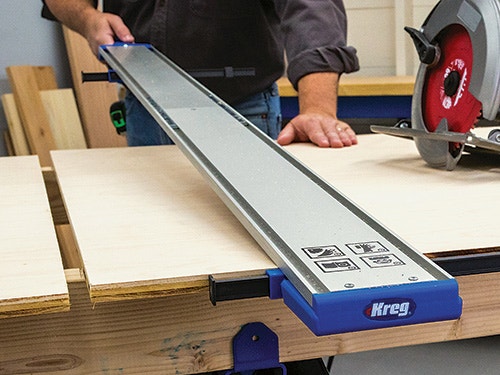
Indexed Straightedges: Kreg's a href="/4-kreg-straight-edge-guide-for-circular-saws">Straight Edge Guide for Circular Saws solves the problem of remembering or measuring your saw base's offset each time by providing a pair of adjustable cutline indicators right on the straightedge. Set your saw base against the straightedge, slide the indicators over to align with the blade's position, and the accessory is ready to go. Place the indicators flush with the cutting marks on the workpiece, clamp the straightedge into place and retract the indicators before making the cut.
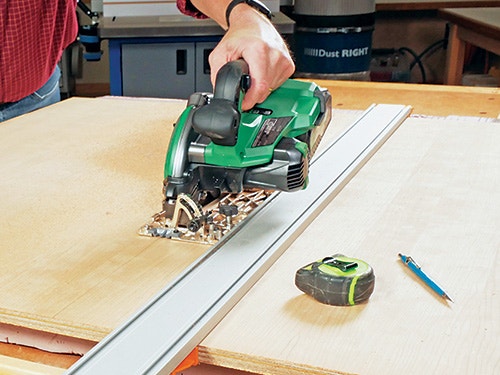
Auxiliary Guide Systems: Rockler's Low Profile Straight Edge Clamp System and the Accu-Cut Track Guide for Circular Saws from Kreg are two variations that mimic the track saw principle.
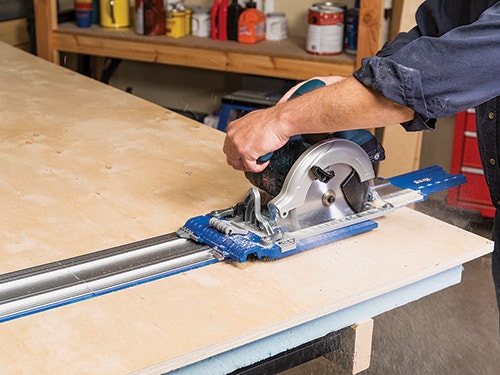
Each product enables a circular saw to be attached to a sub-base that fits onto a clamp-able straightedge or track to guide the saw.

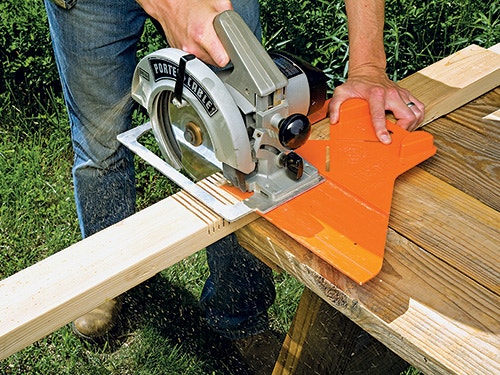
Crosscutting/Angle-cutting Guides: Variations of hold- or clamp-in-place accessories can also up your success with crosscutting and making common miter cuts. Here again, you'll need to measure your saw's offset distance and account for that when positioning the guide.


Keep the inspiration coming!
Subscribe to our newsletter for more woodworking tips and tricks