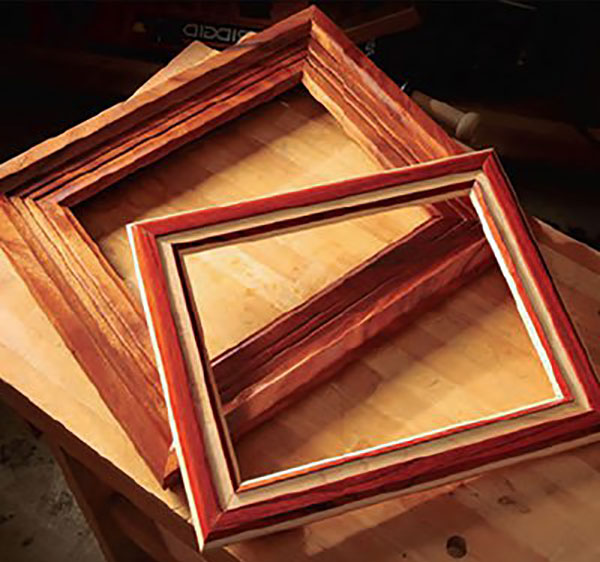
Tips and Plans for Making Picture Frames
In this Rockler demo you'll learn several tips that will help you make picture frames. We all know that there are a LOT of different styles and joint options for making picture frames. The most common feature mitered corners. And why not? They’re quicker to make than other options, they’re classic and of course, exceedingly functional. But notice that I didn’t say easy! That’s because as you probably already know, 45-degree miter joints like these can be tricky to cut, glue and clamp up accurately. And the wider the frame members are, the more challenging they can be. But, here are five things you can do to up your odds for success when making frames like these.
WATCH VIDEO: Five Tips for Making Professional Quality Picture Frames
Tip 1. Choose the Best Blade
In order to cut crisp accurate miter joints, you need to be using a clean, sharp blade in either your table saw or miter saw. If your saw takes a 10” blade, make sure the blade has at least 40 teeth or more. More teeth take smaller bites, and that translates to smoother, cleaner cuts. Over the years, I’ve become a big fan of this Freud General Purpose Fusion blade. Its steeply pitched, alternate top-bevel teeth are ideal for slicing cleanly across the grain at an angle as you need to do when miter-cutting picture frame parts.
But regardless of which brand of blade you use, if your saw will accept a full-thickness blade like this, that cuts a 1/8”-wide kerf, it’s a better choice for cutting miters than a thin-kerf blade. Why? Well, thin-kerf blades have much thinner blade bodies that can actually flex when you’re pushing wood through, especially if it’s a dense wood like oak or maple. And any flexing on a miter cut can mean the cut won’t be flat across the grain or through the thickness.
Project Plan: Mitered Picture Frames
VIDEO: Center for Furniture Craftsmanship- How to Cut Frame Miters
Tip 2. Use a Crosscut Sled or Miter Gauge
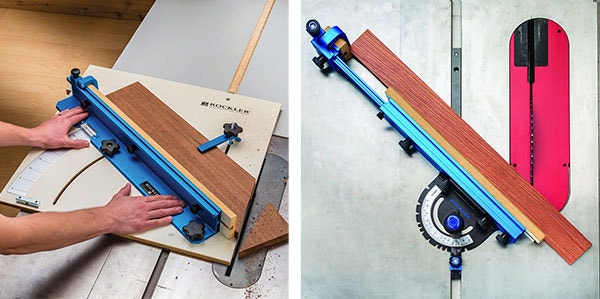
My second tip for cutting accurate picture frame miters is obvious: you need a way to set those 45-degree angles precisely for cutting. And if your saw has a crudely made or small miter gauge, you’re always going to be at a disadvantage here. To cut those miter joints accurately, one really good option is to use a crosscut sled — especially one like this that has an adjustable angle-cutting fence and a protractor scale built into it. The huge protractor scale on Rockler’s crosscut sled makes it easy to see and set the fence to 45 degrees or even fractions of a degree larger or smaller than 45.
Another option is to step up to the High-Quality Miter Gauge. You want a miter gauge that snaps solidly into each of its preset detents, so there’s no shadow of a doubt when you lock it to 45 degrees.
Tip 3. Use a Stop Block
And whether you use a crosscut sled or a High-Quality Miter Gauge, here’s my third piece of advice: use a stop block on the fence to positively register the ends of each workpiece. That way, you’ll know that the opposite sides of your picture frame will be exactly the same length as one another, once they’re cut. And that’s crucial for creating square corners and parallel sides.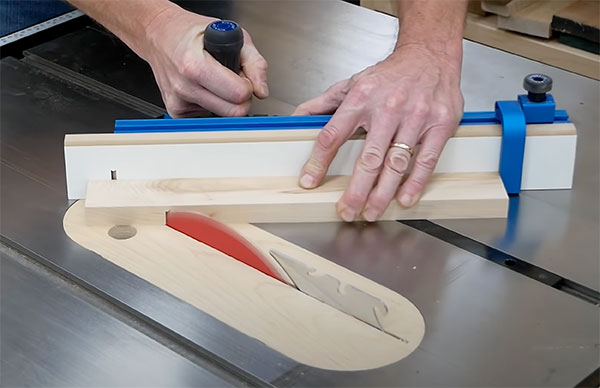
VIDEO: How to Make a Picture Frame with Cordless Tools
Learn More: Cutting Perfect Miter Joints
Tip 4. Use the Right Glue
Once you’ve got your four frame parts cut, and you’ve carried out a dry fit to make sure the joints close properly, you’re ready to put them together! But that leads to the next challenge: gluing and clamping. Even if the parts fit together perfectly, things can still go wrong at the assembly stage. So you need a strategy. And part of mine has to do with the glue I chose. Now, there’s nothing wrong with these old stand-by PVA glues for face-gluing and edge-gluing. But they’re not the best choice for miter joints, which are end-grain joints.
The problem is, ordinary PVA wood glues are often just too fluid and thin. The end grain, especially on open-grained wood, tends to wick these glues more deeply into the pores, which can starve the joint of a strong glue bond. That’s why for miter joints, I’ll choose a thicker glue with a higher solids content than these, like Titebond’s Quick & Thick or Speed-Set wood glues. That’s my fourth tip for picture frames.
Quick & Thick has a higher solids content with a viscosity that’s almost like window caulk — so it sits on the wood’s surface rather than wicking into it. That puts more adhesive on the joint faces where it’s needed, for greater strength. And Speed-Set is formulated to tack up fast, instead of acting like a lubricant. So, parts stick more quickly, instead of sliding past one another and out of alignment.
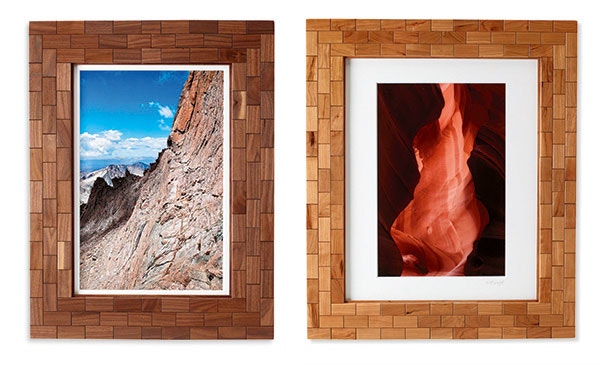
Project Plan: Mosaic Brick Tile Picture Frame
Learn More: Making Picture Frame Moldings
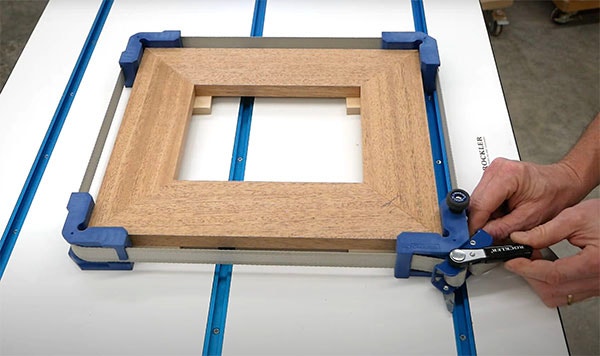
Tip 5. Use the Right Clamps
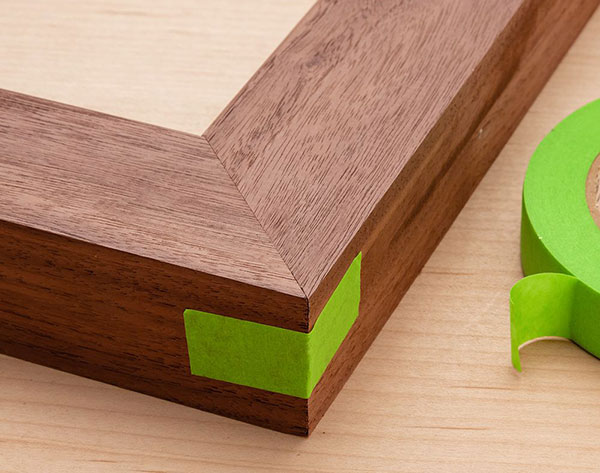
And to hold those joints tightly together while the glue dries, you’re going to need to clamp your picture frame together. So, here’s my fifth piece of advice: just say no to these … bar clamps. More often than not, overtightening bar clamps will throw your joints of whack. A simple, inexpensive and surprisingly good clamp for picture frames is a roll of quality masking tape. But not the cheap tan stuff! Here I’m using Scotch Performance Masking Tape. Just stick the picture frame parts end to end on strips of masking tape so the mitered corners just touch. Spread glue on the open joints, then fold the miters closed and secure the last joint with more tape. For small picture frames like this, that’s all the clamping force you’ll need.
You can also use a band clamp, which works well for small or large picture frames. The Rockler T-Track Frame Clamp uses a strong nylon band and four corner brackets to help distribute the clamping pressure evenly and pull all four corners of the frame together at once. Two of its corner brackets fit into standard T-tracks to help keep the frame aligned. And it ratchets tight to apply strong clamping force. These raised reference points on the corner brackets make it easier to measure across the frame’s diagonals to verify squareness.

Making mitered picture frames doesn’t have to test your patience, especially if you have a few tips and the right sorts of products to make it easier!
VIDEO: Making Picture Fames with Mitered Spline Joints


Keep the inspiration coming!
Subscribe to our newsletter for more woodworking tips and tricks