How Should I Finish My Cedar Vanity?
I have constructed a vanity made entirely from aromatic cedar and would like to apply a finish to the outside.
What would be the best finish to use on a cedar bathroom vanity? I do not want to darken or give a sheen/glossy appearance to the wood. I want to keep as close to natural as possible and still have moisture protection. Tall order, but you all can most likely help me. Thanks. - Gilbert Hernandez
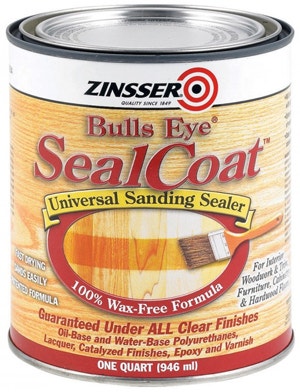
Chris Marshall: A bathroom vanity is going to be exposed to high humidity at times during steamy showers and hot baths, which could cause the cedar to bleed oils through a finish. So, I'd start with a sealer coat of dewaxed shellac (such as Zinsser SealCoat), and apply it to all exposed surfaces of the bare wood. That means inside the vanity, too. The shellac will seal the wood's oils and also slow down the rate of moisture absorption. Then, topcoat the shellac with a clear polyurethane varnish of your choice in a "satin" finish. It will cure with a low-luster sheen. I prefer water-based poly these days. It dries incredibly fast without the bad odor of an oil-based varnish, and the cured varnish is plenty tough for day-to-day life.
Tim Inman: So, you want the wood to have the benefits of a finish, but not look like it has been finished, right? I would seal the cedar with a diluted or "wash" coat of a sanding sealer or shellac. Sanding sealer will give more moisture and wear resistance. Shellac will give a nicer color and a quicker, smoother finish. Soak the finish into the wood. Let it drink in all the finish it wants. Let that dry. Then, go back and re-sand the surface. This will cut away the surface gloss left behind by the finish. When you're done, the wood will look like plain old wood - but it will have a sealing finish "inside" the cells to help protect them. Apply a nice furniture wax and buff if you want a little more polished look. This surface will be one that requires much more periodic maintenance than an ordinary finished wood surface.


Keep the inspiration coming!
Subscribe to our newsletter for more woodworking tips and tricks