Cylindrical and Round Object Drilling Jig
Boring an accurately placed hole into a round piece of wood, either a cylinder or a sphere, can be a tricky feat to accomplish.
Round things roll (of course) and adding to that challenge is the complication that cylinders and spheres are hard to clamp securely because, by definition, they don’t have many (or any) flat surfaces. Thankfully, there's a solution to the round object drilling problem: it's called a V-block.
A V-block is just a thick chunk of wood with a deep V-groove cut into it. The V in the block cradles the cylinder, allowing it to be clamped securely in place, and then the whole thing can be accurately located on a drill press for drilling. Most woodturners have made hundreds of them ... and then, after they have misplaced or thrown away the latest V-block, they end up making another one. Another reason for making multiple V-blocks is that, once made, the block only properly fits cylinders of a set size range. If what you need to drill is too big or too small, it's time to make another block. Not a big deal, but we are talking time and material to make each successive V-block.
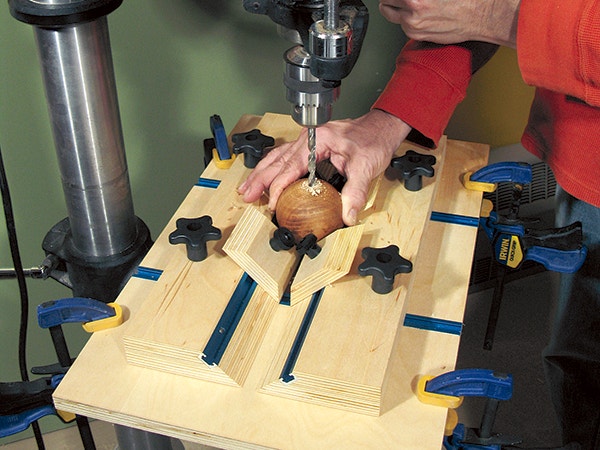
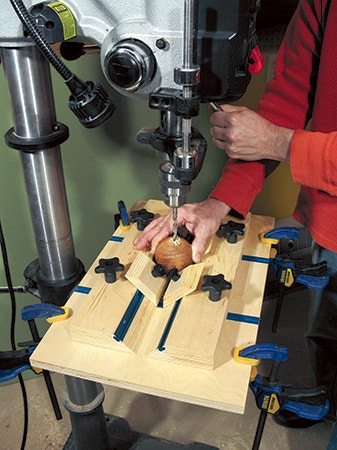
And what about if you want to drill a round object? The answer is pretty simple: you just cut two V-grooves at 90 degrees to one another, and the place where they intersect will keep a ball-shaped object from moving. But once again, the block, once made, is not really adjustable.
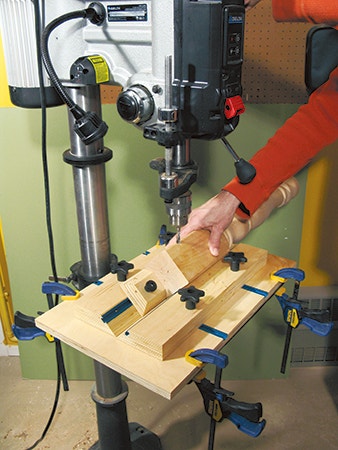
The jig shown here addresses all of these needs and even adds a useful feature or two, like drilling rectangular legs. It's adjustable, multifunctional and, on top of that, it's fun to make.
Making the Jig
This jig is made almost entirely from 3/4" plywood. Any scrap lying around the shop will do, but we made this one from birch plywood. (Scrap plywood or even MDF would do just fine.)
Make the base (piece 1) and test its size out on your drill press table. You may have to adjust the size or decide to secure it to your drill press by means of screws driven up through the table. Before you cut the grooves for the T-track (pieces 2), cut up a couple of pieces of plywood about 5-1/2" wide and 37" long. Faceglue these pieces together with glue and clamps ... this will form the blank from which to make the adjustable fences (pieces 3). While the glue cures, mount a 3/4" dado head in your saw and plow the grooves for the T-track in the base. See the Drawings for locations. (When completed, take the dado set out of the saw, but don't put it away yet.) Next, form the 1/4"-deep recess for the drilling plate using a router with a straight bit chucked into the collet. When that's done, fit the drilling plate (piece 4) to the opening, then set the plate aside for now.
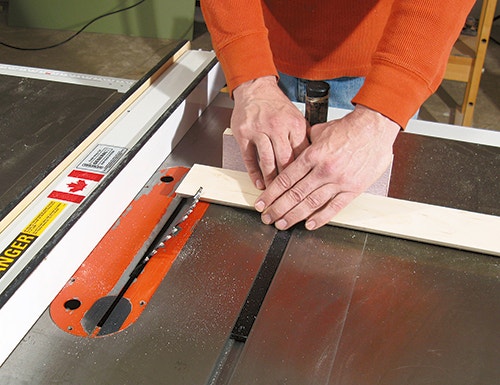
Take the glued-up blank out of its clamps and clean up one edge on the table saw. Then set the saw blade to 45 degrees and cut the blank to width by shaping the other edge of the piece to the 45° angle. Return the blade to 90 degrees and cut two 18" fences from the blank. Grab your dado head and set it up to cut the grooves for the T-track in the fences.
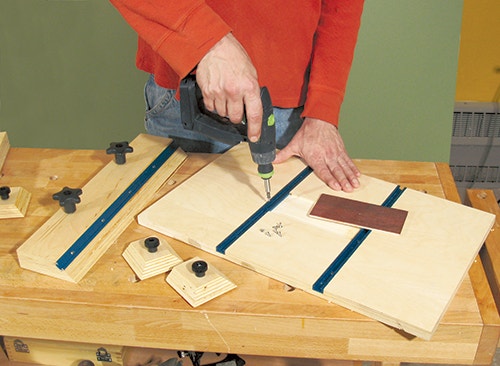
The stop blocks (pieces 5) are next. Again, make them on the table saw to the dimensions shown in the Material List and the Drawings. Take a few moments to attach the T-track to the fences and base with small screws. Then get ready for the rest of the hardware (pieces 6 through 9). Step to the drill press (or you could bore the holes with a handheld drill if you choose) to make the holes for the T-bolts. Test-fit the pieces together to be sure it all works properly. If it does, we recommend putting a coat or two of Watco® Danish Oil Natural oil finish on the jig. After it has dried, you are ready to start drilling round, cylindrical and rectangular pieces with ease.


Keep the inspiration coming!
Subscribe to our newsletter for more woodworking tips and tricks