Cutting Rabbets with a Piloted Router Bit
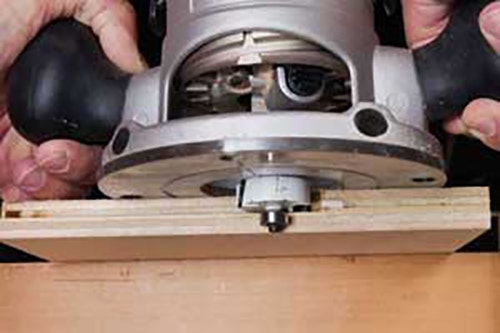
Routing a rabbet is usually not difficult. Use a piloted rabbet bit in your router and guide it to cut perfect rabbets.
The first choice for the average rabbeting operation is the rabbet bit, which has a pilot. It minimizes setup: The only adjustments you can make are the depth of cut and the angle of attack. The measurement between the bit's cutting edge and its pilot governs what I call the width of the rabbet. (A lot of bit manufacturers call this the depth of the rabbet.) You insert the bit, adjust the depth setting, and rout. It is simple.
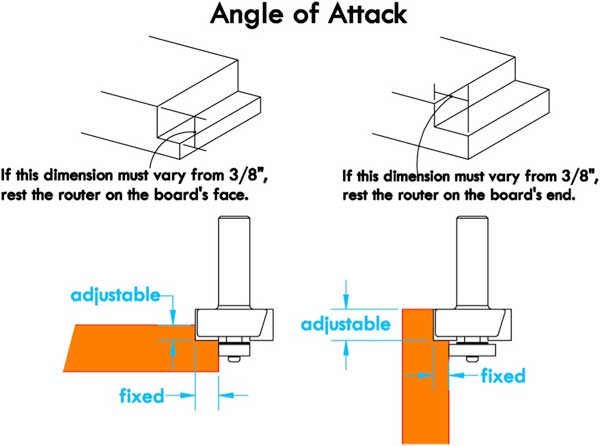
To alter the width of the rabbet with such bits, you can do two things. One is that you can change your angle of attack, as shown in the drawing. This can be a useful approach, since it can change the dimension over which you have control, while preserving the simplicity of setup and operation that pilot bits provide.
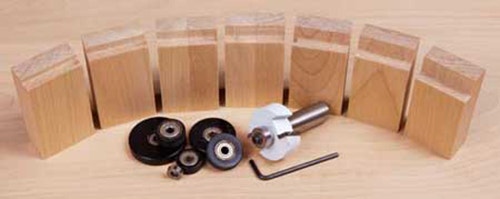
The other thing you can do is to change the pilot bearing. Every bit manufacturer sells separate bearings, and in the case of rabbet bits, they package sets that will give you many different cut widths from one bit.
(There is a third thing you can do, and that is to circumvent the pilot somehow — using an edge guide or a fence. You can only narrow the cut using this approach, but it's valid: it works. If you take this approach, though, you probably should question why you are using a rabbet bit and not a straight bit.)
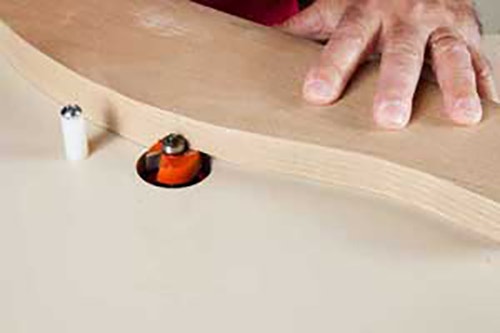
The piloted bit can be used in both handheld and table-mounted routers, of course. Because the bit is piloted, you don't have to use the router table fence. (You should use a starting pin if you don't use the fence.) If you do use the fence, set it so it lines up with the pilot. Hold a straightedge so it bridges the bit gap in your fence, and adjust the fence until the pilot just touches the straightedge (without lifting either end off the fence).
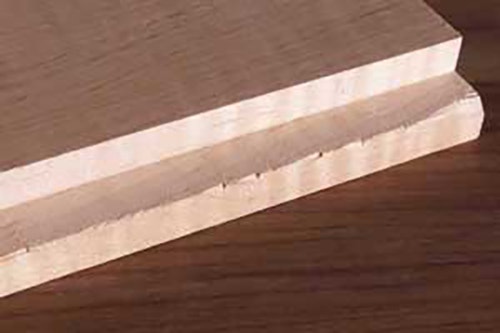
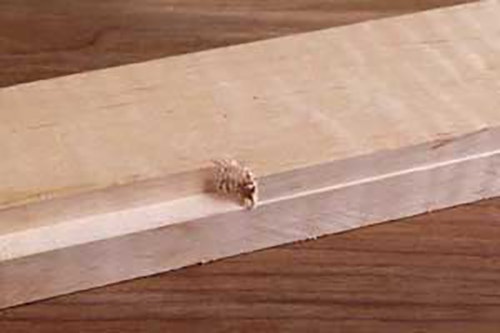
Thwarting Splinters
The best way to avoid splintered edges when you rout rabbets is to make the first pass what I call a scoring cut. There are two ways to make it.
With a handheld router, make the first pass a climb cut. It's usually a wavering cut, because nothing is guiding it. Rather than hitting the wood fibers head-on and driving them out from the board's edge, the cutter is sweeping in on them, creating a crisp edge to the cut. On a second pass, feed the proper direction, cutting full depth.
There's good reason to be wary in making that climb cut. The router seemingly will try to run away from you. But the cut is shallow, so the cutter can't get much traction. And, of course, you have a firm grip on the router, too.
The approach on the router table is different. I don't like climb cuts on the router table, ever. So set the fence to allow the barest of cuts, only 1/32 inch, perhaps 1/16 inch. Feed in the correct right-to-left direction. The cutter glances across the wood fibers and doesn't get enough purchase to dig out an ugly splinter.
Reset the fence then, and cut the rabbet to whatever depth you desire.


Keep the inspiration coming!
Subscribe to our newsletter for more woodworking tips and tricks