Back to Woodworking Basics: Pencil It In
Probably the most used tool in your shop is one you might overlook; your pencil.
It makes sketches, computes figures, marks parts, lays out mortises, erases mistakes, and a hundred other tasks around the shop. A common school pencil is fine for most purposes, so long as it is kept sharp, but for me, there are four prime marking tools in the shop: A mechanical pencil, a carpenter's pencil, and a white colored pencil.
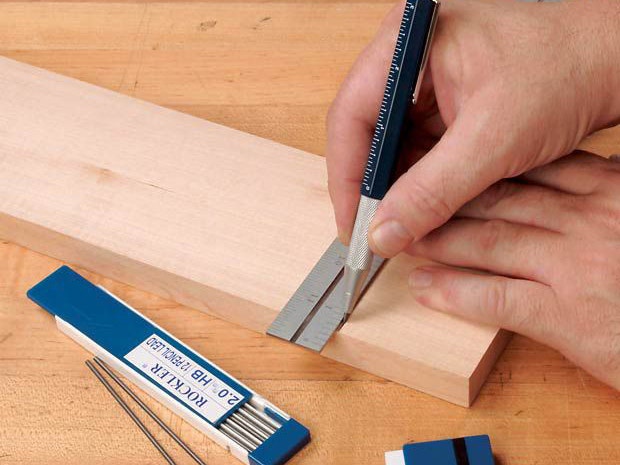
he mechanical pencil is my primary marking tool. It maintains a consistently fine line, and is inexpensive. I keep them all over the shop including in my apron. It does the majority of my marking chores. I prefer the 0.07 pencils; they are a bit tougher than the 0.05, and break less often on open grains.
The carpenter's pencil has a big, tough lead that does an excellent job of marking on rough lumber. It makes bold marks when processing your stock, but the lines are too thick and clumsy for detail work. The flat body keeps it from rolling away, and it fits easily in a pocket or box. Normal pencil leads work very well on most materials, but for very dark woods, the lines can be impossible to see.
For these occasions, reach for a white colored pencil. When very sharp, it leaves a nicely visible line on your dark surface. Furniture makers who work in walnut keep a box of these on hand.
These three choices serve most of my marking needs, but for real accuracy, like marking out mortises and dovetails, a striking knife is the best choice. The knife cuts a line that is far finer than any pencil will make, and guides your chisel or saw when cutting. For getting really accurate marks, the blade should be flat on the bottom, allowing it tight against your straightedge or part.
Try working with these four simple tools on your next project. Marking accurately is the first step to accurate cutting, and will follow through the entire project.


Keep the inspiration coming!
Subscribe to our newsletter for more woodworking tips and tricks