Video: Keepsake Box with Hidden Compartment

In this video, David Picciuto builds a box that has mitered corner joinery that can easily be made on the tablesaw and is reinforced with splines.
he inside of this box has a top sliding tray that moves to reveal a lower tray. When all the trays are lifted out, a secret hidden compartment is revealed to hide your valuables. All these trays are lined with a soft flocking and I'm using solid brass quadrant hinges from Brusso Hardware.
You can find more great projects and techniques from David Picciuto at his website.
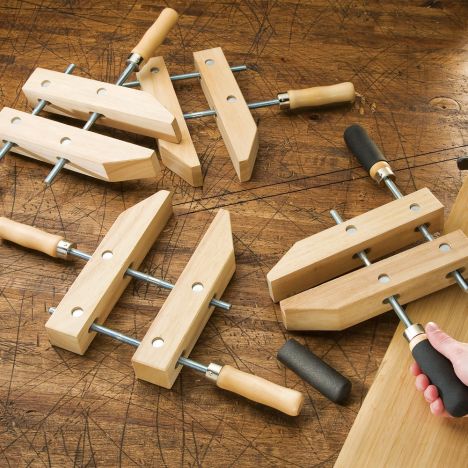
Featured Tools:

David Picciuto: Hi, I'm David Picciuto, and today I'm going to show you how to make this keepsake box with a hidden compartment. This box that we're about to make has mitered corners that can easily be done on a table saw and reinforced with these splines.
The inside has this top sliding tray that when moved left and right, reveals the two trays below it. When all the trays are lifted out, a hidden compartment is revealed underneath to hide your valuables. All these trays are lined with soft flocking that feels like velvet. I'm using the solid brass quadrant hinges with lid support.
Back in my shop, I started off by resawing all the wood down to rough thickness on the bandsaw. If you want to learn more about how I resaw check out my video, resawing without gadgets. There'll be a link on the screen, as well as in the description.
The Bocote I got was nearly 2 inches thick and I could easily get two 5/8s-inch thick boards out of it. The three 1/4-inch zebrawood will be resawed into two 1/4-inch boards for the lid and bottom. I'll then plane everything down to final thickness on the thickness planer. Next, I'll crosscut the four sides to length and then rip to width on the table saw. For the zebrawood used on the lid and bottom, I'll roughcut to size, and then cut to an exact fit in a later step.
I'll then set my table saw blade to 45 degrees and miter the ends. I'll sneak up on the cut carefully until the mitered edge creates a point without shortening the length of the board. The lid will be made up like a picture frame, so I'll start out by ripping to width. Then using my picture framing sled, I'll miter the corners and cut to length. You can learn more about this miter sled and how to make it in this video here. I'll post a link in the description.
Now, I'll cut a groove in the 4 lid pieces to accept the 1/4-inch zebrawood panel. I'll run a pass over the blade, then flip the board around and run another pass. This will center the groove. I'll then move my fence out slightly and repeat until my panel fits. Then I'll cut a groove in the four side pieces to hold the bottom panel. I'll make a pass on all four pieces, then bump my fence over and make another pass. Again, I do this until I get a nice fit.
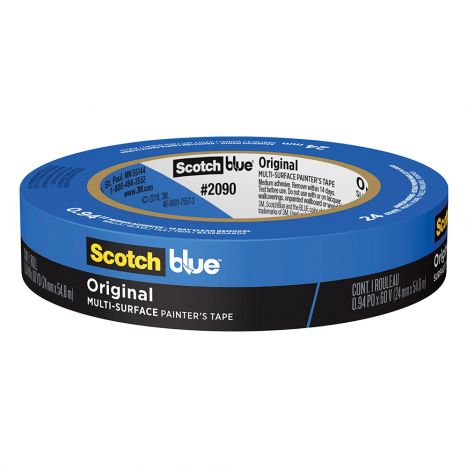
Next, I'll cut the top and bottom panels to fit. There should be some wiggle room across the width so the panel can expand and contract through the seasons. It's always a good idea to sand the pieces before the glue up as it's much easier now. Gluing up the miter box is pretty easy and you don't need clamps. Painter's tape will do the trick. I'll also apply some painter's tape along the inside so any glue squeeze-out ends up on the tape and not on the wood.
The most important thing to remember is don't forget to place the panel in before letting the glue dry. I've made this mistake a couple of times in the past. Once you get it together, you may need to finesse some of the corners into place with more tape. I'll then repeat the process for the lid, again, using only painter's tape. [silence] Once the glue dries, I'll then cut a groove in the corners for the ebony splines. This will add plenty of strength to the miter corners, as glue alone will not last since there's no long grain to long grain contact.
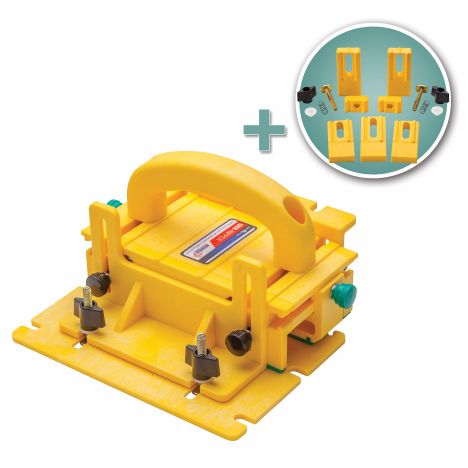
The spline jig you see me using here was made to ride over my table saw fence but I've since upgraded the fence and the jig no longer fits. As you can see here, it works just fine up against it. If you want to learn more how to make this jig, I'll put a link in the description down below. I'll do the same with the top and bottom corners of the box.
Now, I'll bandsaw some ebony into the thickness of my table saw blade and then cut them into triangles. Then it's just a matter of adding some glue and popping them in place. Once the glue dries, you can send them off or use a flush-trim saw to remove the excess. With some zebrawood I had leftover, I resawed it into 3/16-inch pieces to make some trays. I'll then rip and crosscut them to fit.
The bottom tray is going to sit along these two rails that I'm installing to give us a hidden compartment underneath. The top tray is only half the width, which will slide left and right revealing the bottom tray. For an added effect, I'll flock the insides of the trays, giving them a velvet-like feel. If you want to learn more about flocking, check out my video in the description below.
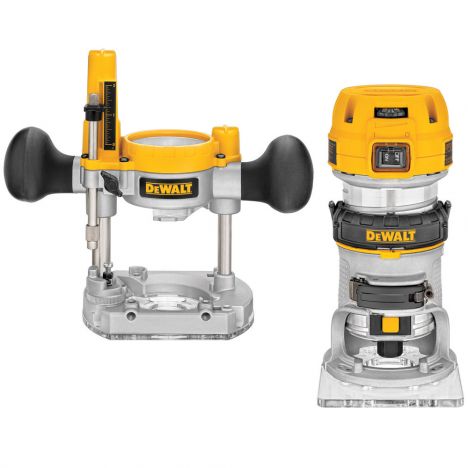
Here at the router table, I'm adding a 45-degree chamfer to give the box a nice shadow line along the bottom and a place to put your fingers when opening the lid.
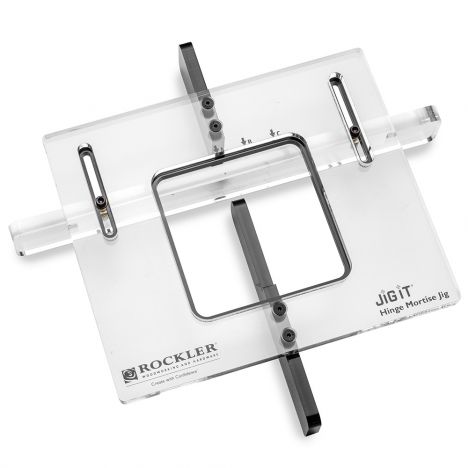
A box like this deserves some nice hinges, so I got these Brusso solid brass quadrant hinges from Rockler. If you've ever tried to install hinges like this, then you know how stressful it can be to cut the mortises to the exact size while having everything lined up properly. To make this task much easier, I'll be using the JIG IT hinge mortising system from Rockler. You can get different inserts that are made for the particular type of hinge you are using. With a plunge router, straight bit, and guide bushing, you'll get perfect mortises every time with this system.
Let's talk about time and cost of materials. Although I can't give you an exact amount of hours it took me to make this, I can tell you that if well planned, this could easily be made in two days. On day one, all the pieces can be cut and glued together. On day two, the splines, chamfers, and hinges can be added. If you choose to use a lacquer finish, you can also get multiple coats done on the second day as it'll dry fast. The tri-blend finish I recommend on exotic woods takes four days but each day only requires a couple minutes of work with a full day to dry in between coats.
The price of wood can vary greatly depending on the choice of woods and your location. I chose to get a little fancy and paid $73.58 for the wood used in this project without any leftovers. I also decided to use these well-made Brusso hinges that come in at $49.99. Yes, the Brusso hinges cost a pretty penny but you can feel the difference in quality as soon as you hold them in your hand. They have high standards and a very good reputation for being the best in the business. After taxes and shipping, the total cost of materials was $135.62, which doesn't include flocking and finish, which is a little hard to calculate without a team of scientists equipped with weights and scales.
I'm really happy with the way this box came out. The top tray slides effortlessly across the bottom tray and everything lifts out to reveal the hidden compartment. All the joinery has mitered corners that are easily done on the table saw reinforced with splines and the solid brass hinges complemented the exotic woods and the design.
You can learn more about the jigs I used, as well as the flocking and finishing techniques here. You can also get plans and view detailed photos of this project on my website. If you're new to my channel, I encourage you to subscribe as I put out videos every week and if you want to support free content like this, you can do so by contributing on my Patreon account. I hope you enjoyed this video as I've got a lot more projects like this coming out, as well as bigger builds and non-woodworking projects. As always, be safe, stay passionate, and make something.


Keep the inspiration coming!
Subscribe to our newsletter for more woodworking tips and tricks