Video: DIY Jewelry Holders
In this video, April Wilkerson makes jewelry holders for her necklace, bracelet and earring collections.
April Wilkerson built a few jewelry holders for her necklaces, bracelets, and earrings. All three were very simple and mostly done with only scraps. If you’re looking for a way to organize your jewelry then check out the tutorial below.
You can find more great projects and techniques from April Wilkerson at her website.
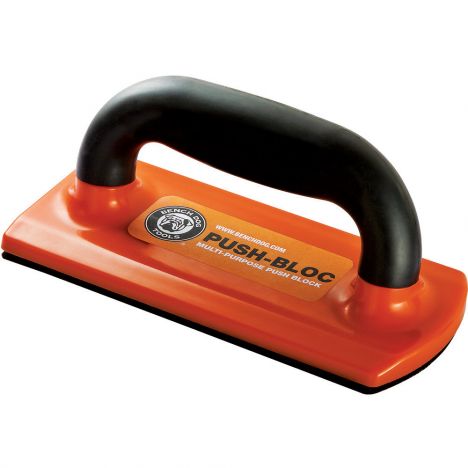
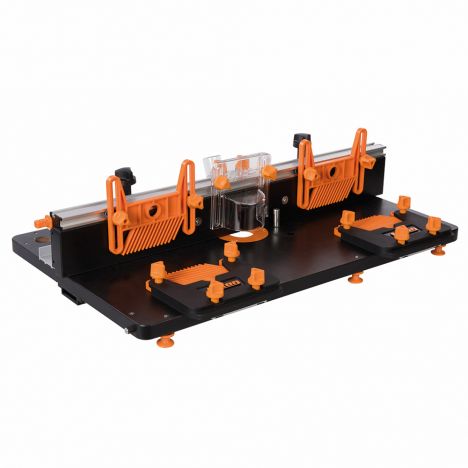
Featured Tools:

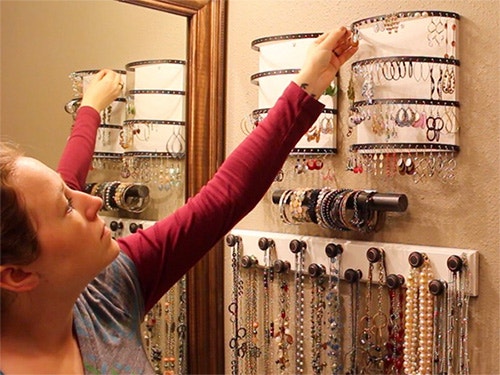
April Wilkerson: First things first. I think I will change the color of the room. Much better. Now, on to the project. What I'm going for out of the jewelry holder is to get all of this off the countertop and up on this wall. I'm going with a really open design because I like to see everything and just very quickly reach and grab. Let's see how this turns out. I like the round design of my current holder, but I don't like how unsteady it is and that is confined to the countertop. I used it as inspiration for my new holder.
The first thing I did was purchase a small sheet of aluminum from the Big-box store and hot-glued it to some scraps I had. Mine happen to be 3/4-inch material. Now, I sandwiched the aluminum together to make cutting it up easier. I wanted some 1/2 inch strips of this aluminum so I took it to the table saw and since I have a soft stop, I make sure to put it in bypass mode. Then I would cut a strip, move the fence over, and cut another. With a mall cut, I broke apart the hot glue and peeled these strips off of their pieces.
Next, I started to make a jig that would hopefully make drilling holes in the center of these trips a lot easier. I first grabbed a piece, the exact width of the metal strips, and I sandwiched this in between two other scrap pieces so that with these two outside pieces glued down, I'll only have to worry about gluing the aluminum strips squarely onto the center piece and then just moving it over the correct amount.
Next, I grabbed one of the strips that was half an inch and used a sharpie to make a small dot in the center at every half an inch. Then I set this piece aside because it's going to be the template, and I glued the aluminum strips to the scrap pieces. You use the same ones that you cut them with at the table saw. Then I took the template with the dots and hot-glued it on top of the first strip.
It's really important to get these strips centered on the scribe so that all the holes are in a straight line. I took everything over to the drill press and clamp the jig to the table, then I started drilling the holes on top of the dots that I made earlier. I made lines on the jig, but it was way easier to just eyeball it. After I got one strip completely drilled, I would use a cheap chisel to break it all off, then I would reglue the template piece on to the next strip and repeat the process, just drilling the holes at the drill press. This went really quick. It took me about a minute to do each one. I did try to glue several strips together and drill the holes at once, but it just came out awful-looking.
To make things nice and smooth, I used a file to quickly go over both surfaces of the metal strips. Then I gave all the strips a quick coat of paint, front and back, and then let it all dry. I was really worried that these thin strips of aluminum weren't going to be sturdy enough, but when I did a test run, it seemed plenty sturdy for earrings. Sweet. This is going to be just fine for earrings. Yay. I took that piece off and gave it a quick coat of paint, and then started laying out my marks and attaching and permanently. Now, I would first pilot-hole to prevent cracking, and then I would run in some small screws that already had the heads painted bronze.
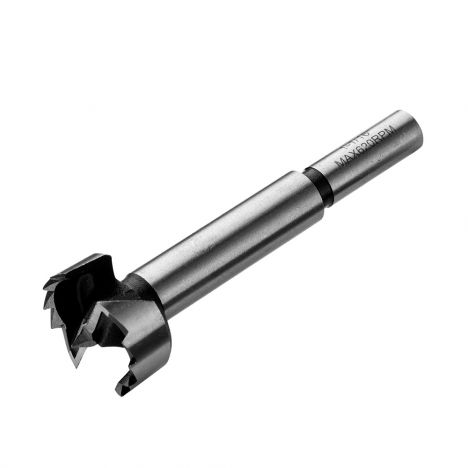
I did use a screwdriver instead of a drill just so I could keep a better hold of that aluminum strip while screwing it down so that it wouldn't bend. After I got the first one done, I went ahead and made a second. Now, on to making a bracelet holder. I don't have too many bracelets, but for the few I do, I thought some simple dowel rods would do just fine. I grabbed the sizes that were already in my scrap bin and cut them down using my bandsaw. Then I grabbed another piece of random scrap from my bin and drilled a hole using a Forstner bit.
By the way, mine had only one who has to use my forehead. What is everybody's method for making sure that their bit is lined up with their mark? I also grabbed the dowel rod that would hold the actual bracelet and drilled a hole in the center. Now, whenever I did a dry test fit, I thought that the back looked just a little bit too plain. I just stumbled everything and ran the back through my router and gave it a simple Roman Ogee profile. I thought that looked a little bit better so I glued everything together and then let it sit to dry. The necklace holder is definitely the easiest one. I once again grabbed a piece of scrap board and I put the same Roman Ogee profile around the perimeter. Then I took it to the drill press to drill holes to add simple knobs.
I gave it a quick coat of paint, threw on the knobs, and then it was time for install. To install the necklace holder, I used two picture frame hangers on the back. For the bracelet holder and the earring holders, I went ahead and used screws through those back pieces just to make it more secure. Then the last thing to do was just transfer all my jewelry to it. I went ahead and shot some footage placing earrings onto the holder and then also taking it off. I'm already used to using the small holes since I've been using it on my previous holder.
That's it. Now, I completely have this counter cleared off and all of my stuff up on the wall. Now, ideally, this earring holder would be better if it were not so close to the mirror. However, I really wanted to combine all of it to this area so I didn't want to push it back even further. With the help of the mirror, I can see around here and see which earrings are hanging back there. That's it. All three are very simple and easy to build. Check out workreduce.com for the written tutorial and, of course, leave your comments in the section below. I will see you the next time I'm working on something. It seems my husband got a little burnt out for me moving the lights on him so many times here on my last project.


Keep the inspiration coming!
Subscribe to our newsletter for more woodworking tips and tricks