Video: DIY Coffee Table Using One Sheet of Plywood
In this video, Chris Salomone uses a single piece of baltic birch plywood to build a full coffee table.
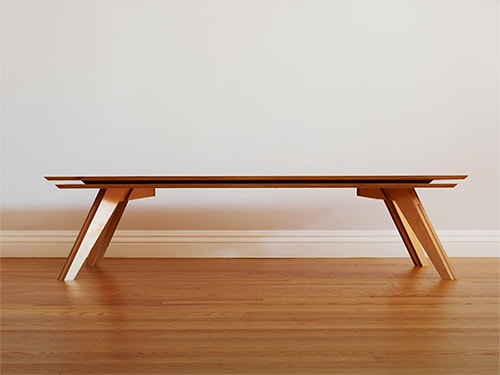
Chris Salomone shows how he designed and built a coffee table from one sheet of plywood (actually quite a bit less). The table is 48" x 24" x 12"H.
You can find more great projects and techniques from Chris Salomone at his website.
Please Note: The contest mentioned in this video has ended.
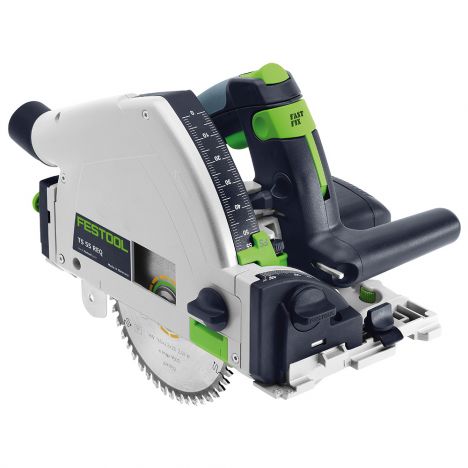
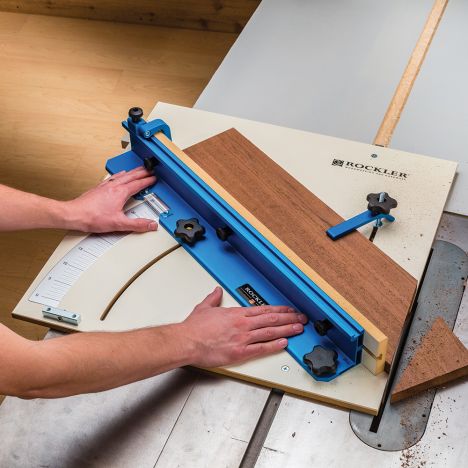
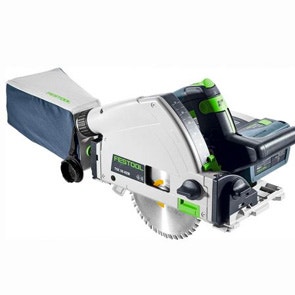
Featured Tools:


Chris Salomone: Today, we're going to build this coffee table out of one sheet of plywood as part of a challenge that I'm putting on with my buddies, Mike and Ben, that I host The Modern Maker Podcast with. More details on that later, though. For now, let's just get into the build.
I decided to do something a little different than what I suspect most people are going to do with this challenge, and that's use a half-inch instead of a 3/4 inch sheet of plywood. Now, I didn't do this to be difficult or just for the sake of being different, but rather because I thought it would actually work better for my project. That project, as I said before, is going to be a coffee table. It's going to come together using an additive joinery method. In short, I was worried that using 3/4 inch material would end up making the entire piece too thick and kind of clunky looking as multiple pieces get laminated together.
In any case, after I'd broken my sheet down into more manageable size chunks, I started working on it on my table saw. The top's going to be made out of three pieces. Well, technically six pieces as you'll see in a minute, but anyway, it's going to be made out of three layers that stack like this, with the top and bottom, or bread pieces, following the same diagonal plane. Then the pastrami layer will be inset a bit.
Cutting these was pretty straightforward. It was really just a matter of making bevel cuts along each end on the table saw to bring everything down to the final dimension, the only outlier being the middle piece. Pretty much it seemed like it would be a waste to have the pastrami layer be made out of one big panel, so instead, I made a frame using four pieces. I started by ripping them to width, then crosscutting them to length, and then gluing them up before finally cutting a bevel along each end, once it had dried.
Next, I did a little sanding on the bevel edge of the pastrami layer since it would basically be impossible to reach lighter and then I glued up my sandwich. With that set aside, I could start working on my base pieces. Here I'm just breaking more plywood down and into some small pieces that'll yield the leg uppers and lowers. I'm going to be making a lot of these. In total there's going to be 8 lower pieces and 12 upper pieces. After I had measured everything out and marked up the tapers that I needed, I busted out my tapering jig and cut them all out, and there were a lot of them.
With all my leg pieces cut out, I could start assembling them. Here's a drawing that shows how everything's going to come together. It's probably a little easier to see it here. I attached the first upper and the first lower with some glue and a finish nailer. For the second piece, I glued and clamped, that way there wouldn't be any holes to cover.
Initially, I was going to leave the legs just like this with only three pieces, but I kept thinking about how I was going to attach the legs to the top and I just wanted there to be a little bit more meat there. Back when I was cutting out the leg pieces, I decided to cut eight extra leg uppers. I decided that I wanted the extra leg uppers to have a little gap in them to just kind of keep the aesthetic theme going. I just kind of used the glue-up to strike a line that I could crosscut on my miter sled. Then I attached them.
While those were setting up, I had some time to kill so I decided to have a little fun with my glue mat. Then I checked out a blimp few seconds. Then returned to having fun with my glue mat.
To attach the legs, I flip the top upside down and mark some lines to find the exact center of the underside. Then I drew some 45-degree lines from the corner and marked out exactly where the tips of the legs should hit. Then to actually attach them, I started by gluing them on and then came back later that night and really locked them in with a couple of screws. For anybody worried about the strength of making joinery and attaching the legs this way, I say if it's strong enough to hold me, it's probably strong enough to hold your coffee. Finally, I did a little sanding and finishing and this one was in the books.
Don't forget to listen to our podcast this Thursday, to hear us talk more about the challenge. There's going to be a link below and also check out our website for full details. The last thing I'm going to say is that the last challenge was a ton of fun, and we really were blown away by how many great entries there were, but I'm expecting this one to be even better. Please don't let me down.


Keep the inspiration coming!
Subscribe to our newsletter for more woodworking tips and tricks