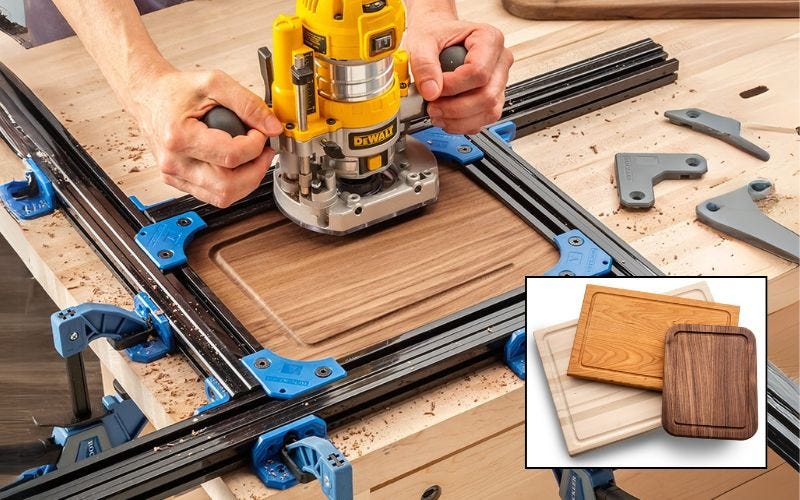
Our Cutting Board Juice Groove Routing Jig lets you create two sizes of juice grooves in cutting boards up to 18” x 18” with a handheld router and our Rounded Shoulder Juice Groove Router Bits. The manual that comes with the jig will make its setup and basic use easy for woodworkers with moderate routing skills. But if you’re fairly new to handheld routing, or have used this jig before but haven't gotten the results you were hoping for, we’ve created a tips and tricks video to help you become more comfortable using the jig:
Video: Top Tips for Using the Cutting Board Juice Groove Router Jig
Tips & Tricks for Getting the Most from Your Juice Groove Routing Jig
Color the Adjustment Screws: Only one of the two flathead Allen screws on each of the jig’s four blue corner guides needs to be loosened to adjust the jig lengthwise or widthwise. Coloring the heads of these four screws with paint or metallic marker can serve as a quick visual reminder to help speed up and simplify the jig’s adjustment process.
Make Multiple Passes: This jig requires a plunge router. Rout the juice groove in a series of three or four plunge passes of increasing depth, removing only 1/16” to 1/8” of waste each time. Light passes will make it easier to keep the router tracking correctly along the jig’s guide rails. It will also provide more reliable feedback from the router while it cuts.
Keep the Routing Area Clean: Stop routing after each pass so you can vacuum up or blow away any debris that might obstruct the jig’s guide bushing and lead to cutting errors. If you can connect your router to a shop vacuum or dust extractor, that also can help clear away the accumulating dust and debris.
Preventing Burn Marks: If the router bit leaves burn marks in the wood, you can minimize that problem by keeping the router moving at all times while cutting. Be sure to use a sharp, clean bit. A spray-on bit lubricant such as Bostik BladeCote aerosol spray can also help reduce overheating that leads to burn marks.
Stabilize Yourself: Keep your center of gravity low and your arms as close as possible to the jig, when pushing the router along the jig rails. Switching to a smaller, lighter-weight router can also help to avoid a tippy feeling during routing.
Try Waxing to Reduce Drag: If the router base seems to drag along the jig, wipe the rails clean between routing passes. Applying some paste finishing wax to your router’s subbase and buffing off the excess can also help reduce friction, so the router slides more easily.