The Challenge of Finishing a Wood Slab
Spring cleaning? It’s time to check your stock of finishes to decide what is still usable and how to safely and legally dispose of what isn’t. It’s also a good time to go over the best ways to store finish for long life.
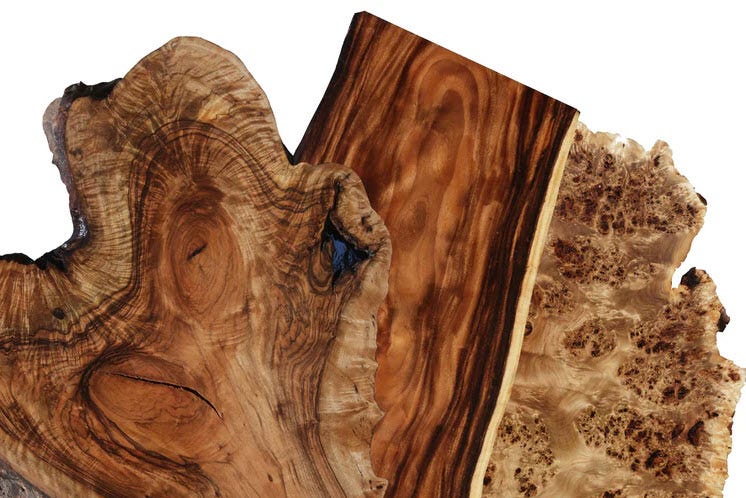
On the one hand, slabs are just thicker pieces of wood and are finished using exactly the same techniques that woodworkers have been using forever. On the other hand, if the slab has natural edges, checks (also known simply as “cracks”), bark inclusions (areas where the surface of the slab is bark tissue rather than wood) and even voids, then there are added details to deal with. To explain how to solve those issues, we’ll use the tabletop from our slab top table as an example.
Step-by-step
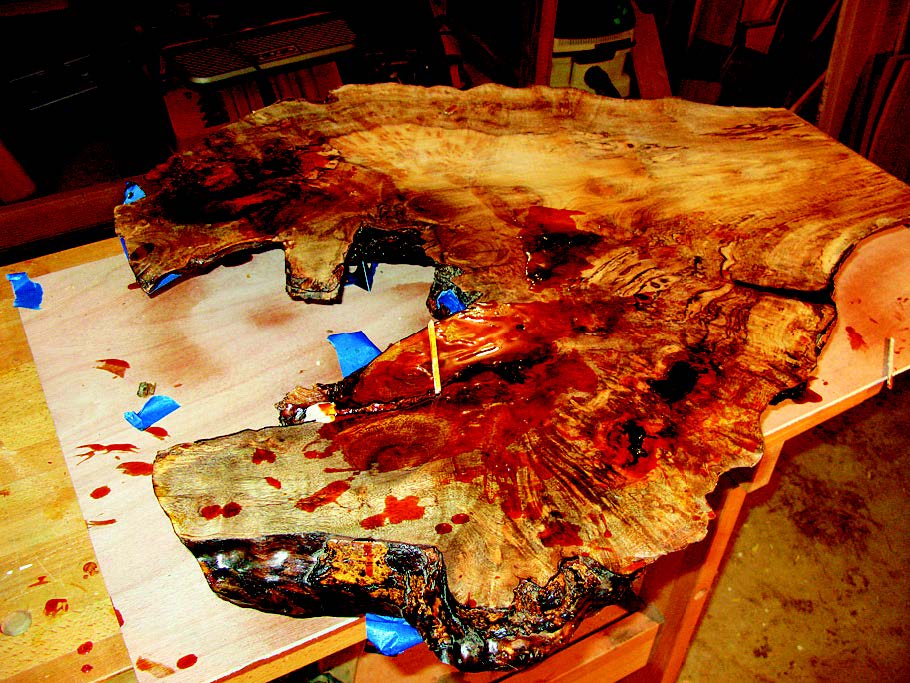
First off, you need to decide how smooth your piece of lumber should be. We sanded both faces of our slab to 120-grit. With surfaces smooth, now you need to inspect the slab to see if you have voids or checks that need to be addressed. In this piece of myrtle that was sliced from a crotch or root ball on the tree, we had voids aplenty that needed to be filled.
A great way to fill big voids is with two-part epoxy. It hardens and takes up space without shrinkage as it cures. Epoxy is clear out of the can, so we recommend tinting it to match or complement the wood color. TransTint liquid dye works well and comes in a remarkable number of colors. In order to determine what color and how much dye should be used for the mixture, you will need to test the color selection. Do this in voids that won’t be seen: we used the underside of the tabletop.
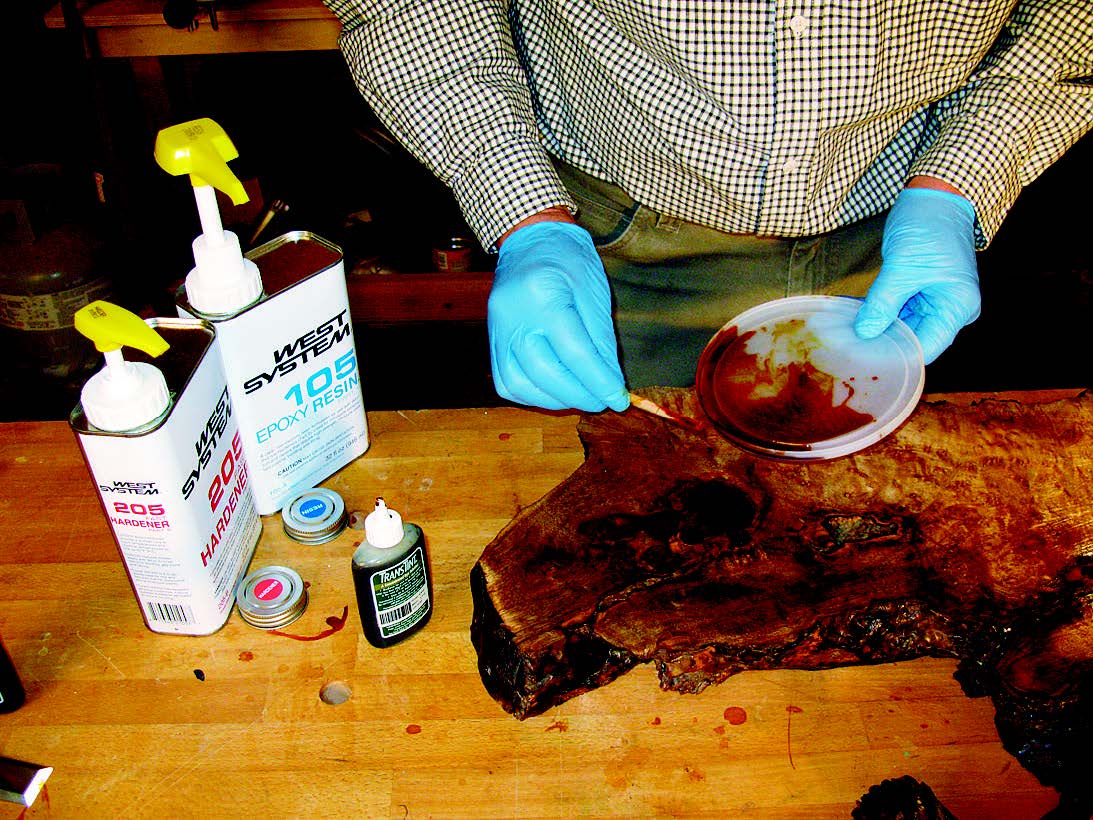
If we were going to stain the piece, we would have done so and then applied a coat of shellac. In our case, we decided not to stain the piece, so we just put the shellac on the underside. The shellac also helped to keep the colored epoxy from seeping into the wood fibers around the voids, thus avoiding a halo of unwanted color.
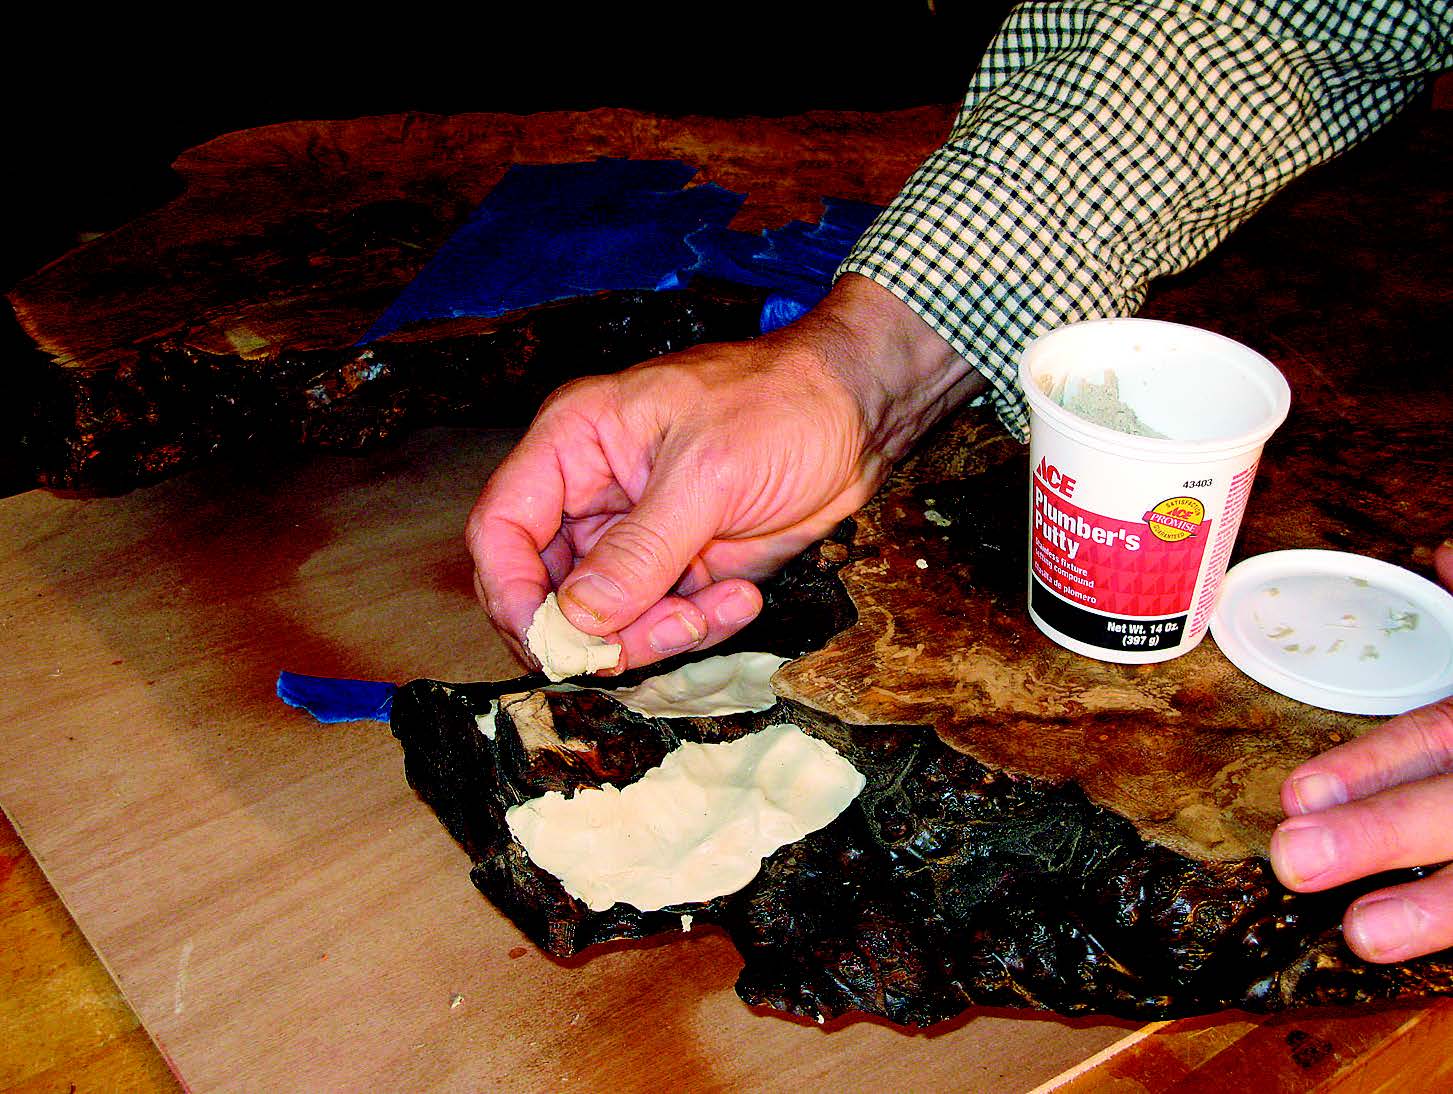
Because the epoxy is a thick liquid, it will slowly flow into the cracks and crevices within the voids. Often those cracks are joined to the other face of the slab or to the waney edges. In these instances, you need to plug the openings, which is trickier than it sounds.
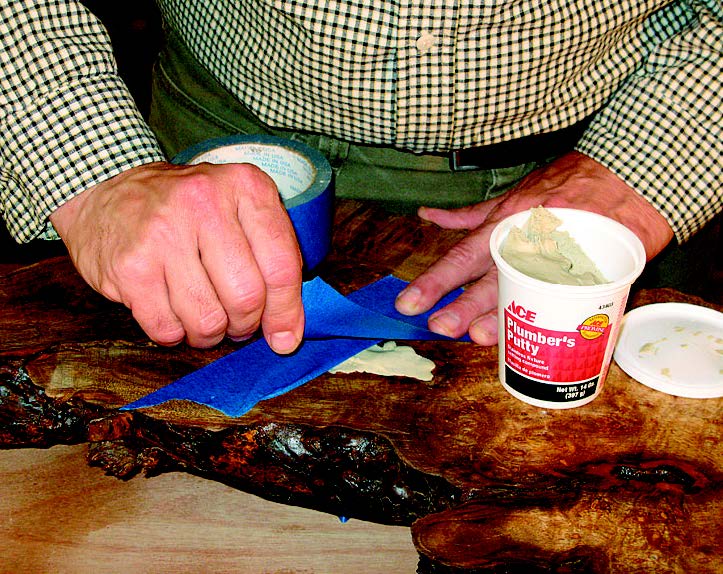
We used plumber’s putty to plug the difficult areas where the cracks exited and masking tape failed. It works great, but once the epoxy is cured, getting the putty out of those areas is a bit of a pain. We found that a compressor hose with an air nozzle will blow the putty clear.
You may need to fill the voids in repeated steps. Air bubbles and slow-flowing seeps can make this a several-step process. Once it is cured and you are satisfied, you need to sand the epoxy flat and sand away any drips and drops of the filler that may have landed on your top. We used a handheld belt sander with 80-grit paper for this step.
Getting it Right

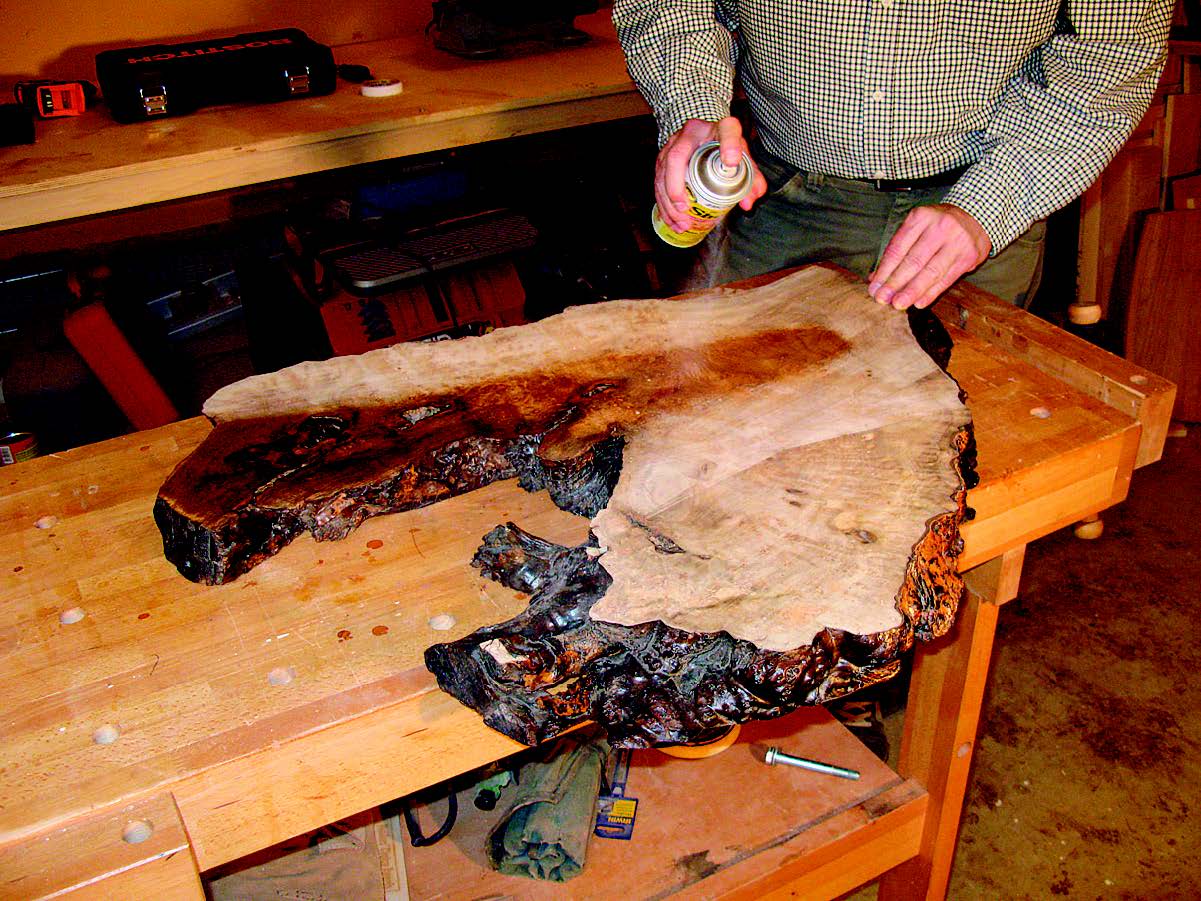
Next comes a lot of sanding. You’ll need to sand through the grits, removing the sanding lines from your previous pass. Sand diagonally to the grain with your first few grits. At 150-grit and higher, sand with the grain. A low level light will help you to see the sanding marks more easily. Finish up with 180- and 220-grit, sanding by hand with the grain. Now you are ready for the finish. An oil like Watco® would have looked great on this slab, but we chose a clear film finish. We applied three coats of shellac to both faces of the table, sanding with 400-grit between coats to denib the surface. A low light helps you to clearly see how the material is building up.
Our last coat was lacquer right from the spray can to add a degree of durability to the finish. With the voids filled using a color complement, and the film coat built up nicely, this organic-looking slab tabletop transforms from a chunk of wood to a piece of furniture.


Keep the inspiration coming!
Subscribe to our newsletter for more woodworking tips and tricks