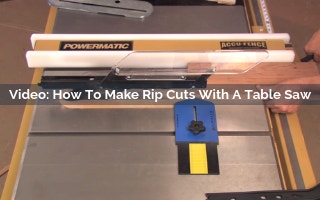
Video: How To Make Rip Cuts With A Table Saw

If you need to make a board narrower, then you will likely need to make a rip cut. Rip cuts are cuts that are made in the same direction as the wood grain. The table saw is the best tool for making rip cuts. We show you how to safely set up and make rip cuts with your table saw.
Skill Builder Video
Video: How To Make Rip Cuts With A Table Saw - Video Transcript
Speaker 1: If there's a top 10 list of things that you want your tables saw to do, ripping has to be right at the top. Ripping is simply cutting with the grain specifically in solid material.
Narrator: Ripping is used a lot in furniture making, to make smaller parts out of wide boards. Some cuts are easy, and some of those teeny weeny skinny sliver cuts, not as easy.
The cut I'll be making on this board is an easy cut. Here's why; this is prepared stock. That means it's flattened and it's perfectly straightened and squared on one edge and we did that with a jointer. Now the second reason this is an easy cut to make is, this is a relatively wide board. Anytime you have to make a cut that's four inches or wider, there's a good safe distance between the blade and your hand.
You start by setting the blade so the gullets are just above the thickness of the piece. Next, adjust the fence to the width you need to cut. Start this off and butt the workpiece against the fence. Feed it through keeping it snug against the fence. I like to use a push stick no matter what with, roughly centering it on the piece. The waste is called the falling stock, leaving you with what's called the workpiece. That is how you rip it up with an easy cut.
Keep the inspiration coming!
Subscribe to our newsletter for more woodworking tips and tricks

