How to Make a Perfect Fitting Box Lid
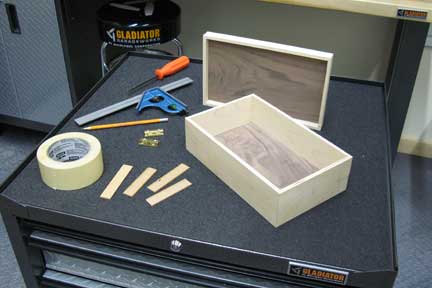
One of the slickest ways to get the lid of a box to fit the box perfectly is to make them one and the same. You assemble all six sides of a box into one piece – and then cut the lid from the box.
It is easy and will give you a perfect matching top every time. I’ve added a top and bottom to create a six-sided box, and now we’re ready to separate the lid from the base.
Setting Up
Start by determining how deep you want your lid to be. When you have that figured out, step over to the table saw and set your fence to the proper distance. Keep the narrow "lid" segment of the cut between the fence and the saw blade. (That means the "falling stock" aspect of the box is the largest section.)
Set the blade height for the cut so that the saw teeth stand just a bit proud of the thickness of the box wall. This helps prevent disfiguring saw marks on the box walls adjacent to your cuts.
Sequence of Cuts
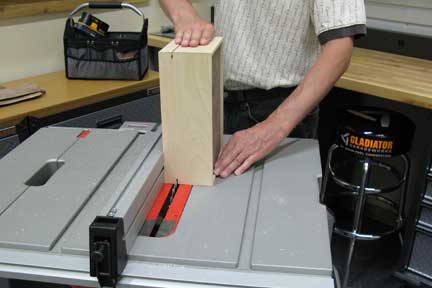
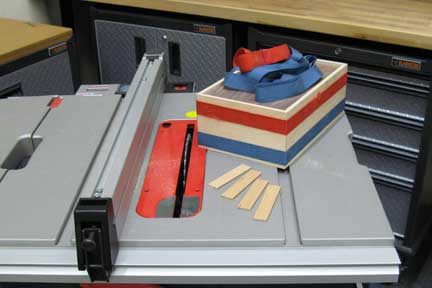
I prefer to make my first cuts on the narrow ends of the box. Then move to one of the long sides. The final cut requires a bit of additional preparation to make it go smoothly. Here’s what you do: Start by cutting several small spacers that are just the thickness of the saw kerf you have just made in the box. (The term “kerf” refers to the space left behind in a board or piece of wood after a saw has removed material – in this example, the gap between the top and bottom pieces of the box.) Now, using some masking tape or other type of tape, secure the spacers so they hold the kerf consistent and steady during your final cut.
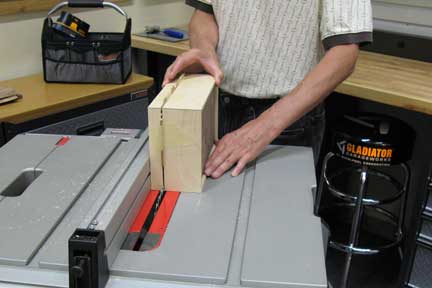
Go ahead and make the last cut on the box, smoothly pushing the lid through the saw blade. Good job, you did it!
Sound Technique
How you proceed with your box from here depends on the type of hinges that you choose and a variety of other considerations. But one thing you know for sure – the lid will match the box perfectly.
This technique will work on boxes and chests of all sizes. As they get bigger, you may need a roll-off table and a second set of hands to help control the cut.
Keep the inspiration coming!
Subscribe to our newsletter for more woodworking tips and tricks