Video: How To Change A Table Saw Blade
Learn how to change a table saw blade. We show you four ways to change a table saw blade. You'll learn the best way to change a table saw blade if you have two blade change wrenches, if your saw has an arbor lock, if you have one wrench and a Bench Dog Blade Loc, or if you have one wrench and a block of wood.
Skill Builder Video
How To Change A Table Saw Blade - Video Transcript
Speaker: Hi. Today we're going to talk about something everyone who owns a table saw needs to know how to do, and that's change the blade. The first step whenever we're working with power tools is to make sure it’s unplugged. Next, we're going to get access to the blade by removing the throat plate and the blade guard. This is a little different with each saw, so you want to refer to your owner's manual if you're not sure how to do this. Finally, I'm going to raise the blade up to its highest point so that we have really good access.
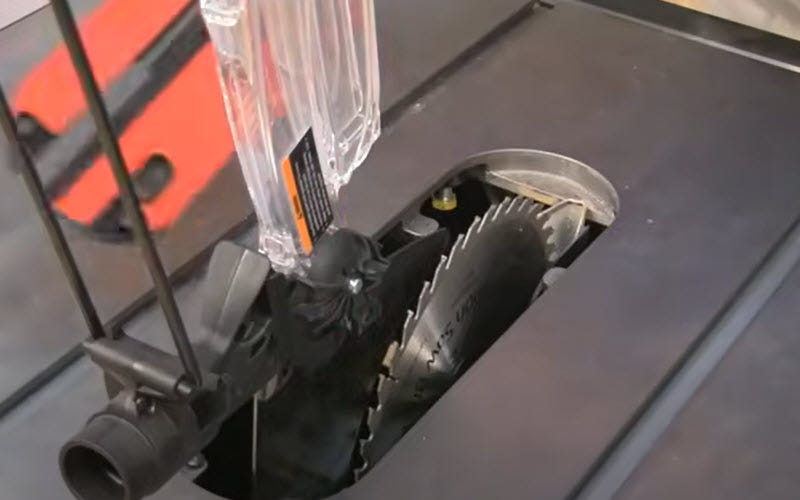
With the guard and throat plate removed, you can see the blade, which is mounted on this shaft which is called the arbor, and it's secured with the arbor nut and washer. Next, I'm going to show you a few different ways to loosen that arbor nut. Now, you're going to need a wrench. Most table saws come with a set of wrenches. If for some reason you no longer have these wrenches, you can use an adjustable wrench or an open-ended wrench. Now, if you have two wrenches, one of the wrenches is will be used to hold and secure the arbor, the other branch will be used to loosen the arbor nut. Now, the next method is more common on smaller and portable table saws. It's when the saw has a feature called an arbor lock, and that would be a small lever located near the arbor that locks the arbor in place, and then you'd loosen the nut with a wrench. The third method of loosening the arbor nut is to use an accessory like this Bench Dog Blade-Loc. What this does is holds the blade in place, protects your hand, so that you can then loosen the nut with a wrench. The way it's used is you slip it over the blade, we lower it down to touch the table, raise it up a smidge, and then place the wrench on and loosen the arbor nut.
One final method is to use a wrench and a block of wood. You simply wedge the block of wood up against the blade, that secures it from spinning, and then loosen the nut with the wrench. Clever variation of this is to lower the blade down so the teeth are just above the table top height. Place the wrench on and let it rest on the backside of the opening. Then you simply bump the block of wood against the blade and it frees the nut. Now, with the nut free, I simply loosen it with my fingers. I like to put my index finger at the end of the arbor so that as the nut releases from the arbor, my finger holds it and it doesn't fall down into the base of the table. Now, with the nut free, all that's left to do is remove the washer, take off the old blade, install the new blade, making sure that the teeth are pointing towards you not away from you, and then replace the washer and the nut. Then you're simply going to tighten the nut using the same method that you used to loosen the nut, just in reverse.
With our new blade installed, all that's left to do is replace our guard system, reinstall our throat plate, and we're ready to get back to work. Choosing the right blade for the application and making sure it's a sharp blade are two of the keys to having great results. I hope this video about changing table saw blades has been helpful to you and that you continue to enjoy woodworking.
