Video: How to Change a Router Bit
Learn how to install or change a router bit in a portable router or router table. We demonstrate how to change a router bit in a portable router with two wrenches and how to change the bit in a router with a collet lock. You'll also learn how to change a router bit in a router table with a router lift.
Skill Builder Video
How To Change A Router Bit - Video Transcript
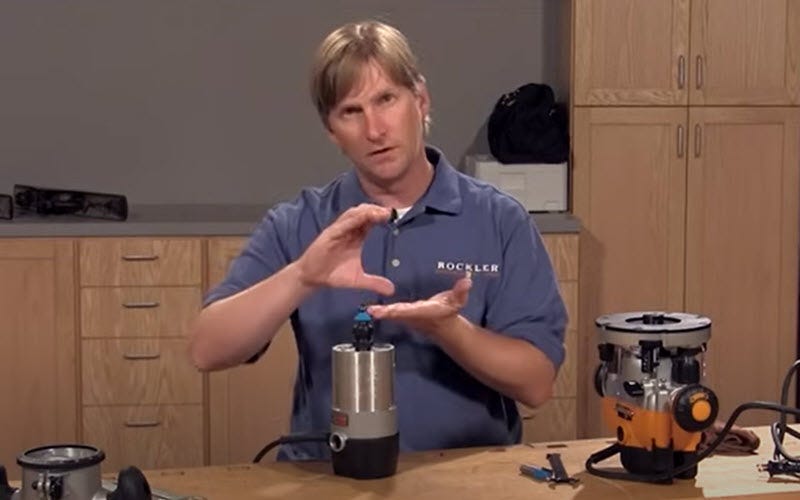
Speaker: Hi, today we're going to talk about the proper way to install and change out router bits in both portable routers as well as the router table. We're going to start with the portable routers. First thing, anytime you're changing out a blade or a bit, we make sure the router is unplugged. Now, I've got two different types of portable routers here. I've got one that uses one wrench and one that uses two wrenches to change the bit. We're going to start with the two wrench.
First thing we're going to do is remove the base. Now that reveals the collet. This is the part that holds the router bit in the router. Make sure the collet is loose. With the collet loose, we can now insert the bit. Now, it's important to note, you don't want to tighten the collet with a bit fully seated in the collet. A couple of reasons for that. Number one, the collet pulls down slightly on the bit, so if it's fully seated, there's no room for it to go and the collet might not be able to fully secure the bit. The second is, you'll notice on some bits at the top of the shaft where it meets the cutter head.
There's a little bit of a cove or a taper and if that is seated down against the collet, it can grab that taper and hold on to that and that could shake loose and then the bit wouldn't be secure that way either. What I like to do is, bottom the bit out and then I like to just nudge it back out about an eighth of an inch. Now, it's ready to tighten. We place one wrench on the bottom nut. We're going to finger tighten the collet and then starting to tighten the top nut and then for the final tightening, I like to position the wrenches. so that I can just squeeze it with one hand, that prevents any chance of knuckle-busting.
Now, that it's installed, I simply replace the base. I can set the bit height and I'm ready to work. Now, on a single wrench router-- This router features, a spindle lock. I simply lower the base plate completely that engages the spindle lock, so now this can't turn and I've got a single wrench for the top of the collet. I take the router bit, again bury it, raise it back up an eighth of an inch, finger tighten and then finish tightening with the wrench. You want to be careful not to over tighten these. Get it snug and then just give it a little bit more of a bump to tighten it down.
Now, when it's time to remove the bit, we just reverse the process. I'll show you here back on the first router. We'll remove the base, take our two wrenches, position them, so that I can use one hand and break the grip of the collet. Now, I simply loosen a bit and then I like to keep a rag handy to pull the bit out just because sometimes it can be a little bit stuck and this will prevent you from cutting your fingers on the bit. If it doesn't want to come, a couple of taps with a wood block should free it when it comes right out. Now you're ready to put in a new bit or reassemble your router to set it back on the shelf for storage.
Now, let's move over to the router table. Now, we're at the router table and it's really basically the same process. There's just a couple of extra considerations. Normally, I'd be working on the front side of the router table, but I can just as easily do it from the backside, so you can see better. The first step is, we're going to crank up the router to get it as high as it can be. We're trying to get the collet up above the top of the router table, so we can get access to it with our wrenches. If your router doesn't feature a router lift, simply remove the router's motor from the base and change the bit as you would with a portable router.
Next, I'm going to remove the insert plate. Now that we've got access to the collet, I simply insert the bit just as we did with the portable routers, bottom it out, back it out an eighth of an inch and then tighten the collet. Now, these wrenches that came with the router, work fine, but even with the router raised all the way up, it's slightly below the table surface and it can sometimes be a little bit tricky to get a good grip on the collet, that's why I really like these offset style wrenches. The bottom wrench gets slightly below the table and then the top wrench features these handy catches that lock on to that top of that collet and just make it really easy to tighten and loosen. Now that we've got the bit secure, all that's left to do is replace our insert, make sure you choose an insert that has an opening that is just slightly larger than the bit diameter. You don't want too large and opening. We'll secure this in place. Crank the router back down, so we can set the proper router height and we're ready to keep working. There you have it, we've gone over how to properly install and remove router bits from both portable routers as well as router tables. I hope you found these tips helpful and that you'll continue to enjoy your woodworking.


