Build a Live-Edge Slab Table
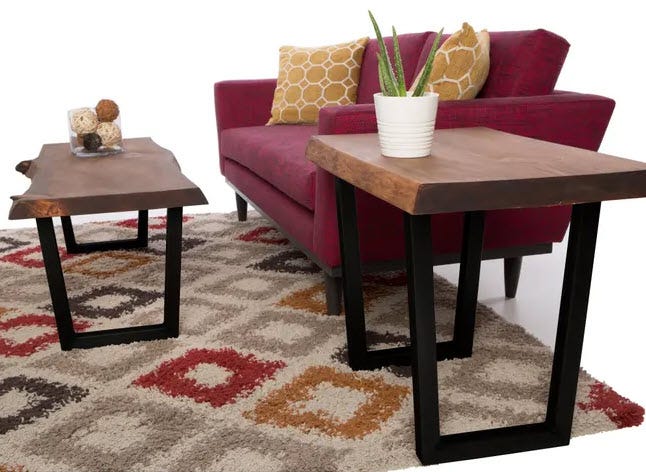
Modern-style live edge tables with metal legs like these one have exploded in popularity in the past few years. If you’ve ever shopped for one of these tables you might have been hit with sticker shock. And the prospect of building one of these tables might seem out of reach because the slabs alone can be tough to find and most of us don’t have the equipment to mill our own slabs. Also, welded metal legs aren’t something you can find at every corner hardware store. We've found an easier way to build a live-edge slab table.
VIDEO: Building a Live-Edge Slab Table with Metal Legs
Live Edge Table Components
These table components from Live Edge Timber Co, make this a project that more people can accomplish. Pine Timber-Link Slab Boards are sold as edge pieces and center pieces. You vary the number of center piece slabs to change the table’s width and cut them to the length you want. Combining this DIY slab with welded metal legs that simply screw directly to the slab, makes building a live-edge slab table a DIY project that even a beginning woodworker can tackle.
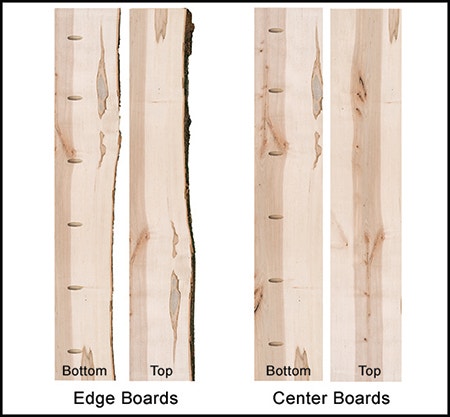
Each slab is milled flat and features predrilled pocket holes on the bottom face, making assembling the slab top very fast and easy. These boards are available in 4’ and 6’ lengths.
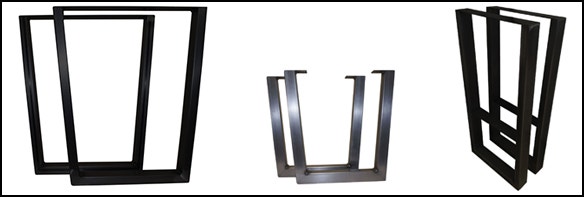
We chose to use a set of 28" V-Shaped Metal Legs (left) that are pre-painted black. The welded metal leg sets are also available in several other styles and sizes. They are available with unfinished and painted finishes.
Step-By-Step Plan: How to Build a Live-Edge Slab Table
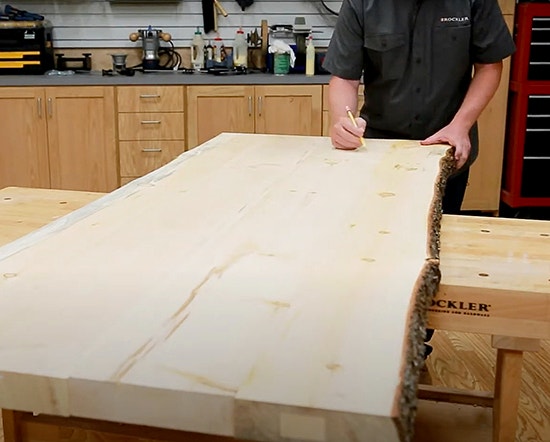
Arrange your slabs face up on a workbench or sawhorses to create the appearance that you want. I like to label the boards to make sure they stay in order. One consideration to keep in mind is that all of the boards feature unique grain patterns and the live edge boards feature unique edge profiles. If you are ordering online you can’t pick through a stack, as you would in person, to select the specific boards that you want.
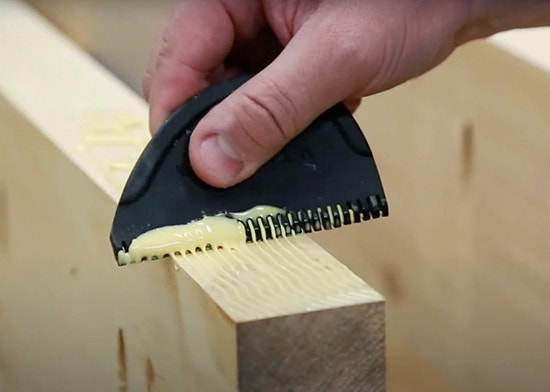
Flip the boards end for end, keeping them in the same order. If your space is limited, you can stack all but the first two boards you will assemble. Just remember to keep them in order. Next, use a glue applicator to apply and spread glue to the mating edges of the first two boards. Spread the glue across the entire edge.
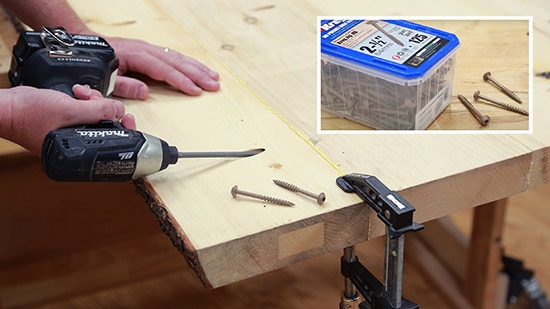
Lay the boards face down and press the glued edges together. Use a clamp to keep the top faces flush. Then drive a Kreg Jig 2-1/2" HD Pocket Hole Screw into the first pocket hole. Continue to drive screws into each pocket hole, feeling under the boards and adjusting the levels of the two boards to keep the tops flush as you work down the boards. It is helpful to have another person to adjust the boards up and down as you drive the screws.

Continue to drive screws into each pocket hole, feeling under the boards and adjusting the levels of the two boards to keep the tops flush as you work down the boards. It is helpful to have another person to adjust the boards up and down as you drive the screws.

Remove the loose bark with a scraper, drawknife or chisel. Finish the slab with your choice of wood sealer. I used several coats of a wipe-on urethane finish, sanding lightly between each coat.

Then hand sand and use a orbital sander to sand both faces, ends and edges smooth.

Finish the slab with your choice of top coat finish. I used several coats of a wipe-on urethane finish, sanding lightly between each coat.

Then attach the pre-painted black V-Shaped Welded Steel Legs with the lag screws that are included with the legs set. These legs are also available unfinished, in other shapes and in multiple sizes.
Live-Edge Slab Table Materials
- Your choice of live edge slab
- V-Shaped Welded Steel Legs
- Kreg Jig 2-1/2" HD Pocket Hole Screws
- General Finishes Arm-R-Seal Urethane Top Coat


Keep the inspiration coming!
Subscribe to our newsletter for more woodworking tips and tricks