Make a Cheese Slicer
Make a custom cheese slicer. This is a fast and easy project that makes a great DIY gift!
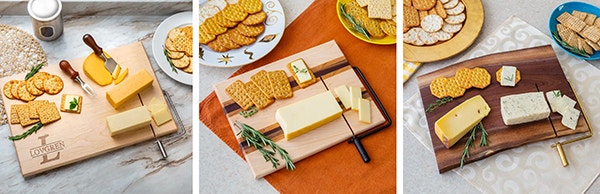
These high-quality cheese slicer kits are easy to make and are a perfect DIY gift idea. Create a unique wire cheese slicer that will look great in any kitchen. You pick the board material (must be at least ¾" thick), the size, and the cheese slicer finish, including stainless steel (left), matte black (center), or gold (right).
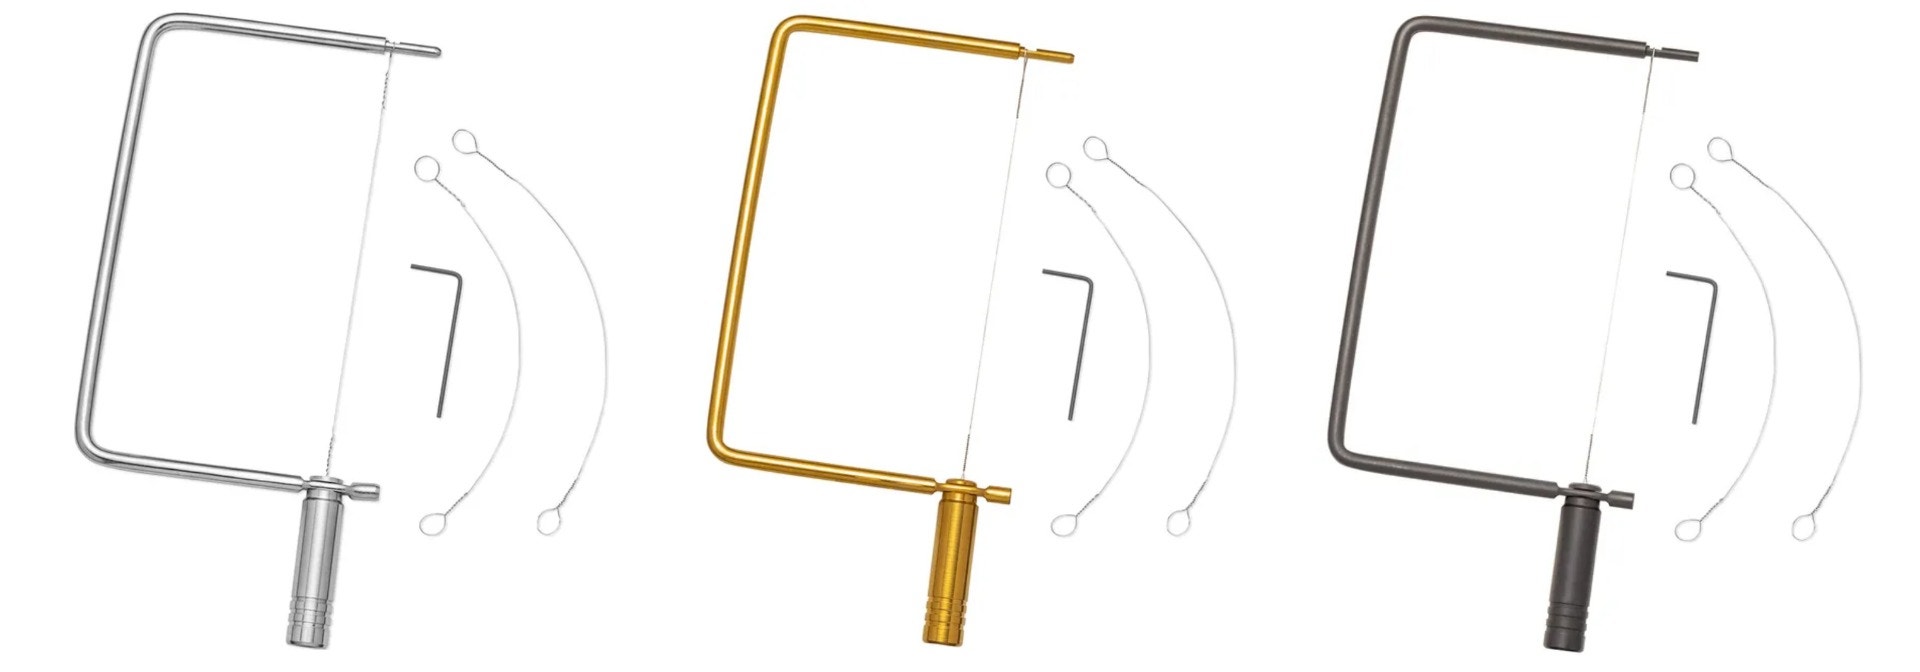
All three kits include all the hardware you need, plus two extra wire cutter replacements. Most other cutters require you to purchase replacement cutters separately.
VIDEO: Making a Cheese Slicer and Serving Board
The Rockler Cheese Slicer Kits feature durable and long-lasting all-steel construction, including the handle which is plastic on many competitor's cheese slicer kits.
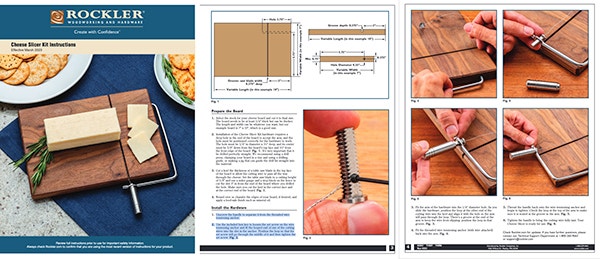
Kits include complete step-by-step instructions to make your cheese slicer. The only tools you need are a drill driver or drill press, and a table saw or router to cut an 1/8"-wide x 3/8"-deep groove.
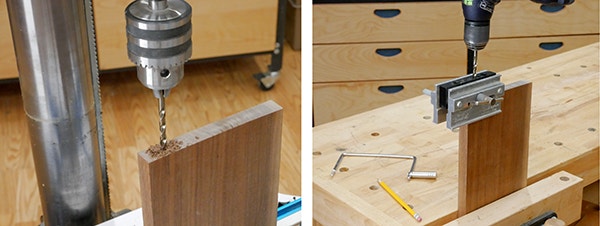
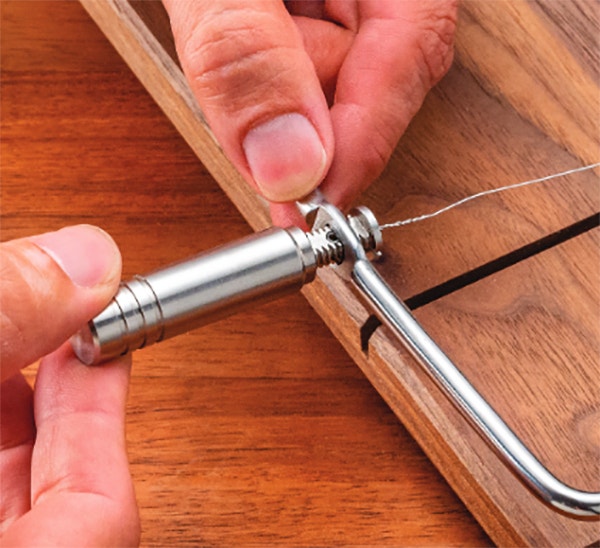
It's important that the hole for the slicer arm post is drilled straight and perpendicular to the end of the board. The best ways to drill this hole are with a drill press (left), a portable drilling guide, or a doweling jig (right). The hole you drill must be 3-3/4" deep, so you will need an extended length drill bit to reach through the doweling jig and still have enough length to drill the full hole depth.

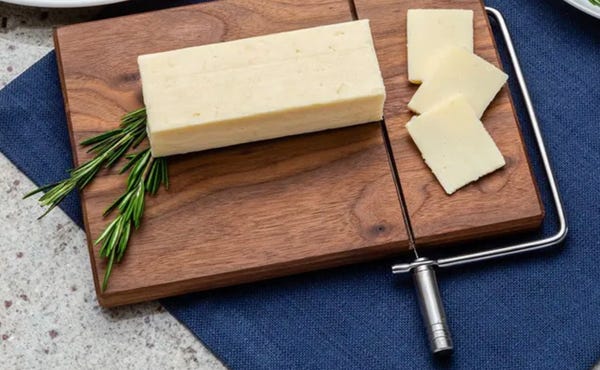
The board you choose for your cheese slicer kit should be at least 6-1/2" wide, but it can be wider. A popular design choice is to choose a larger board, creating a cheese board with enough room to also act as a serving board. In this example a walnut board that is 11"-wide x 15"-long was used. If you choose to make a wide cheese board and don't want the dado for the wire cutter to cross the entire width of the board (as seen in this example), then you must cut a stopped dado with a router and 1/8"-dia. Straight router bit.


Keep the inspiration coming!
Subscribe to our newsletter for more woodworking tips and tricks