How to Make a Cutting Board
Whether you're a seasoned woodworker or a DIY enthusiast, a beautiful wood cutting board is a functional and decorative addition to any kitchen. Plus, it makes a fantastic handmade gift! The best part is you don’t need many tools and supplies to make a basic wood strip cutting board. In this guide, we’ll walk you through the process of selecting materials, assembling your board, and finishing it to perfection.
VIDEO: How to Make a Wood Strip Cutting Board
Choose Your Wood
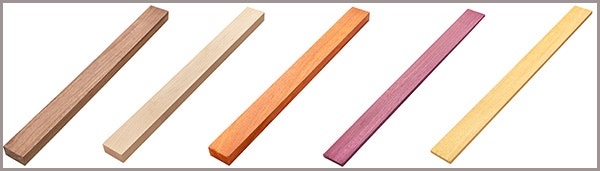
The first step in making a cutting board is selecting the wood strips that will make up the cutting board. The best cutting boards are made from dense hardwood that are both durable and gentle on knives. If you want complete creative control, then choose from our selection of 16''-long x 3/4''- or 1-1/2''-thick wood strips in the most popular species. Select the wood strips to create the unique look and total cutting board width that you need. The 1/8'' and 1/4'' wood strips are great for accents, while the 3/4'' x 1-1/2'' strips help to build up the width of the cutting board more quickly.
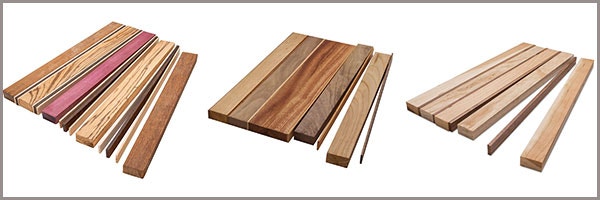
You can also choose one of our cutting board kits that include top-quality 3/4"-thick x 16"-long hardwood strips to make a sturdy cutting board—all pieces are pre-cut and pre-surfaced for easy assembly. These cutting board kits are a beautiful, durable and environmentally sustainable way to keep your knives sharp and your countertops pristine.
Arrange, Glue & Clamp Your Wood Strips
If using multiple wood species, cut strips (if needed) to your desired width and arrange them in a visually appealing pattern. Ensure the grain direction is aligned for both strength and aesthetics. Once you have the wood strips arranged, you’re ready to glue and clamp.
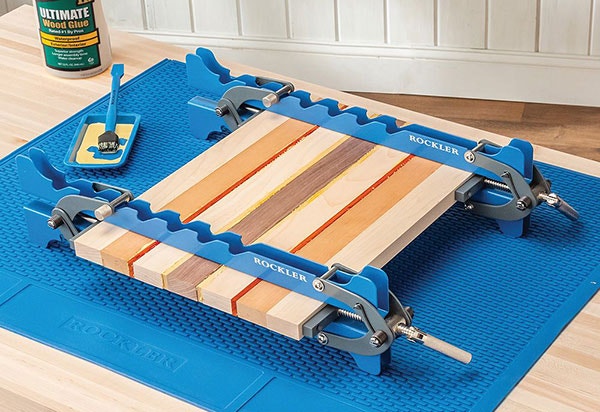
Assembling The Cutting Board
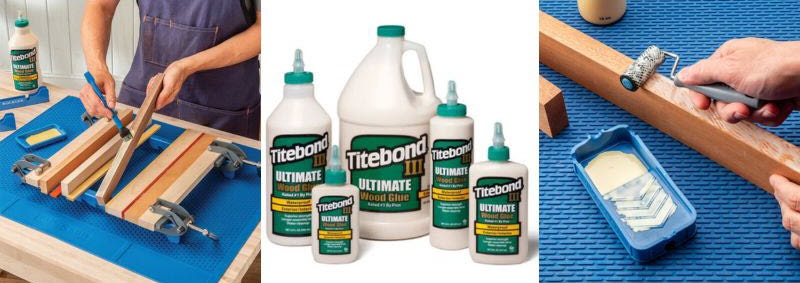
Apply an even layer of waterproof glue, like Titebond III to the edges of each strip. A silicon glue brush makes it easy to spread the glue.
Once glued, press the wood pieces together and use clamps to hold them firmly in place. Wipe off any excess glue with a damp cloth and allow the board to dry overnight for a strong bond.
Use a random orbit sander to remove any remaining dry glue and smooth any uneven seams. Start with 100-grit sandpaper and work your way up to 220-grit sandpaper.
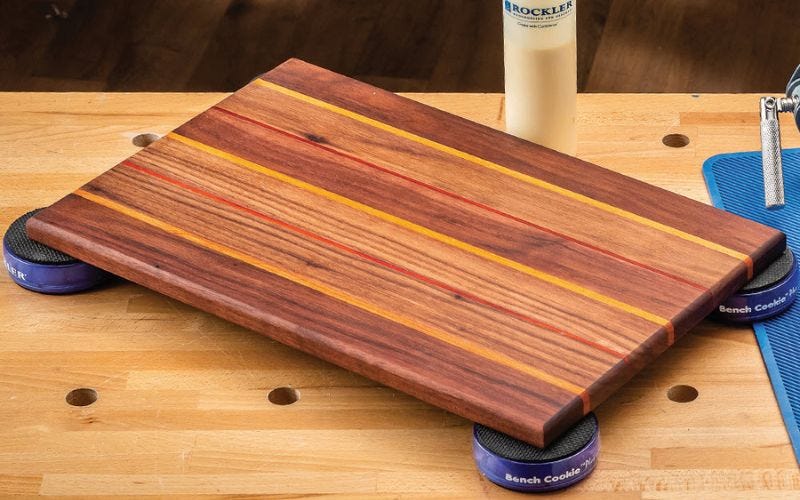
To finish your cutting board, apply a few coats of butcher block oil, cutting board oil or any other food safe finish. Tip: Use Rockler bench cookies to elevate your project while applying the finish.
What are the Best Clamps for Making a Cutting Board?
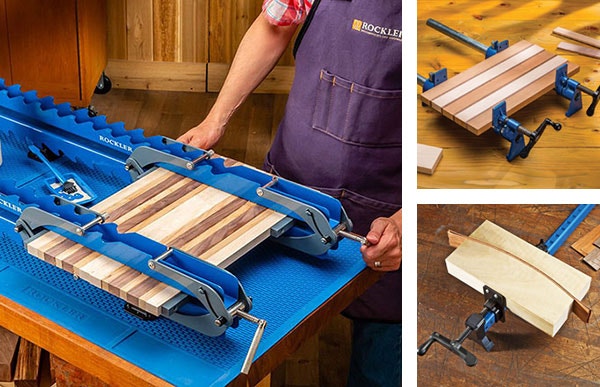
Bar Clamps and Pipe Clamps are the traditional go-to choice for making cutting boards. The Rockler Deluxe Panel Clamp and Rockler Mini Deluxe Panel Clamps are an even better choice for clamping cutting boards. The Deluxe Panel Clamps sandwich your panel between two rigid steel cauls, forcing the joints flush and ensuring flat results. This saves you loads of sanding time, and ensures a nice, level surface without dips and high spots. Thoughtfully engineered from thick steel with scissor-action couplers that apply pressure from all sides, they're perfect for gluing up table tops, wide door panels and thick bench tops. With no bowing under pressure, there is no need to stagger your clamps top and bottom.
Add More Features to Your Cutting Boards
When making DIY cutting boards, adding extra features can enhance functionality, durability, and aesthetics. Here are some great features you can incorporate:
- Juice Grooves
- Handles
- Rubber Feet
- Build-in Cheese Slicer
- Personalization
Adding Juice Grooves

To prevent juices from dripping off the edge of your cutting board, a smoothly routed groove around the edge is essential. Our Juice Groove Routing Jig makes the process of routing the grooves easy, accurate and adjustable. The jig adjusts to accommodate cutting boards up to 18'' x 18'' in size (photo above), and includes attachments to create corner radii and to rout channels around square, round or triangular through-handle openings. Use the jig with our optional Rounded-Shoulder Juice Groove Router Bits. They are available in two groove widths: 3/8'' and 1/2'', big enough for even the juiciest watermelon, but not so big that the grooves are distracting or detract from usable space.
VIDEO: Learn How to Add a Juice Groove to Your Cutting Boards
Adding Handles
Adding a handle to a cutting board enhances both its functionality and convenience. Handles make it easier to transport the board from prep to serving areas, making them a great addition for charcuterie or presentation boards. Beyond practicality, a well-designed handle adds a professional, polished look, increasing the board’s overall appeal.

Elevate Your Cutting Board with Feet

Add a set of rubber bumpers or feet to elevate the cutting board off your countertop, making it easier to lift and helping keep the bottom dry. Adding bumpers will also help prevent the cutting board from slipping. It's best to choose bumpers that are non-skid and non-marring, such as these clear Soft-Stem Bumpers (photo, left) or these slightly larger black Non-Skid Rubber Bumpers (right).
Add a Built-In Cheese Slicer

Add a built-in Cheese Slicer hardware to any board that is at least 3/4" thick. All it takes is drilling a 1/4"-dia. hole in the edge of the board and cutting a 3/8"-deep groove across the face. The taut wire turns out straight, square cuts of cheese.
Leave Your Brand


Customize your cutting boards with a personalized message, signature, or logo brand. A Custom Branding Iron gives you a consistent brand on every project. Pairing the branding iron with the Rockler Branding Iron Alignment Jig makes it easy to precisely position your branding iron every time.


Keep the inspiration coming!
Subscribe to our newsletter for more woodworking tips and tricks